
Safi'Jiva Siege - complete guide - Monster Hunter World: Iceborne
Even though it is been some time since Safi’Jiva has been added to the Iceborne expansion, there are still new players joining and doing the run. I personally have ran it many times to get all elemental charge blades and armor set. Speicifically the armor set is essential in many meta builds.
However, the fight can pose some challenges for many players. However, I will try to dissect the fight in a general way as possible so that the guide would be helpful for all
Fight Stages
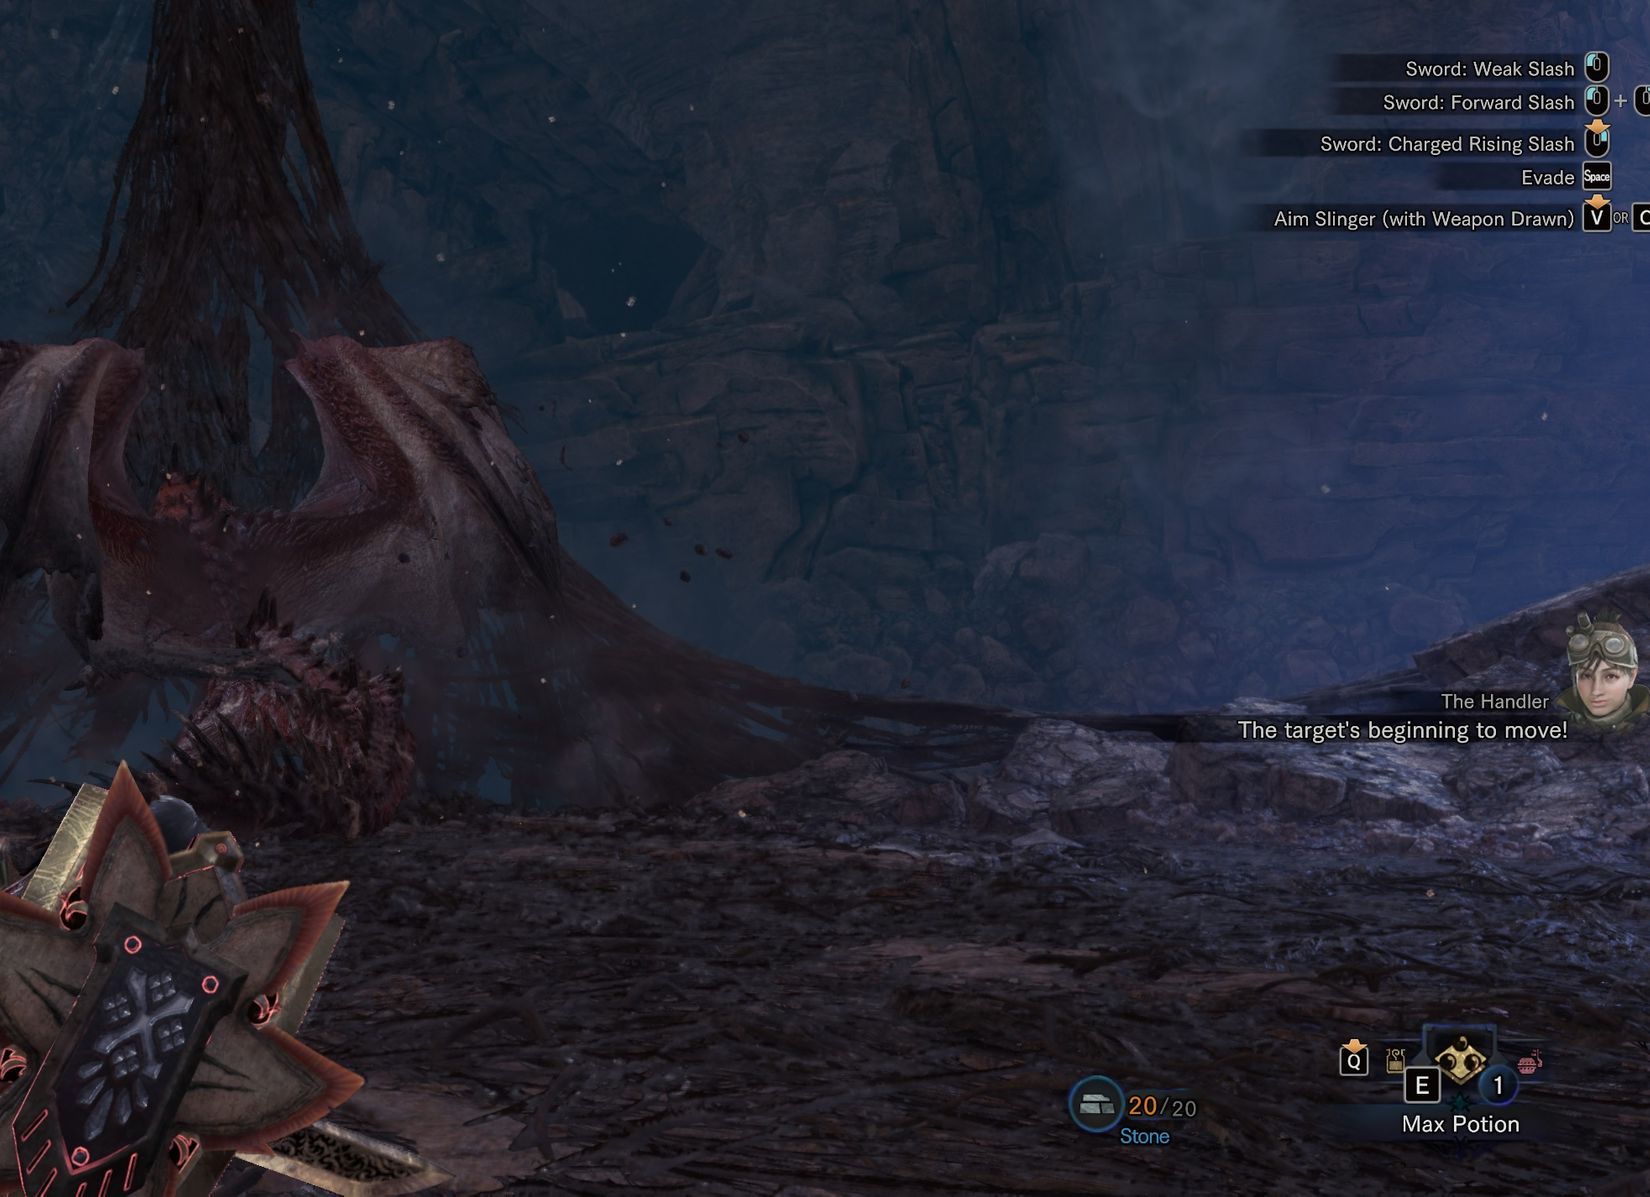
1st stage
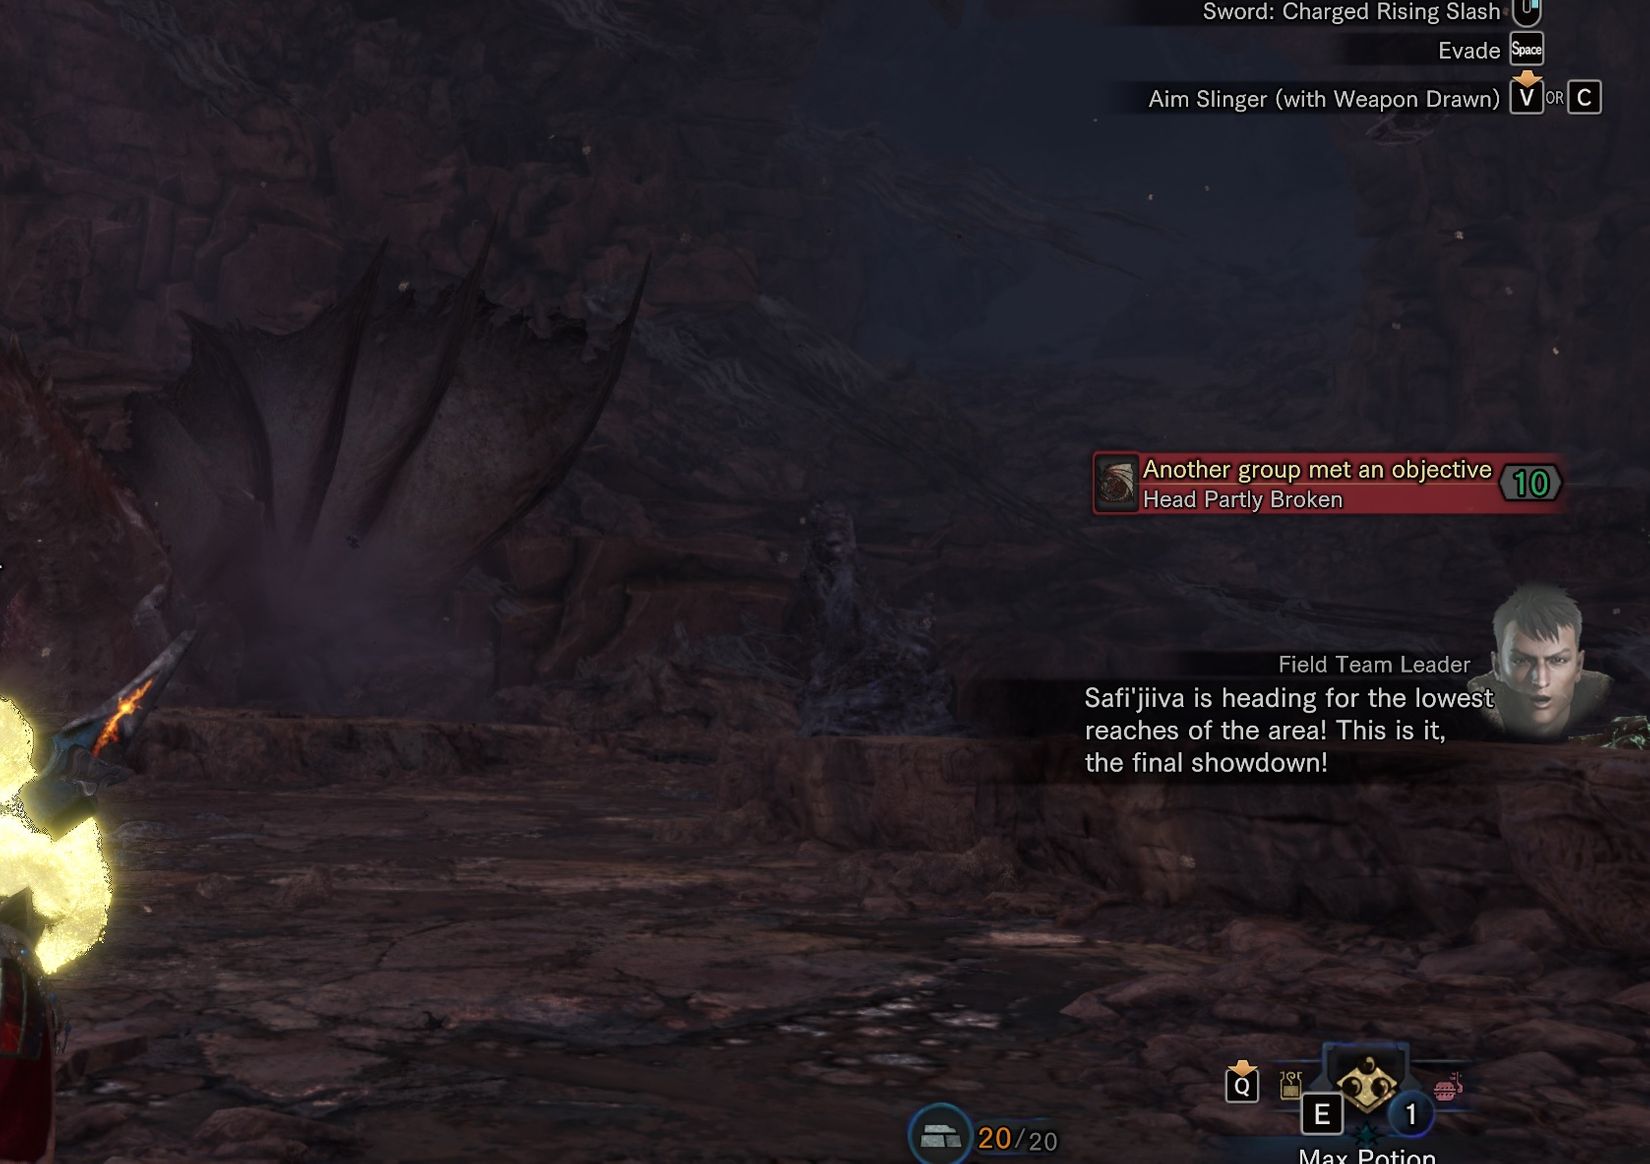
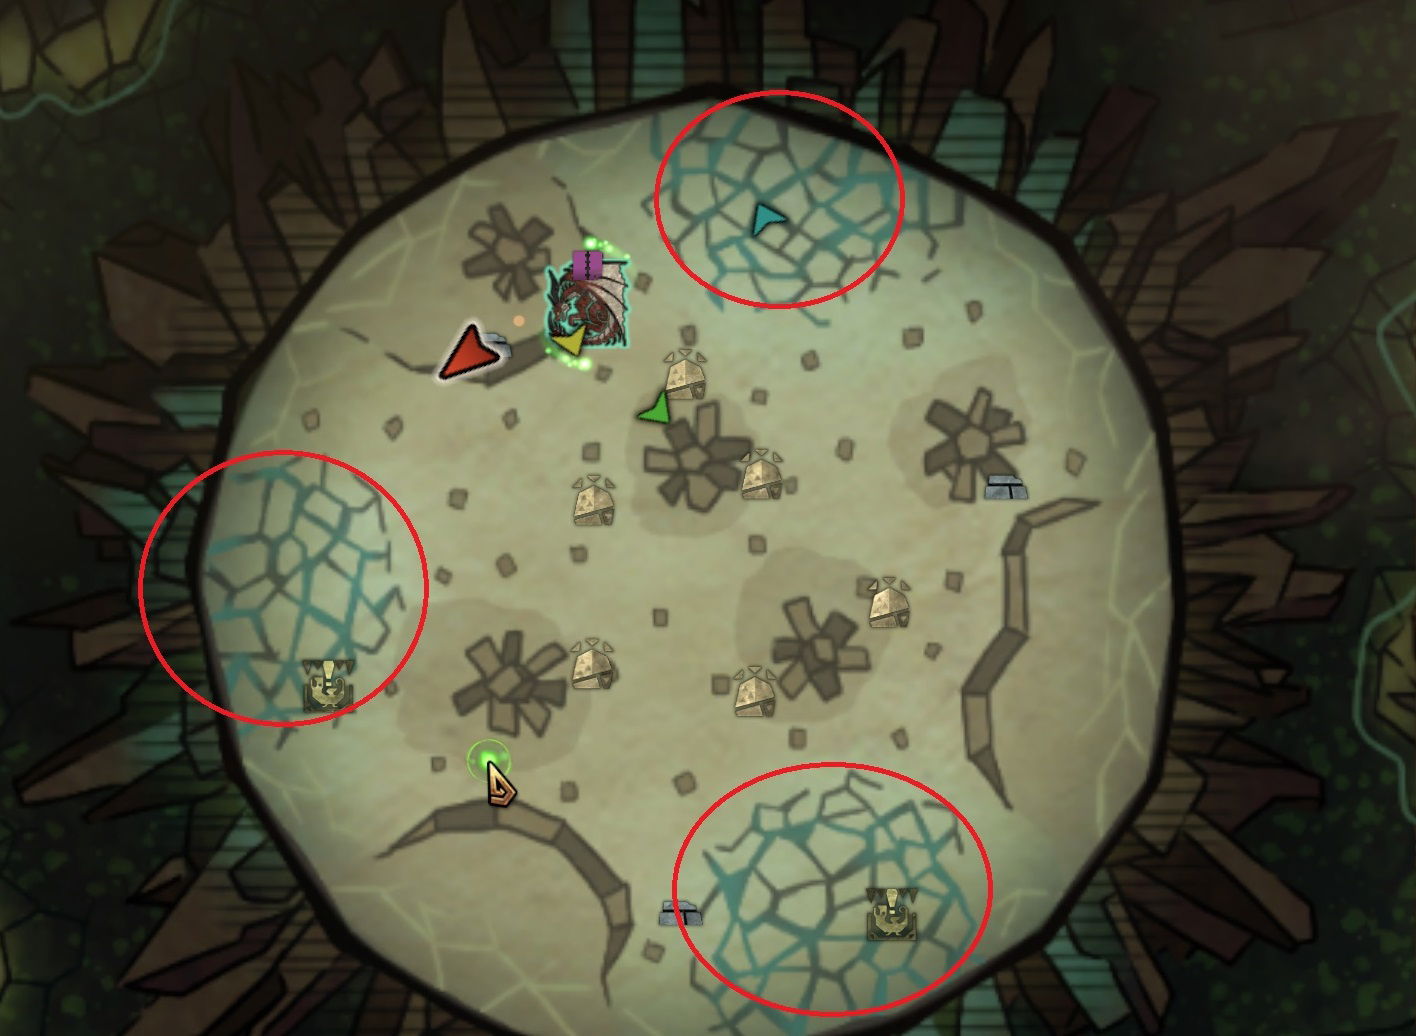
This stage is fairly easy as there are not many mechanics which can wipe the team in an instant. However, the important part here is to use the environment to your advantage. First is the decayed ground close to the edge of the stage, you need to push of Safi’jiva here by attacking her sides so that she flinches to that side. So if you hit her right side, she will flinch to left.

Once she is on the decayed ground and you flinch her, she will topple and you will be able to attack her for about 20 seconds. This is the lower part of the map
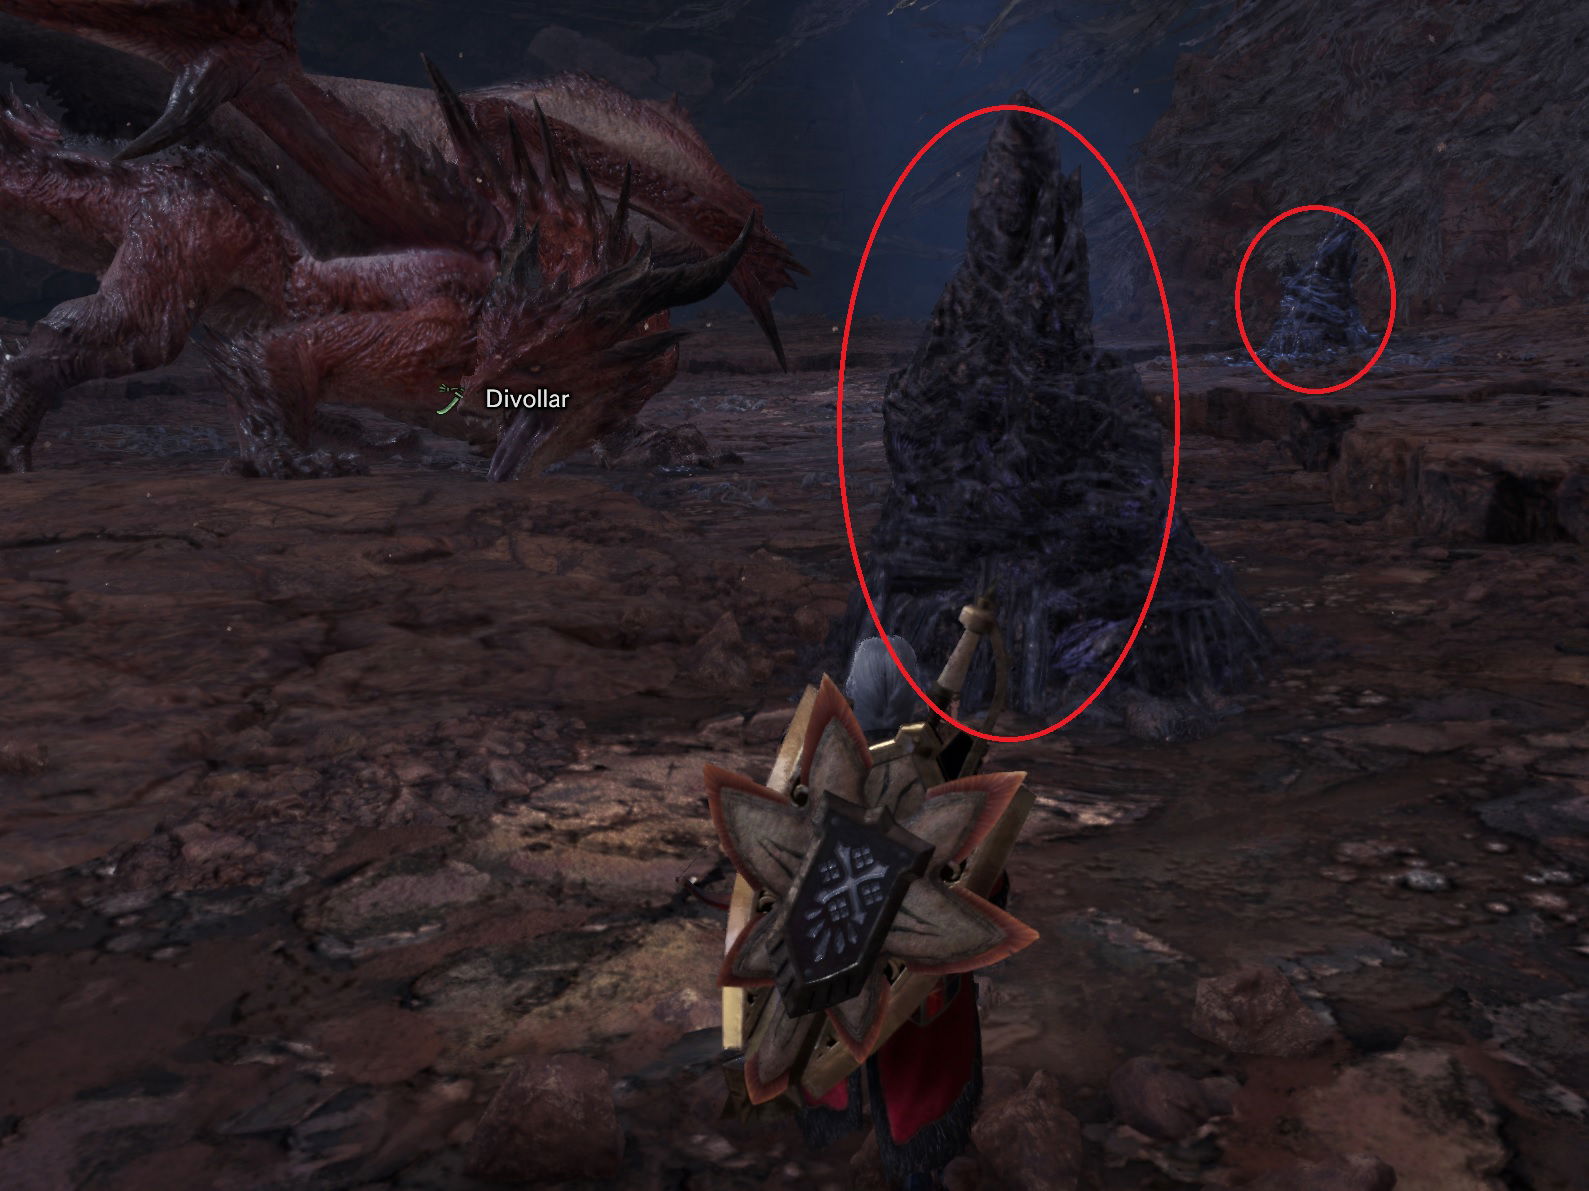
Now after this, there is another mechanic: boulders. They are at the top of the map. You need to flinch her to those boulders (she will be close to them after first topple on the decayed ground). However, she needs to be below those rocks with her back or wings, as the tail is not a hitzone.
Every topple she will move away from you, and recharge her energy (which restores her HP)
Once you deal enough damage she will move to the next stage!
2nd stage
This stage becomes more difficult as Safi;Jiva will have new attacks. Moreover, she will have a team wipe attack, so read carefully.
Many of the attacks will be the same on this stage, however, she will also start using “Deadly Pin” which if hits player, one gets pinned, and a big attack will follow. To survive it, team members need to heal the colleague who has been caught. (The attack itself will leave you with 1 hp, but you can die from fireblight)
Another mechanic which will be introduced is that the most attacking player can get the dragon’s attention, which will lead to him being attacked the most, but will allow your party members to deal much more damage, because they will not be attacked. Attention can be drawn by other player if one clutch claws to the monster’s face and shoots slingshot.
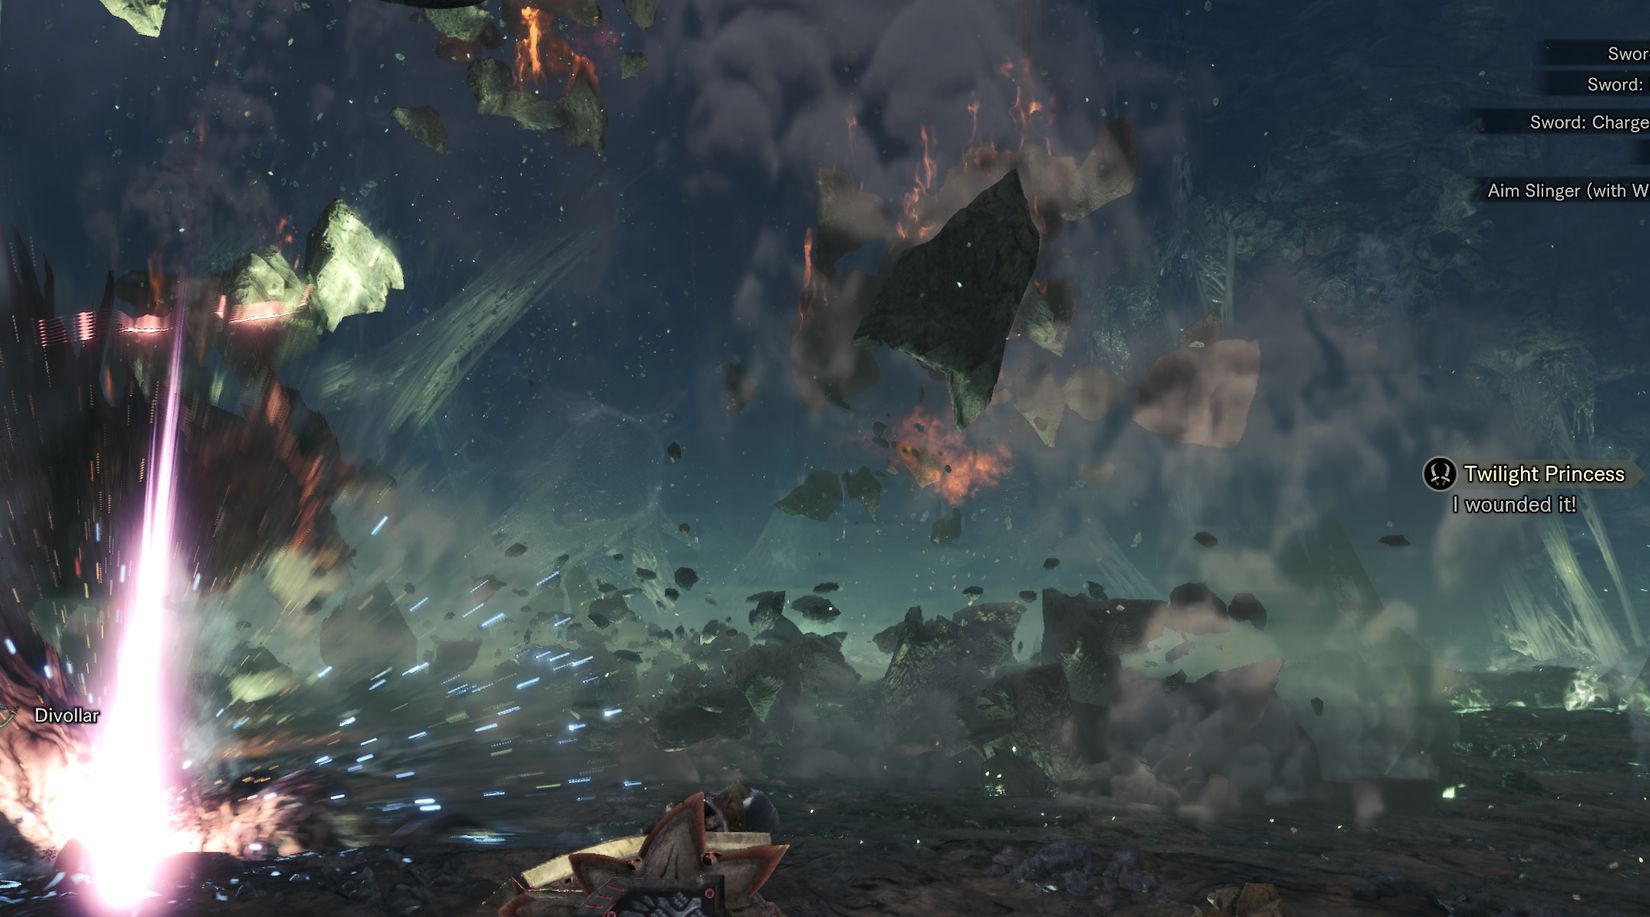
The last mechanic by Safi’Jiva is the Sapphire Star of the Emperor or supernova. This will kill any player which is not hiding behind any rocks.
 The dragon will lunge to the sky, and charge the beam to the ground. The attack is fairly easy to avoid.
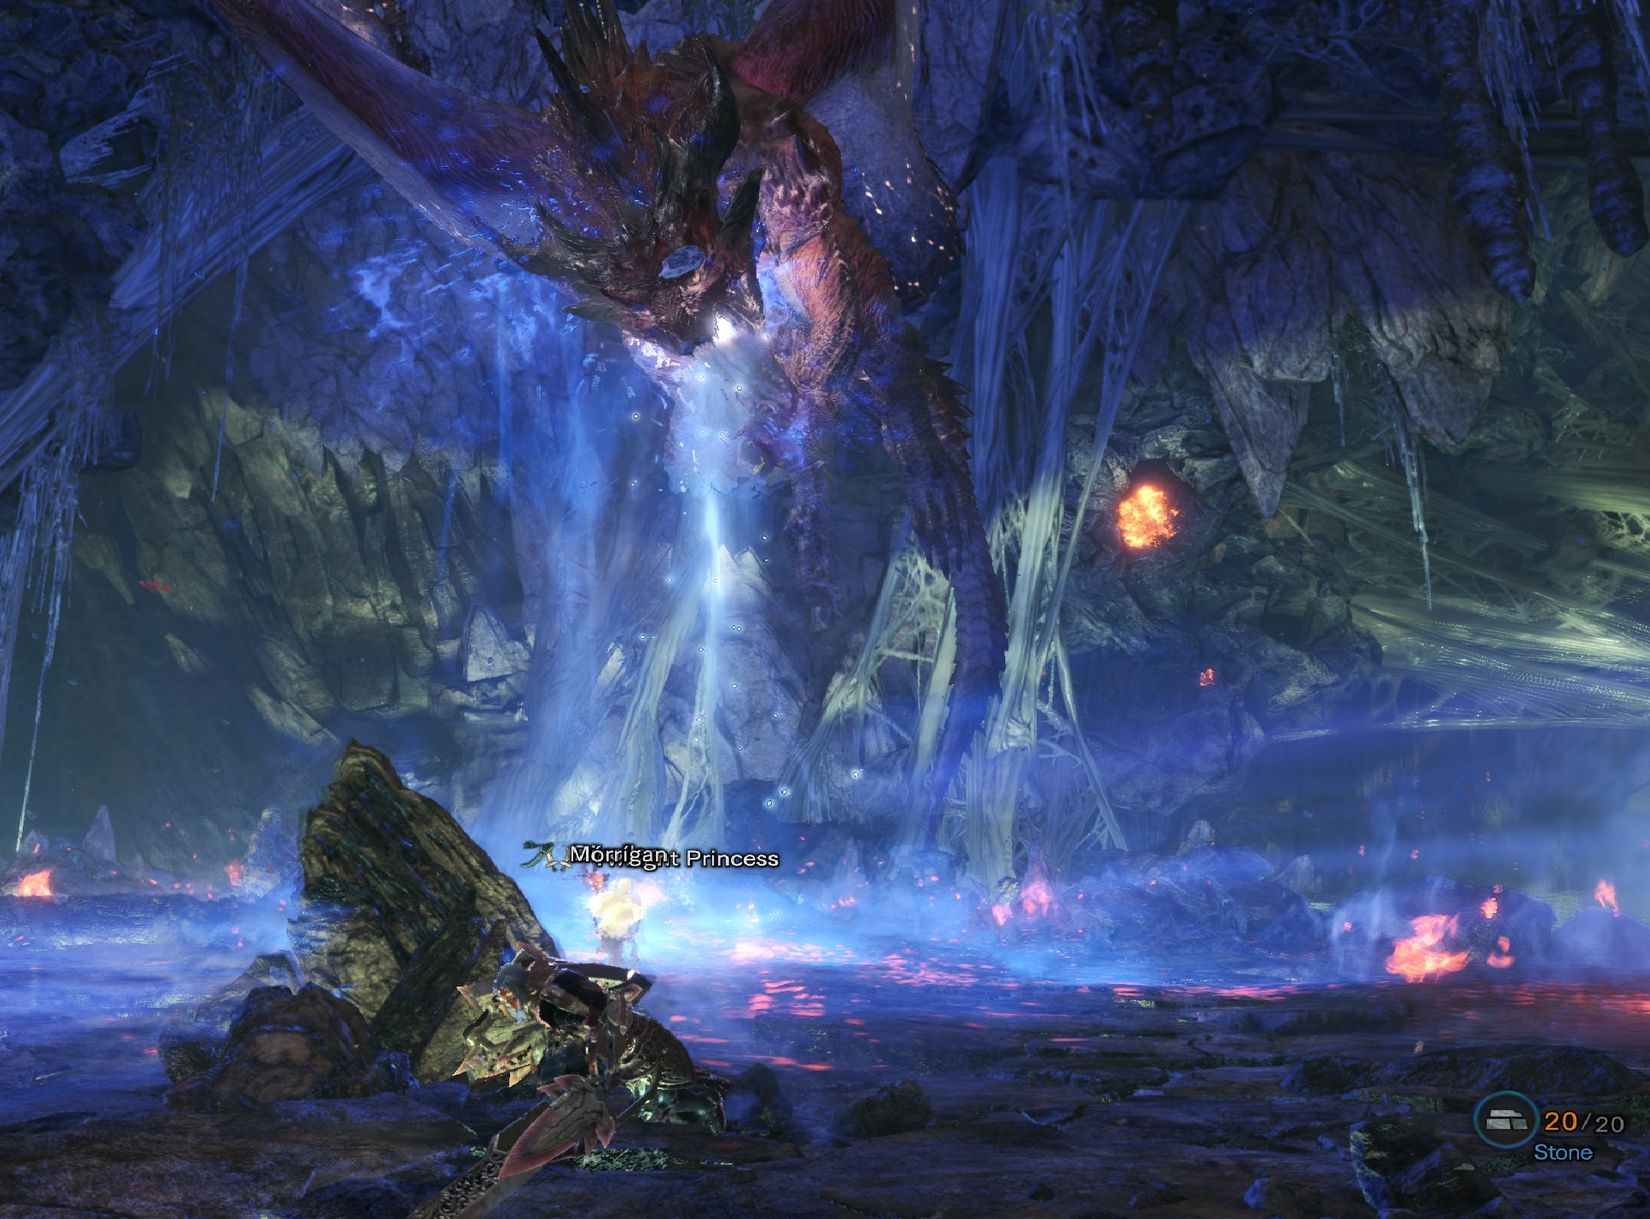
After the attack monster will recharge energy and the same will repeat until all of the energy is depleted. Then the dragon will move to the last stage of the fight:
3rd stage
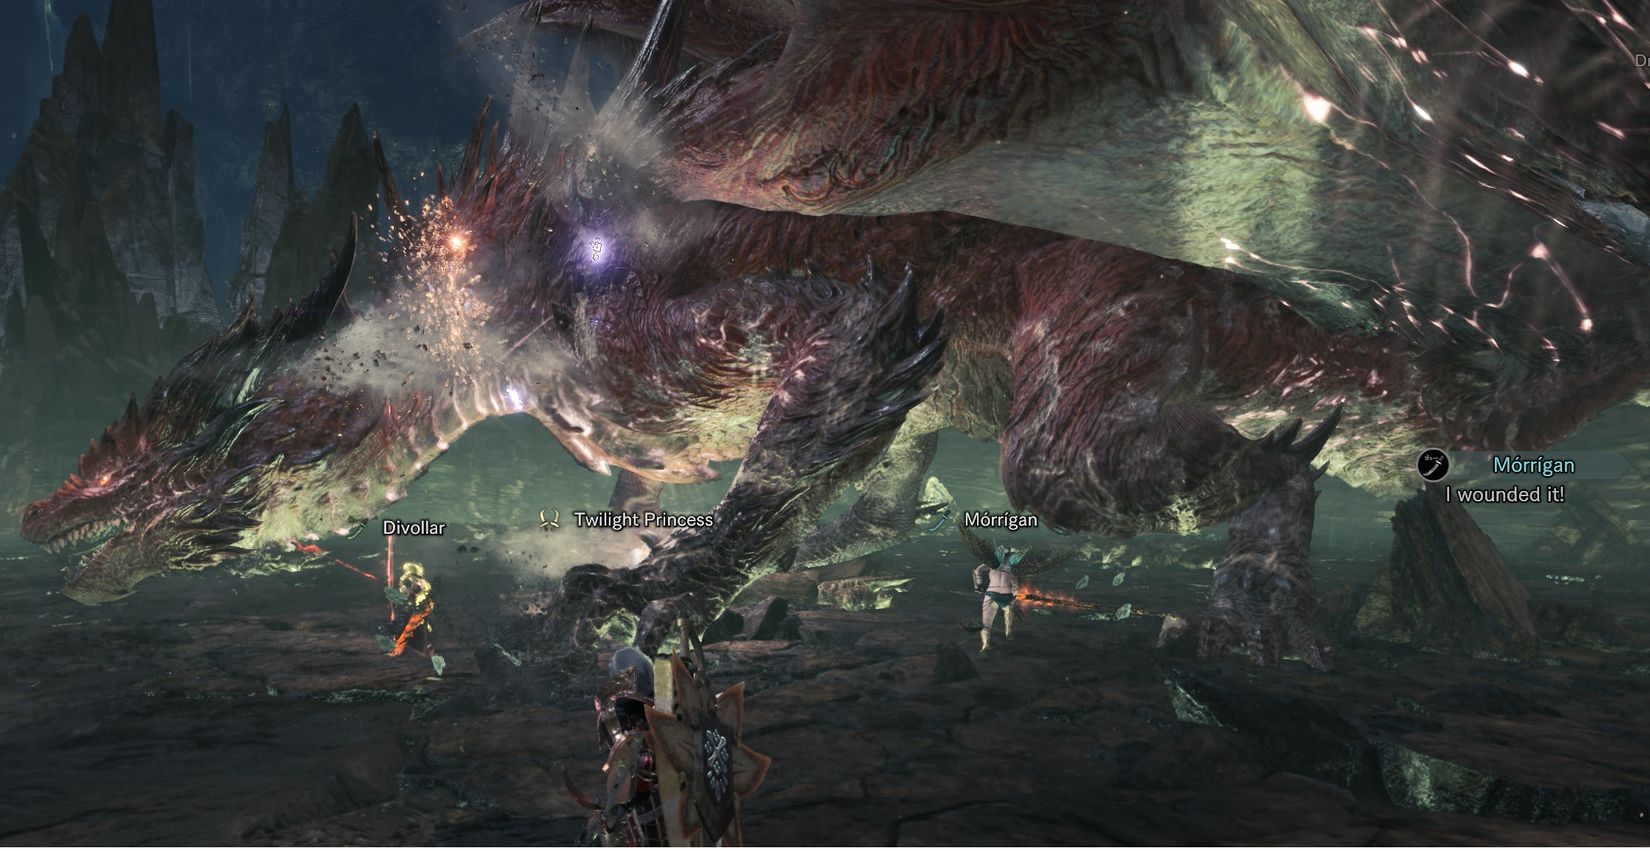
This is the last and probably the hardest stage. Safi’Jiva will enter critical state during this phase. She will start to glow and also will take much more damage (especially in the chest), however, some of there attacks will create explosions from the ground, so be careful.
As in 2nd stage she will use supernovas, but much more often, however, the crags which you use to hide will be wiped out, so you need either to wait until she uses beam which hits the ceiling and rocks fall to the ground, or have a farcaster ready. The beam will make rocks fall from the ceiling:
Another important mechanic is the gas puddles. You can use them to topple Safi’jiva to the ground. However, they do not count towards part breaking damage. It is best suggested that player with the drawn attention of Safi’Jiva should take her on the puddle and hit it to let it explode.
If everything goes well, you should be done with the quest. Congratulations!

General tips
Skills:
Partbreaker – breaking her parts is the idea of this fight, as this increases your rewards, so having this skill will allow you to break them much faster
Health Boost – all around good skill to have
Fire resistance – having 20 fire resistance will give you immunity to fireblight, saving some of the hp and consumables used
Fightning tips
Tenderize as much as possible – this provides additional damage and allows your attacks not to be deflected by white or lower sharpness
Concentrate on one part – if she absors energy from the area, the parts are restored, but broken ones stay broken. So this way you can avoid wasted time.
Do not attack Safi’Jiva parts that are already broken.
Part breaking
As this is the most important part of the fight here are the best weapons to use:
Head – go with a hammer, hunting horn (blunt weapons)
Chest – In critical state (phase three) any weapon works
Back – Insect glaive or Dual blades (also if mounted any other weapon when hitting back)
Legs – all the weapons that can cut: charge blade, greatsword, longsword, etc.
Tail – Greatsword, charge blade and switch axe, the same waepons as for all other monsters
Wings – as it is hard to reach them Light bowgun and heavy bowgun is the choice (bow can also work, but that is a bit harder)
Like, Dislike, comment, or share!
Discussion