
Best Solo Build - The Ultimate Merc - Cyberpunk 2077
Contents
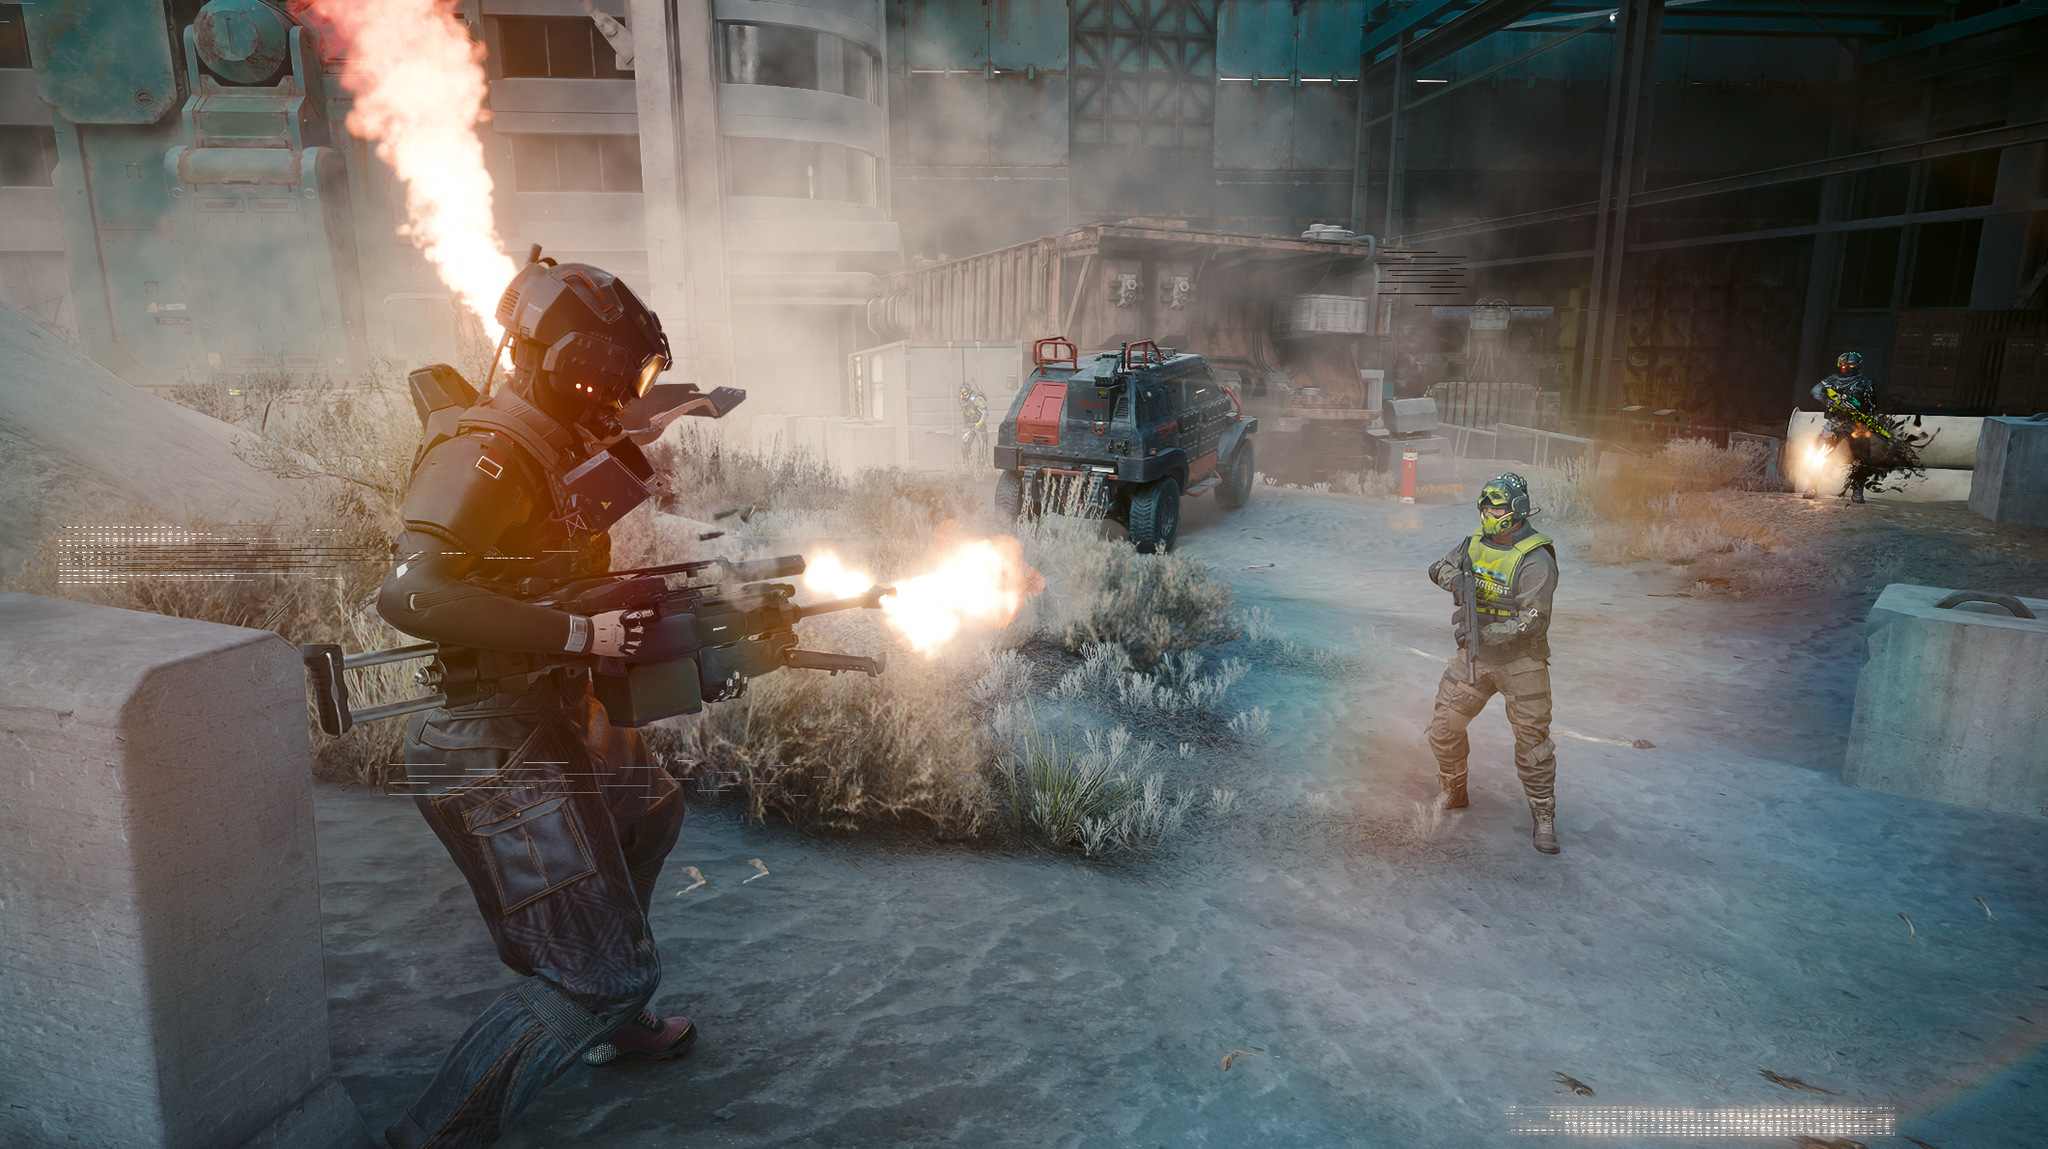
Best Solo Build - The Ultimate Merc
The build takes full control of the Body attribute perk tree. This makes it an effective all-rounder - that can use shotguns, light machine guns, gorilla arms, and even hammers with baseball bats. This Solo build fully stands by its words - doing everything solo.
My preferred option of playing this is mostly using Defender or any other Light Machine Gun, for a continuous stream of bullets. However, once the bullets are out, either use a quick melee for a strong finisher or activate Berserker.
With Berserker, the second level of Mayhem starts. You automatically equip Gorilla Arms or Blunt weapons, and start bashing enemies with ![]() Quake. The melee perks allow creating small quakes, sprinting while knocking out foes, or slinging enemy bodies, all while in total rage mode.
Quake. The melee perks allow creating small quakes, sprinting while knocking out foes, or slinging enemy bodies, all while in total rage mode.
To further enhance the body and be able to control light machine guns, we will take a lot of cyberware. This will allow us better to manage operating system effects, and weapon control, and provide needed defenses to survive.
So let's jump into the build.
Attributes
First, let's go through attributes, they will decide the direction of the build and give access to different tiers of perks. The higher tier gives better actions and passives to further support the build. Let's take a look at what we need for the Solo Build.
Starting Game
Here are the attributes we should be taking at the start of the game.
| Attribute | Allocation | Description |
|---|---|---|
| +3 | Will give us bonus HP early in the game, and is the main attribute of the build | |
| +3 | Gives a critical chance and will be used to obtain mobility perks. | |
| +1 | Unlocks the first tier of perks. |
End Game Attributes
Build ID: 34
Perks
Let's go through the perks of the Solo Build. We will go through about 60~ perk points, and the game awards about 80. So you will have points left to adjust the build to your needs.
Body Perks
The main attribute of the Solo build. It unlocks fist-related perks, health regeneration, and huge protection boosts against damage.
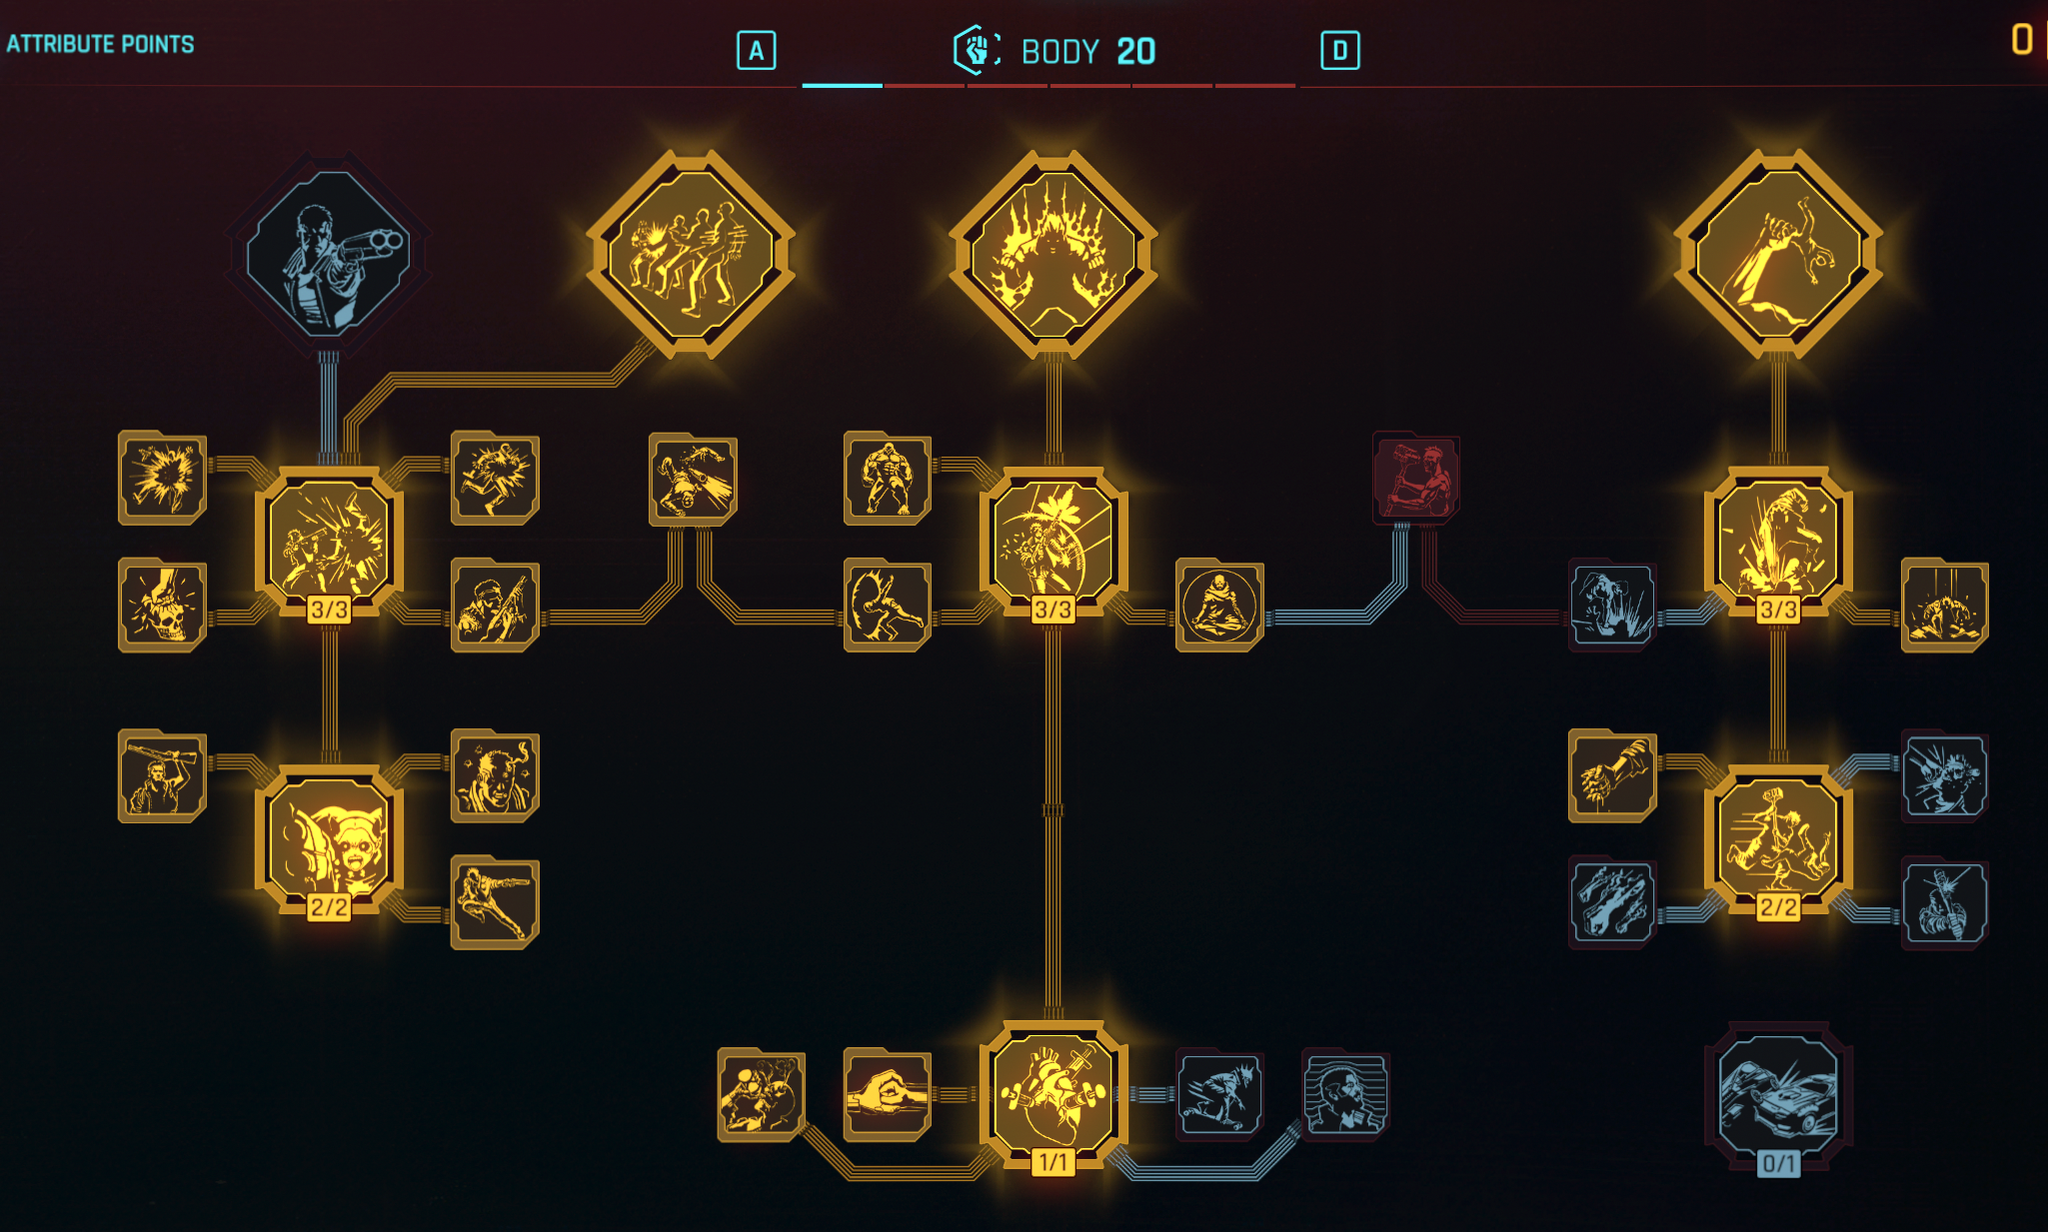
Level 4 Perks - HP regeneration
These perks will ensure that we have sufficient HP regeneration in various combat situations.
| Perk | Description |
|---|---|
| A very valuable perk that is recommended for any build. We also need it for the progression | |
| Blood Pump will be one of the main Cyberware that we use to drastically boost HP restoration | |
| Higher health regen, the closer to death you are? Count me in |
Level 9 Perks
| Perk | Description |
|---|---|
| The ability allows now to knock out targets while sprinting. This is great for mobility as it gives better control of the battlefield. | |
| Increases the damage after strong attacks. I always recommend running by holding the attack button, so that the strong attack is ready the moment you need it. | |
| No need to worry about low stamina as now more bullets will shower the targets | |
| Move without any hindrance using light machine guns and heavy shotguns. | |
| Gives some survivability boost when low on stamina. | |
| A quality of life improvement for better weapon handling when shooting. |
Level 15 Perks
The next set of Perks will give a huge survivability boost to the Solo build. Moreover, we get weapon perks, that will allow instantly finish the enemy off. I skip some blunt weapon perks, because mostly they will be used when Berserk is activated.
| Perk | Description |
|---|---|
| Awesome perk gives a second layer of HP when using healing items. This will give so-needed survivability if you plan on using |
|
| Delay before Adrenaline starts decaying, prolonging the second layer of HP. | |
| Encourages you to have Adrenaline activated most of the time, to get these sweet combat bonuses. | |
| Makes you immune to some knockout effects. | |
| A violent hit that knocks down everyone around the area. It can be initiated from the air. It gets even better with some additional perks. | |
| Now quake will do even more damage the higher you jump from. So be sure to do a double jump before initiating it. |
Level 20 Perks
| Perk | Description |
|---|---|
| Together with |
|
| Very cool finisher that can either restore health or allow you to throw enemies at the next target. This deals decent damage but most importantly it is fun | |
| Can make LMGs have almost infinite ammo as long as you kill foes. Of course, against bosses and elites, it may take a whole magazine to remove them. | |
| The perk is only needed if you plan on using Shotguns. Otherwise, skip it. |
Reflexes Perks
These perks will give a mobility boost.
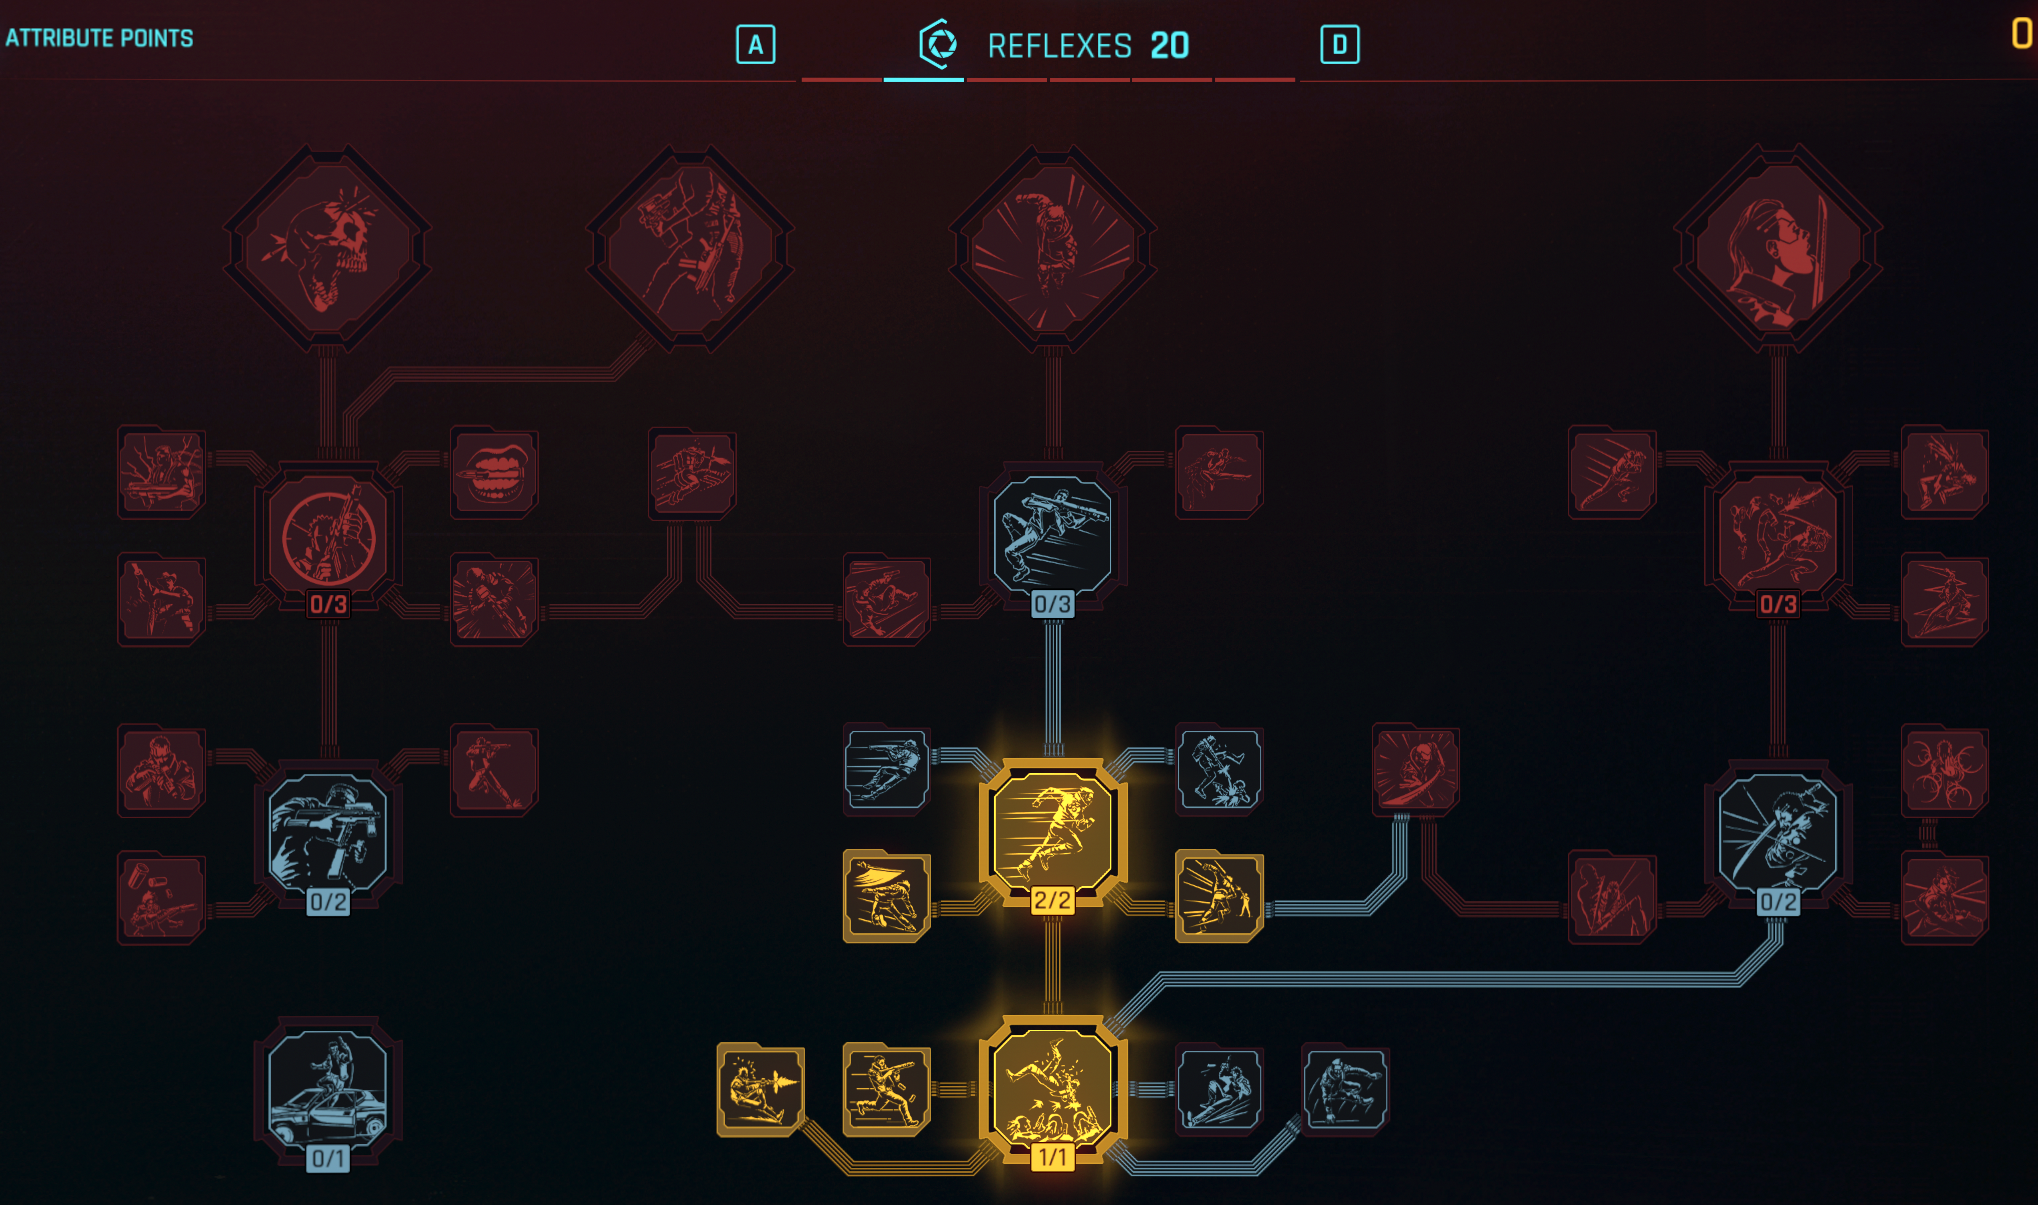
Level 4 Perks
| Perk | Description |
|---|---|
| A quality of life improvement, giving some alternatives for combat when sprinting. | |
| Base perk, that we will need to progress to other levels. Moreover, it gives some survivability and encourages constant movement. | |
| Makes ranged combat much easier as you sustain your mobility while reloading |
Level 9 Perks
Finally, we will be able to get the first mobility perk. It is useful both for exploration and combat
| Perk | Description |
|---|---|
| Another new perk that gives a short dash to avoid or get close to the enemies. | |
| Doubles the distance if dashing directly to an enemy. perfect when you activate Berserk and use Gorilla Arms. | |
| A 100% mitigation chance while Dashing is valuable. This will give you a higher chance of survival under heavy fire. |
Technical Ability Perks
The perks in this tree play an important role in general survivability, item usage, and cyberware. Overall, you will want to heavily invest in this tree throughout the mid and late game.
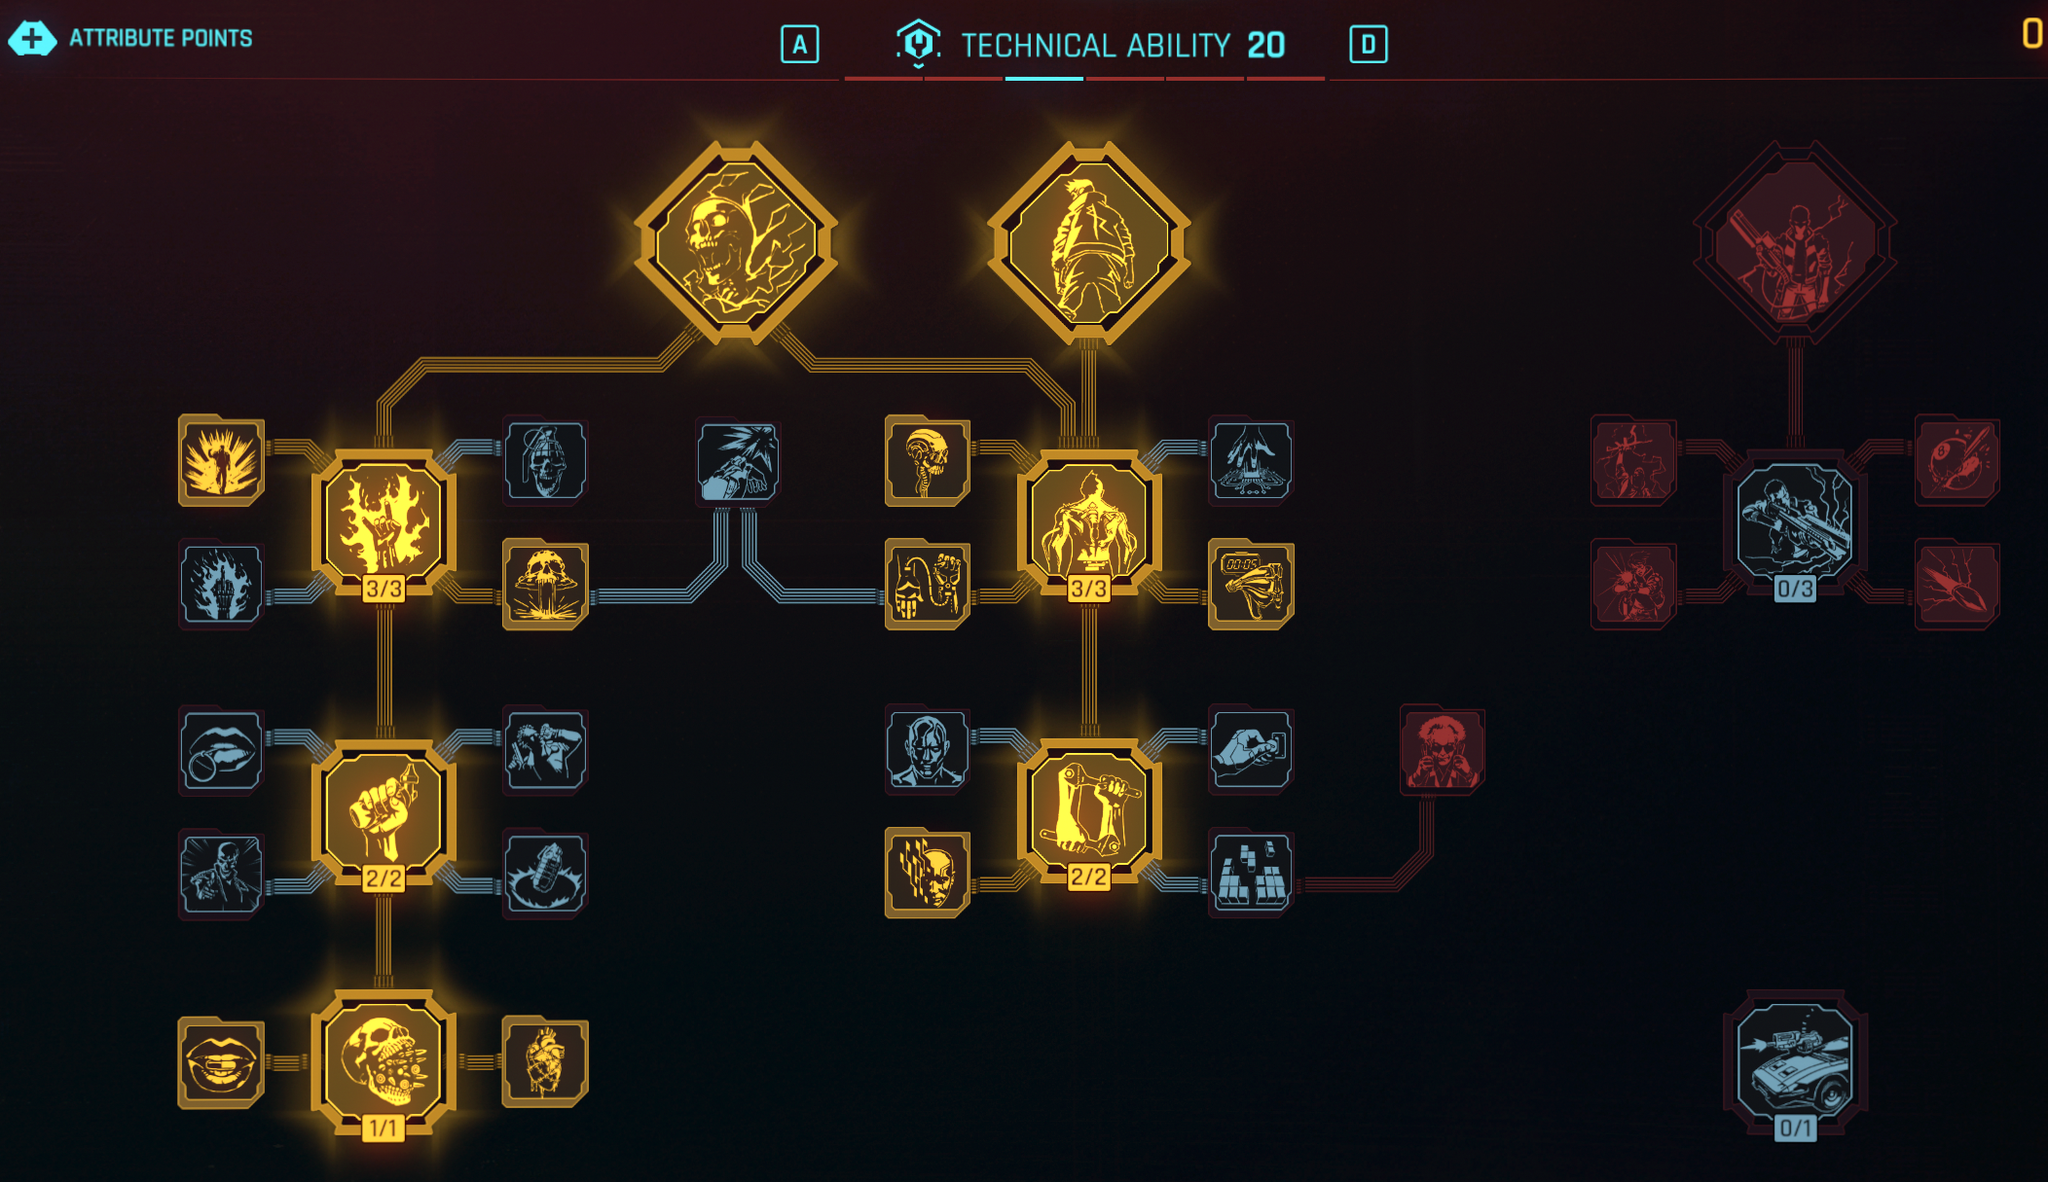
Level 4 Perks
| Perk | Description |
|---|---|
| You will be taking out a lot of enemies, so why not faster healing item recharge? | |
| Faster healing item recharge speed. | |
| If you use the last charge, you are close to being overwhelmed or dead. So a 30% boost is awesome. |
Level 9 Perks
| Perk | Description |
|---|---|
| You now have 3 health recharge items, making combat a bit easier. | |
| Mandatory perk as we will need as much Cyberware as we can. Reduces its costs | |
| Gives some additional cyberware capacity. Feel free to switch it to |
Level 15 Perks
| Perk | Description |
|---|---|
| Improves Skeleton cyberware and unlocks a new slot for even more chrome | |
| The increased duration is useful for Revulsor, Berserk, and some other cyberware. | |
| Gives an additional slot for hands cyberware, that you can use to increase accuracy or get unique effects. | |
| I think this perk is extremely important when using Berserk. The problem is that it starts its cooldown reset once you finish its activation, making it take a long time till you can reuse it. This perk is one of the ways to minimize that period. | |
| We will be able to fully utilize this perk with Shock-n-Awe cyberware because shockwaves count as explosions. | |
| As you will constantly release electroshocks, this will give some defenses against it. | |
| With constant shock explosions, each |
Level 20 Perks
| Perk | Description |
|---|---|
| I think this perk could be optional. It is amazing as it gives 50 Cyberware capacity allowing to put in at least one additional iconic cyberware. Moreover, you have a chance to enter Fury State for a huge damage boost. However, this reduces your health, increasing your chances of dying. | |
| Aamzin perk, that not only releases EMP but also gives a brief period of damage reduction. |
Perks - Relic
With the introduction of Phantom Liberty, you will be able to obtain new perks that give unique capabilities. Here is what I recommend for the Solo Build:
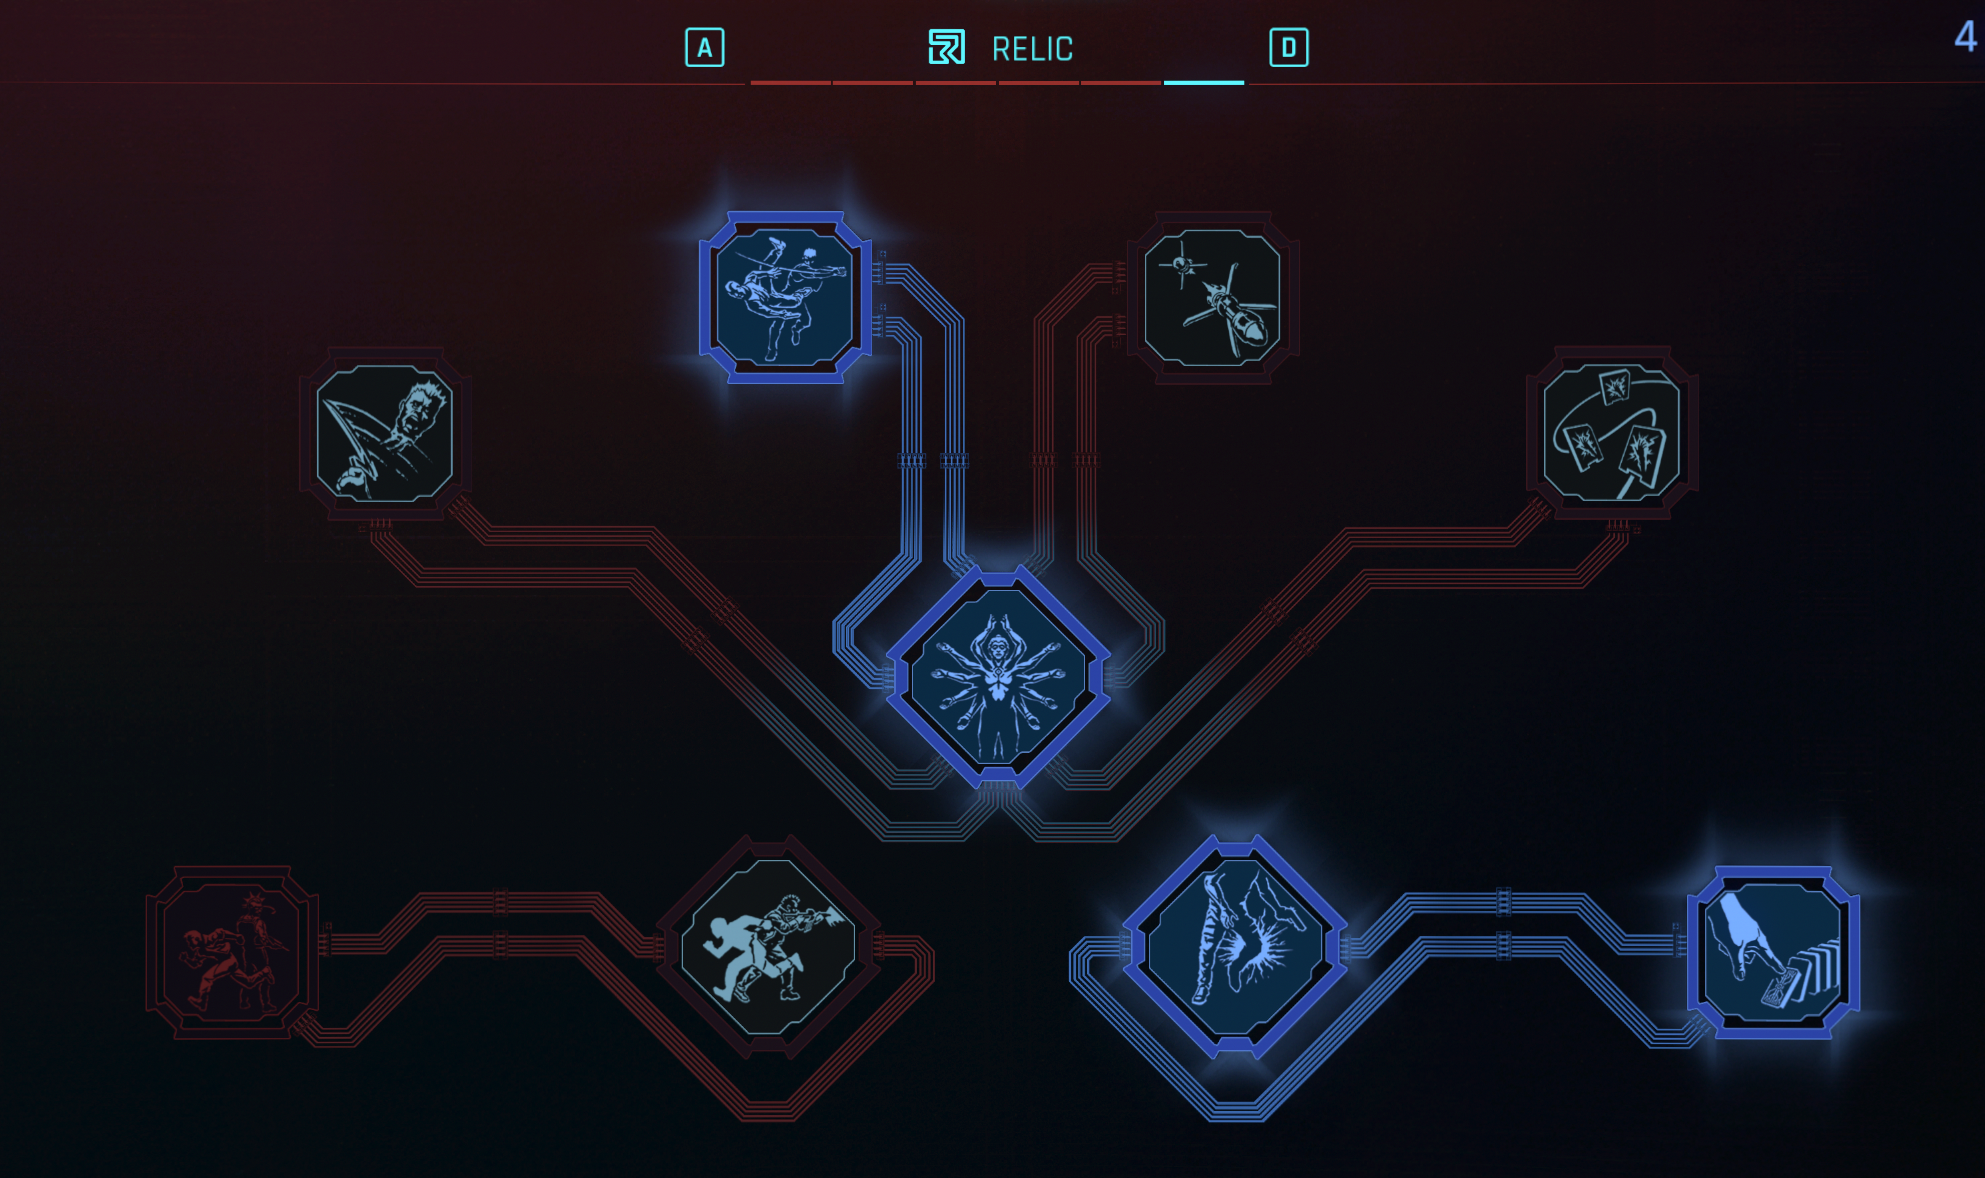
| Priority | Perk | Description |
|---|---|---|
| 1 | Unlocks unique effects for Arms cyberware. Gorilla Arms unlocks a powerful hit that activates after killing an enemy. Use a strong attack after that to activate it. | |
| 2 | The charged attack now knocks back nearby enemies. | |
| 3 | Shows enemy weak spots, which when hit, create an electricity explosion. It is especially useful against robots and stronger enemies. | |
| 4 | Improves |
Combat and Tips
Here I would like to share some suggestions on how to utilize the Solo build to the maximum.
Dash with Strong Attack for melee
Once you enter Berserk, you will automatically equip a melee weapon. When going straight for enemies I recommend already holding the attack button. This will charge up the Strong attack that you can instantly release when close to the target.
This way you do not waste any time, and do the maximum amount of damage most efficiently. Of course, you can also use ![]() Wrecking Ball that knocks down enemies allowing you to pummel targets lying on the floor.
Wrecking Ball that knocks down enemies allowing you to pummel targets lying on the floor.
Using Berserk
The cornerstone of this build is Berserk. It will allow you to go into ultimate mode where you are invincible and deal increased damage. The main drawback (or a blessing?) is that you have to use melee attacks for that. I think this gives an excellent change of pace from constant bullet spraying.
So my favorite approach with this build is to enter combat with Gorilla Arms + Berserk. After it ends you have some foes cleared already. Equip the Light Machine Gun and start the rest of the cleanup. Be sure to first take out Elite enemies with Gorilla Arms as LMG might not be effective against them. You want to avoid any reloading with this weapon.
LMG or Shotgun
The build can use both of these weapons, and it's your personal preference. I like LMGs more here as it is a better option in the medium range. Shotguns (not all of them) are best at close range, and you already have a weapon for that. However, you can take something like a Headsman that is perfect for medium-range headshots.
Use Kerenzikov for a survivability boost
Once you obtain Kerenzikov and Defenzikov, this will unlock a special mechanic after its effect ends - a 90% mitigation chance for 4 seconds. This more or less reduces all of the damage you receive by at least 50% (with base mitigation strength).
It is a huge survivability boost, allowing it to be a total bullet sponge during combat, this also encourages you to be agile in combat and not just to stand still.
Equipment
The build goes into Body-related weapons - shotguns, light machine guns, and heavy machine guns. Moreover, from level 10 you can equip the first Gorilla Arms. Also, you can go for blunt weapons like baseball bats and hammers.
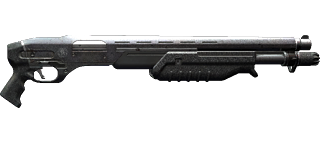
Shotguns
| Item | Description |
|---|---|
 Guts Guts |
The iconic weapon from Edgerunners anime is used by Rebecca. It has crazy recoil but deals tons of damage, and has a decent clip size. |
 Dezerter Dezerter |
Even more powerful than Guts, but reloads every shot. Moreover, will activate |
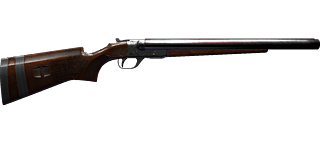
 The Headsman The Headsman |
The most precise shotgun? Has a 200% headshot multiplier, is very accurate, and has low recoil. Perfect for sniping those mid-range targets. |
 Redbone Redbone |
Perfect shotgun to go all in with the "Speed Demon" theme. Utilize sprinting, and dashing for bonus damage. |
 Sovereign Sovereign |
Extremely fun shotgun to use that deals the most damage at very close range. Torso shots will also increase reload and movement speed. Synergizes well with Microgenerator due to constant reloading. |
Light Machine Guns
There is another option for a machine gun, but it has a lower ammo capacity and I found it not to be that effective for longer encounters.
| Item | Description |
|---|---|
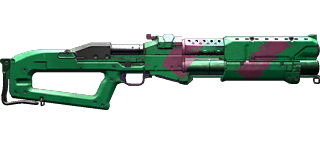
 Wild Dog Wild Dog |
Iconic version that has increased fire rate for repeated firing and critical chance. Takes Solo build combat to the next level |
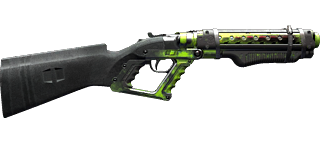
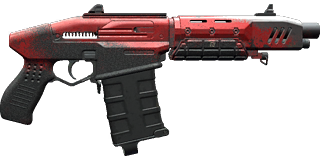
 Defender Defender |
The base light machine gun. It comes with modification slots that allow for improving the weapon. |
Blunt Weapons
One thing that you may note is that I do not recommend Baseball Bats. I find they do not fit the build's idea. If you are a cool guy who stands alone against enemy bullets, using something big and intimidating fits the theme better. That is just my preference, feel free to adjust based on your playstyle.
| Item | Description |
|---|---|
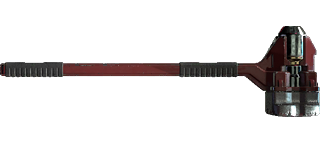 Sasquatch's Hammer Sasquatch's Hammer |
A slow weapon but deals large amounts of damage and can easily knock out foes. |
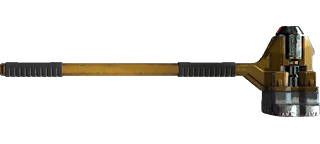 Hammer Hammer |
A base hammer, that comes with modification slots. Try to drop the highest rarity for your level. |
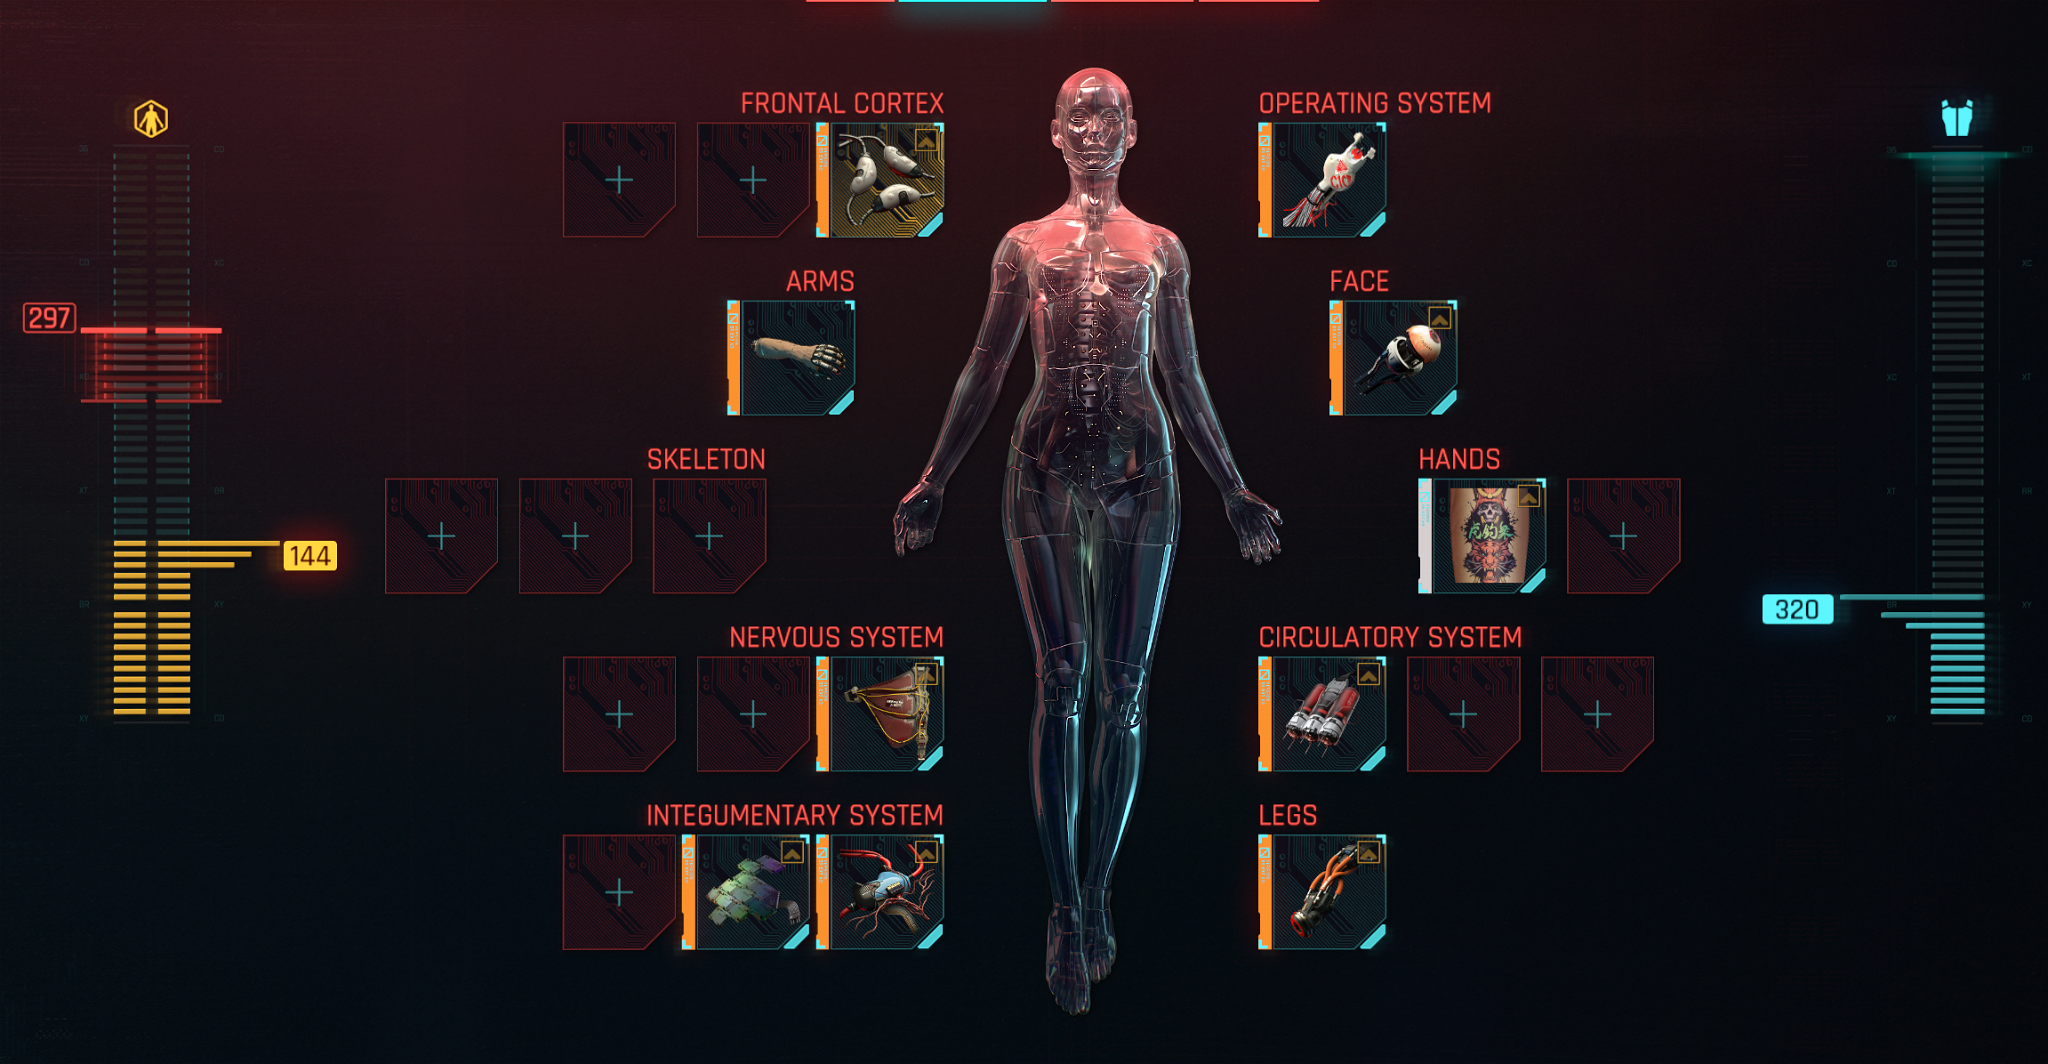
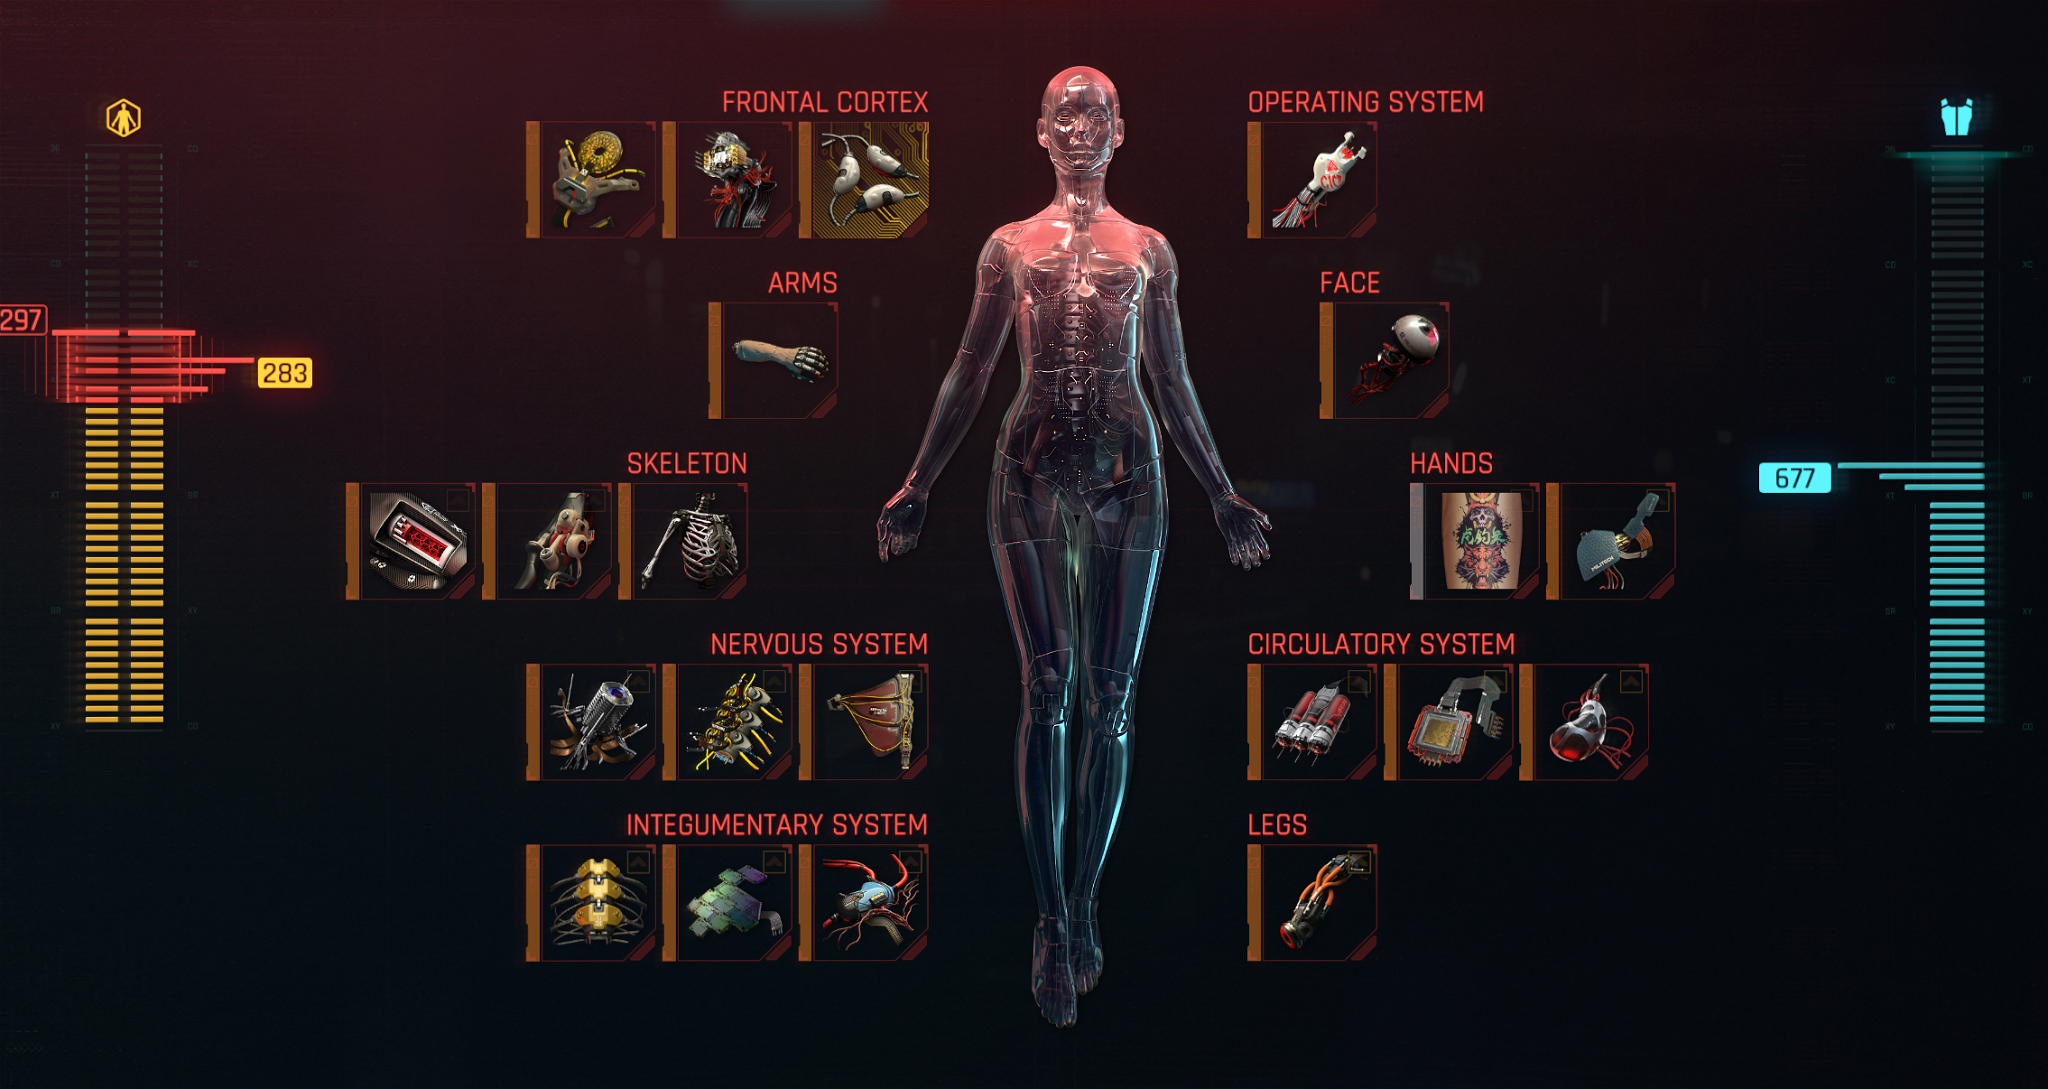
Cyberware
Cyberware is a unique mechanic that allows us to fill the build with implants. Early games can be quite difficult as you will have limited capacity. However, as you progress and drop more Capacity Shards, you will be able to equip more. I will be covering here what is your goal for the end game, to make the build as powerful as possible
First Priority Cyberware
This is what is essential to make the build work. I would even recommend dropping everything else to equip these if cyberware capacity doesn't allow it. These cyberware selections make the core of the build.
| Slot | Cyberware | Description |
|---|---|---|
| Frontal Cortex 1 |  Axolotl Axolotl |
I recommend this cyberware above anything else. It is crazy powerful for the build and is mandatory. Each kill reduces the cooldown of Berserk by at least 10%. However, it takes a lot of cyberware capacity, so you can switch it with Newton Module as a cheaper alternative. |
 Newton Module Newton Module |
Gives a cyberware cooldown reduction after taking out an enemy. It is not much, however, with multiple kills, the effect adds up. | |
| Nervous System 1 | Gives a higher mitigation chance which makes it harder for enemies to detect you and increases your survivability. | |
| Integumentary System 1 |  Shock-n-Awe Shock-n-Awe |
Mandatory cyberware for this build. As we will constantly be under fire and close to enemies, the electric explosions will do half of your work. Moreover, they work with |
| Integumentary System 2 |  Chitin Chitin |
A very costly option but gives plenty of armor boost and health regeneration rate. |
 Countershell Countershell |
Very cheap and effective cyberware that can boost mitigation chance by 50%. | |
 Subdermal Armor Subdermal Armor |
Provides flat armor increase. Has a low cyberware capacity cost. | |
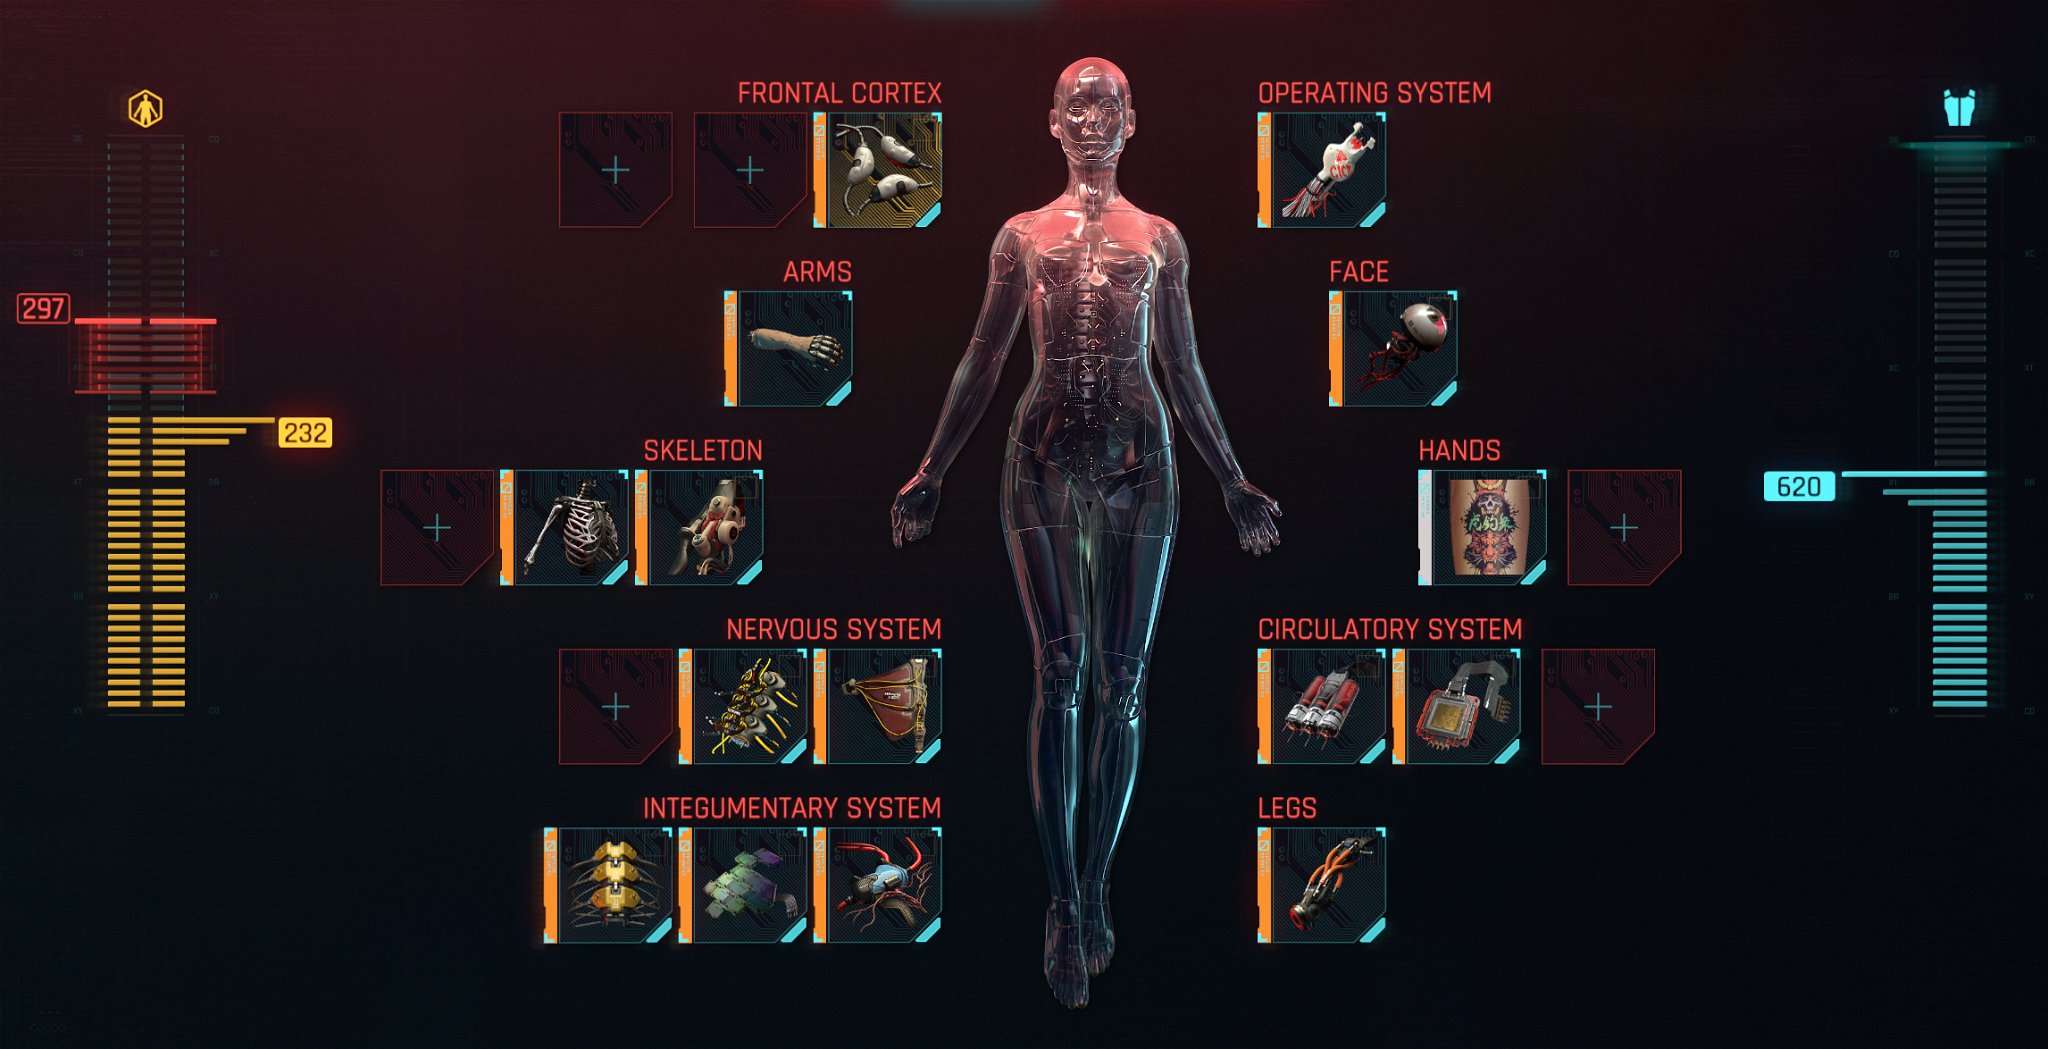
| Operating System 1 |  Biodyne Berserk Biodyne Berserk |
My preferred option for Berserk. Although it has a longer cooldown, the damage boost is very high needing only a few hits to take out an enemy - a total MaxTac killer. |
 Militech Berserk Militech Berserk |
The iconic Berserk operating system. Try to activate it with the lowest HP possible, this way you will get the highest boost to damage. This is the problem for me as it is a risky approach. | |
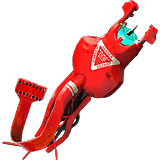
| Hands 1 | 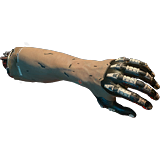 Gorilla Arms Gorilla Arms |
The main cyberware to enable this build. You can pick any element you want, but I prefer the simple ones as they give the highest damage. |
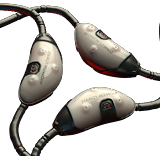
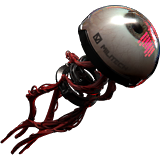
| Circulatory System 1 | 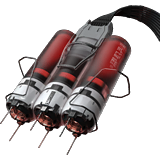 Blood Pump Blood Pump |
The most powerful healing item in the game, together with Biomonitor it makes a deadly pair for Solo Build. |
| Legs | 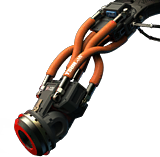 Reinforced Tendons Reinforced Tendons |
My personal favorite makes traversing much easier. |
| Gives the highest jumps and high boost to armor compared to cyberware capacity cost. But you need to hold the jump button. |
Second Priority Cyberware
| Slot | Cyberware | Description |
|---|---|---|
| Face 1 | 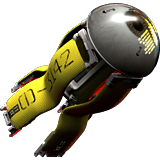 Kiroshi "Cockatrice" Optics Kiroshi "Cockatrice" Optics |
Gives a huge boost to critical chance especially if you can afford the cyberware capacity cost. |
 Kiroshi "Doomsayer" Optics Kiroshi "Doomsayer" Optics |
A more relevant eye cyberware that gives a higher critical chance based on reflexes | |
 Basic Kiroshi Optics Basic Kiroshi Optics |
Simple eye cyberware, that I think does the job for this build. | |
| Skeleton 1 |  Spring Joints Spring Joints |
Improves mitigation strength, complementing Defenzikov, Countershell, and Neofiber. |
| Skeleton 2 |  Epimorphic Skeleton Epimorphic Skeleton |
Gives a huge armor and health boost, greatly improving survivability. |
| Nervous System 2 |  Kerenzikov Kerenzikov |
This is very important cyberware in my opinion. You can activate it by dashing while aiming. The best part happens when we get Defenzikov, as after the time-slow you are rewarded for 4 seconds with a 90% mitigation chance. |
| Integumentary System 3 |  Defenzikov Defenzikov |
Enables a 90% mitigation chance after Kerenzikov ends. Greatly improving the survivability of the build. |
| Circulatory System 2 |  Biomonitor Biomonitor |
Automatically heals, makes the combat somewhat easier, as you do not have to worry how long it takes to use a healing item. |
Final Cyberware setup
The final setup is very important. We want the ![]() Cyborg perk to be activated as it will greatly reduce all cyberware cooldowns, and you definitely want berserk to be as low as possible.
Cyborg perk to be activated as it will greatly reduce all cyberware cooldowns, and you definitely want berserk to be as low as possible.
| Slot | Cyberware | Description |
|---|---|---|
| Frontal Cortex 2 |  Kerenzikov Boost System Kerenzikov Boost System |
A further enchantcement to Kerenzikov as you shoot with LMG or Shotguns. |
| Frontal Cortex 3 |  Mechatronic Core Mechatronic Core |
Only taking it as it has the lowest cost to activate |
| Skeleton 3 |  Dense Marrow Dense Marrow |
Gives a huge boost to gorilla arms damage at the cost of stamina. The good thing is that stamina is unlimited while in Berserk. |
| Nervous System 3 |  Adreno-Trigger Adreno-Trigger |
Iconic cyberware that boosts movement speed for a whole 30 seconds. |
 Adrenaline Converter Adrenaline Converter |
Gives a decent movement speed increase when entering combat. Moreover, has low cyberware costs, before you can afford the above one. | |
| Hands 1 |  Tyger Claws Dermal Imprint Tyger Claws Dermal Imprint |
Mainly take this to fill a slot at 0 cyberware capacity cost, you can also equip any other tattoos. |
| Hands 2 |  Immovable Force Immovable Force |
Iconic cyberware that will greatly improve weapon handling. Comes with a steep cost |
 Shock Absorber Shock Absorber |
Reduces recoil, making weapon handling easier. | |
| Circulatory System 3 |  Clutch Padding Clutch Padding |
Reduces stamina usage for ranged weapons. |
Conclusion
Thank you for reading this post on the best Solo build in Cyberpunk 2077. Taking enemies head-on without a glimpse of fear requires courage. This is what this build allows as you shower enemies with bullet rain. Once things are in place, activate Berserk for ultimate carnage with Gorilla Arms.
I hope you will enjoy the build!
Like, Dislike, comment, or share!
Join the Discussion
0 commentsNo comments yet.
Be the first one to leave a comment!