
Gauntlet of Shar and Shadowfell Full Guide - Baldur's Gate 3 (BG3)
Contents
In this guide, I will show you how to gain access to the ![]() Gauntlet of Shar, where to find and how to obtain all unique items, and how to enter Shadowfell.
Gauntlet of Shar, where to find and how to obtain all unique items, and how to enter Shadowfell.
Finding Grand Mausoleum and Gauntlet of Shar
This is a major area in Act 2, that you will reach as part of Find Ketheric Throrm's Relic quest.
Once inside, you can find the ![]() Vivacious Cloak inside the Traveller's chest in a room on the right side. To progress into the Gauntlet of Shar, in the northern room you have to solve a puzzle. You have to press the buttons below the paintings in this order:
Vivacious Cloak inside the Traveller's chest in a room on the right side. To progress into the Gauntlet of Shar, in the northern room you have to solve a puzzle. You have to press the buttons below the paintings in this order:
- Moonrise Towers.
- Grief.
- General.

Passing the Gauntlet of Shar
After that, you will enter the Gauntlet of Shar, where the goal is to collect 4 Umbral Gems, allowing you to enter Shadowfell later on.
Passing the stone door
Entering the Gauntlet of Shar, you will reach the entrance hall with an Umbral Gem in the middle and a locked stone door to the north. To open the door:
- The party has to extinguish all 8 Mystic Thuribles and then interact with the gem. You will either have to use the levers to lower them, or you can use spells like
 Ice Knife to extinguish them.
 - You can use
 Misty Step or
  Dimension Door to pass the invisible force field.
 - The party can turn west and gain access through the
 Cave.
Cave.

In the following room, you can find the ![]() Least Expected inside a Gilded Chest.
Least Expected inside a Gilded Chest.
Yurgir
The first ![]() Umbral Gem can be obtained in the eastern part of the Gauntlet. Be careful, as this will lead to an encounter with
Umbral Gem can be obtained in the eastern part of the Gauntlet. Be careful, as this will lead to an encounter with ![]() Yurgir, which can end in a fight.
Yurgir, which can end in a fight.
You can either fight ![]() Yurgir or help him and kill the last hidden Dark Justiciar:
Yurgir or help him and kill the last hidden Dark Justiciar:
- Go to the base of the giant Shar statue and read One Becomes Many.
- Start killing rats until they start running towards the Shar statue.
- Follow them there, and an encounter will begin.
- After dealing with it, don't forget to loot
 Justiciar's Scimitar and
  Justiciar's Greatshield.
 - Return and talk to Yurgir.
Choosing to help Yurgir:
- Might lead to Astarion leaving the party.
- Will not be able to loot the
 Hellfire Hand Crossbow from Yurgir
After dealing with ![]() Yurgir, you can loot
Yurgir, you can loot ![]() Dark Justiciar Gauntlets (next to a campfire),
Dark Justiciar Gauntlets (next to a campfire), ![]() Boots of Brilliance, and, if you defeated
Boots of Brilliance, and, if you defeated ![]() Yurgir, the
Yurgir, the ![]() Hellfire Hand Crossbow.
Hellfire Hand Crossbow.
Once you have explored most of the Gauntlet, you are ready to enter the Trial area, which is just above the "Gauntlet of Shar" waypoint. Although it is presented as very important, I would not be in a hurry to do that. There are various rooms to explore and learn more about the situation - Balthazaar, Yurgir, etc.
If you wish to get the ![]() Circle of Bones you can go and defeat
Circle of Bones you can go and defeat ![]() Balthazaar either now or in Shadowfell.
Balthazaar either now or in Shadowfell.
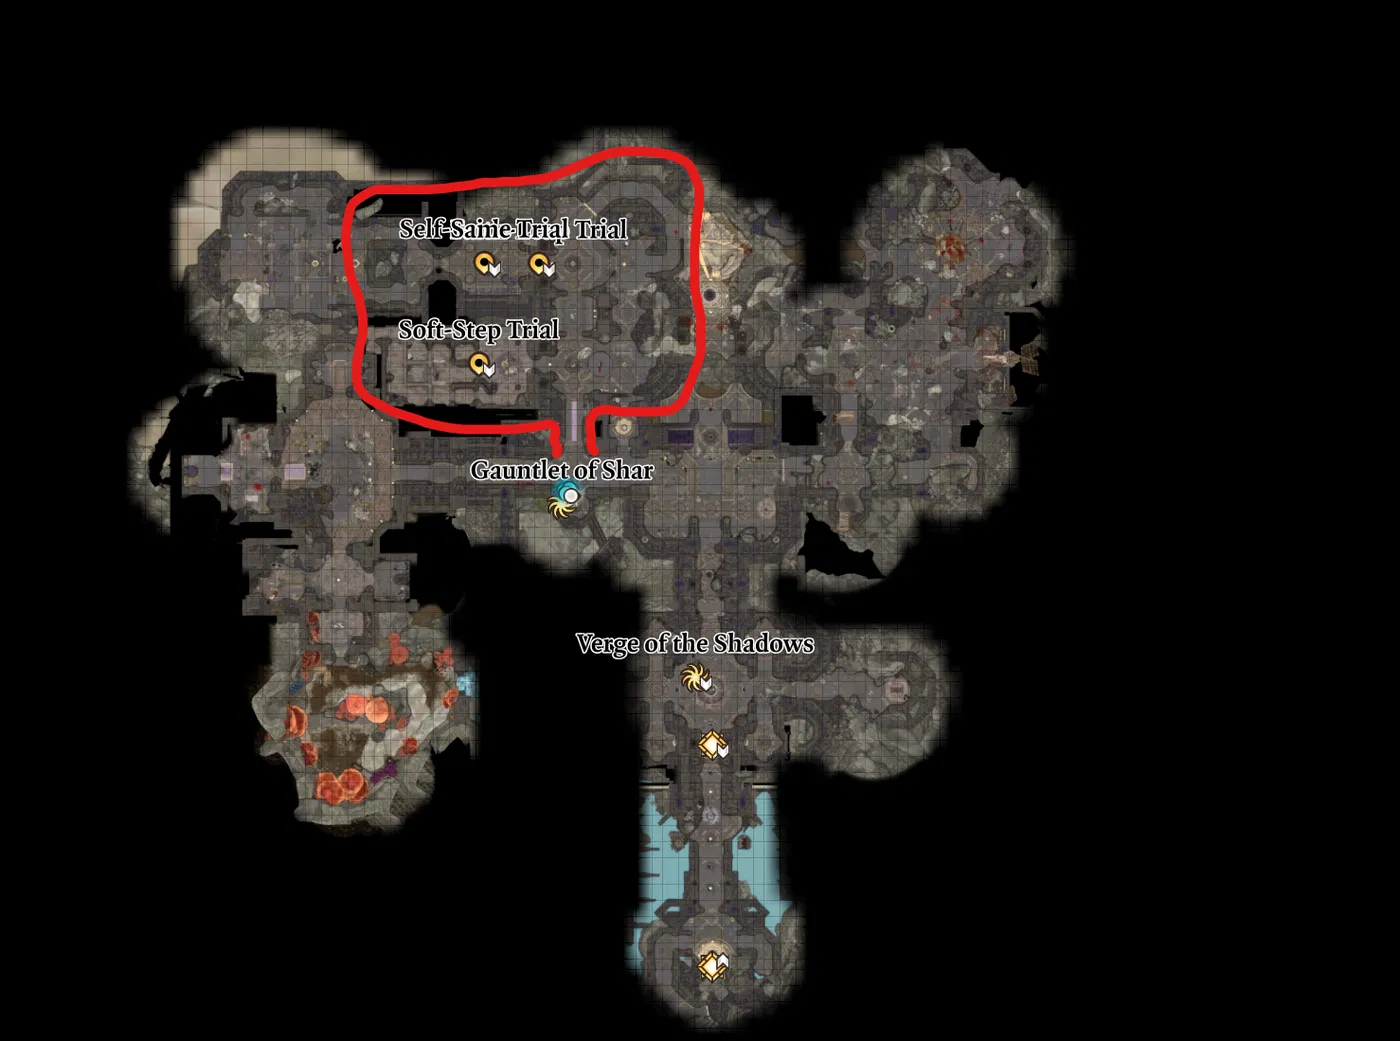
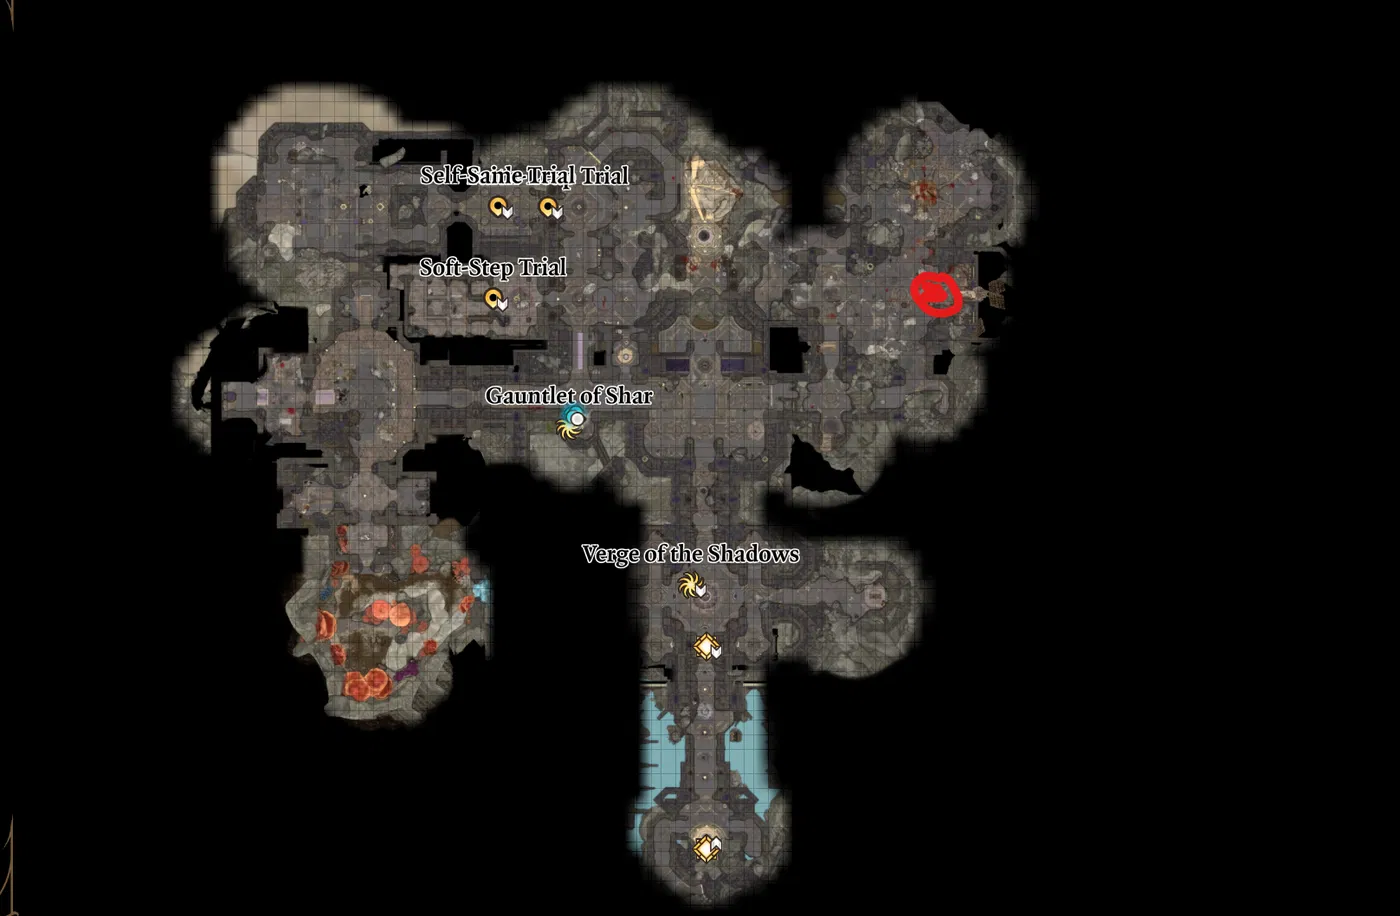
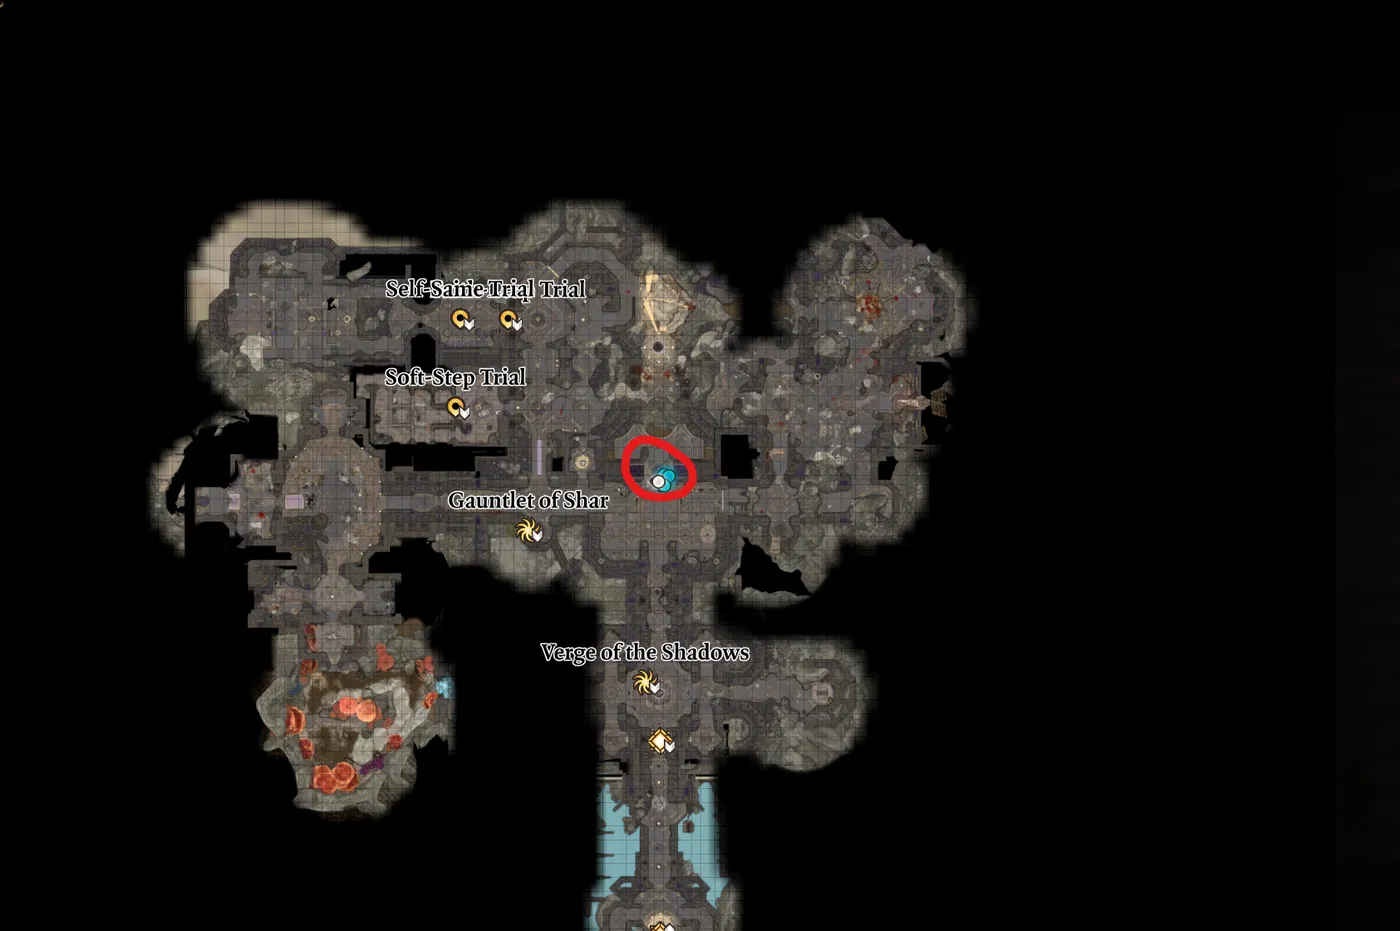
Once you have searched everything, you can start and enter the trial area:
There are 3 trials here, and a fourth area that provides Spear of the Night and some other good items.
Soft-Step Trial
This one is pretty simple. I generally just drink ![]() Potion of Invisibility or use an
Potion of Invisibility or use an ![]() Invisibility and run through the area. Although there are traps, they don't pose a major problem.
Invisibility and run through the area. Although there are traps, they don't pose a major problem.
Once you reach the gate, it should be easy to unlock even if you don't have Sleight of Hand proficiency. It is also possible to teleport with Misty Step. At the end, you will find the ![]() Umbral Gem.
Umbral Gem.
Self-Same Trial
This can be a more challenging trial. Overall, I enter stealth with all my companions and reach the back ranks. Then, it's pretty easy to land killing blows and even start with a ![]() Surprised round.
Surprised round.
The goal is to kill your own copy with the same character. If you start attacking another this will incur a curse, which will reduce Ability Score by 1. So if Astarion attacks Shadowheart's shadow, he will incur a penalty for each hit. Of course, the curse can be removed with ![]() Remove Curse or just long resting.
Remove Curse or just long resting.
The ![]() Umbral Gem will be on one of the mirrored party members.
Umbral Gem will be on one of the mirrored party members.
After defeating all the copies, ![]() Killer's Sweetheart will drop to the ground.
Killer's Sweetheart will drop to the ground.
Faith-Step Trial
This is the most irritating trial in my opinion. However, there is an easy way to do that:
- Go to the lower part of the platform, just at the edge, where you should start the trial
- Drink a
 Potion of Glorious Vaulting or activate
  Enhance Leap.
 - Jump from one platform to another
- Pick the Umbral Gem and teleport back
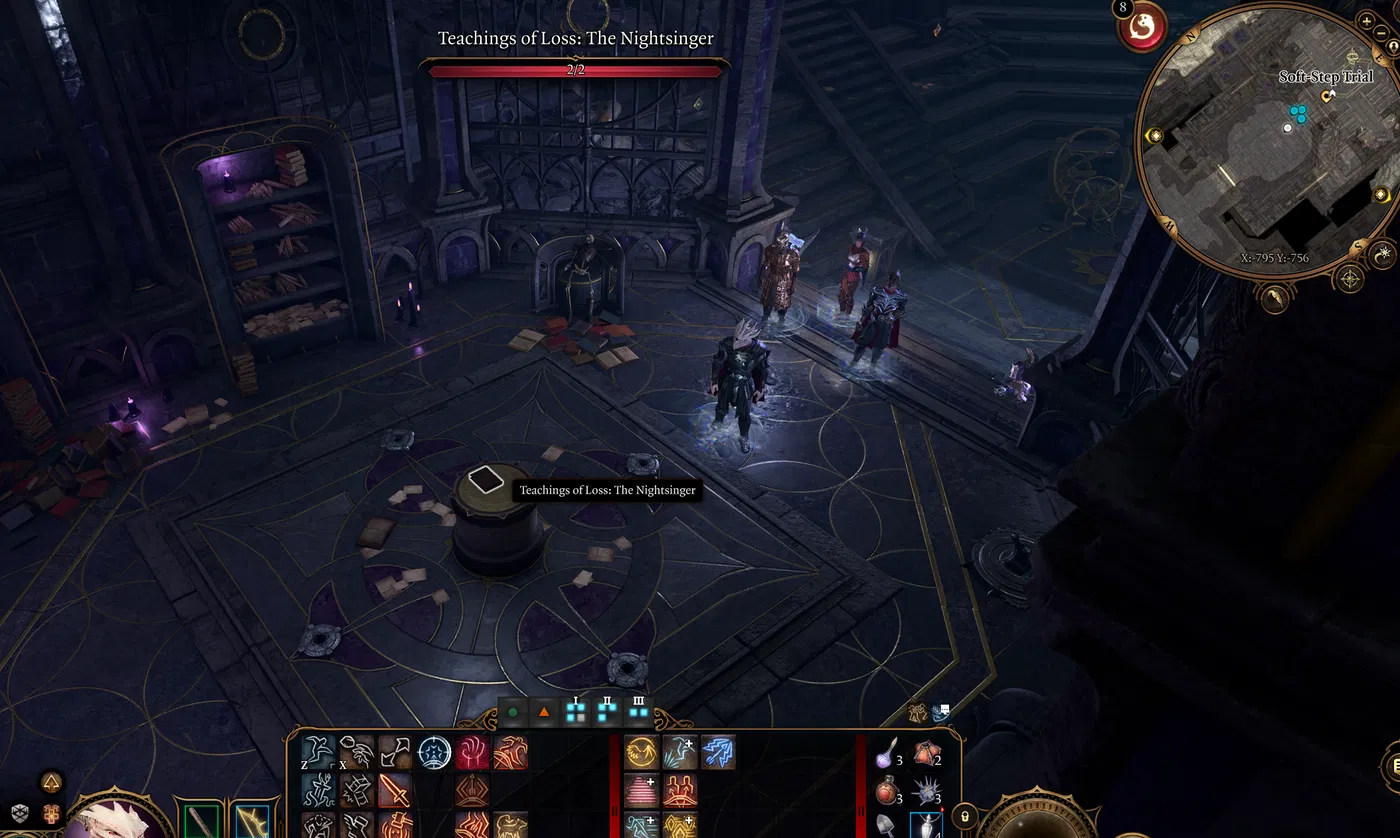
The Silent Library
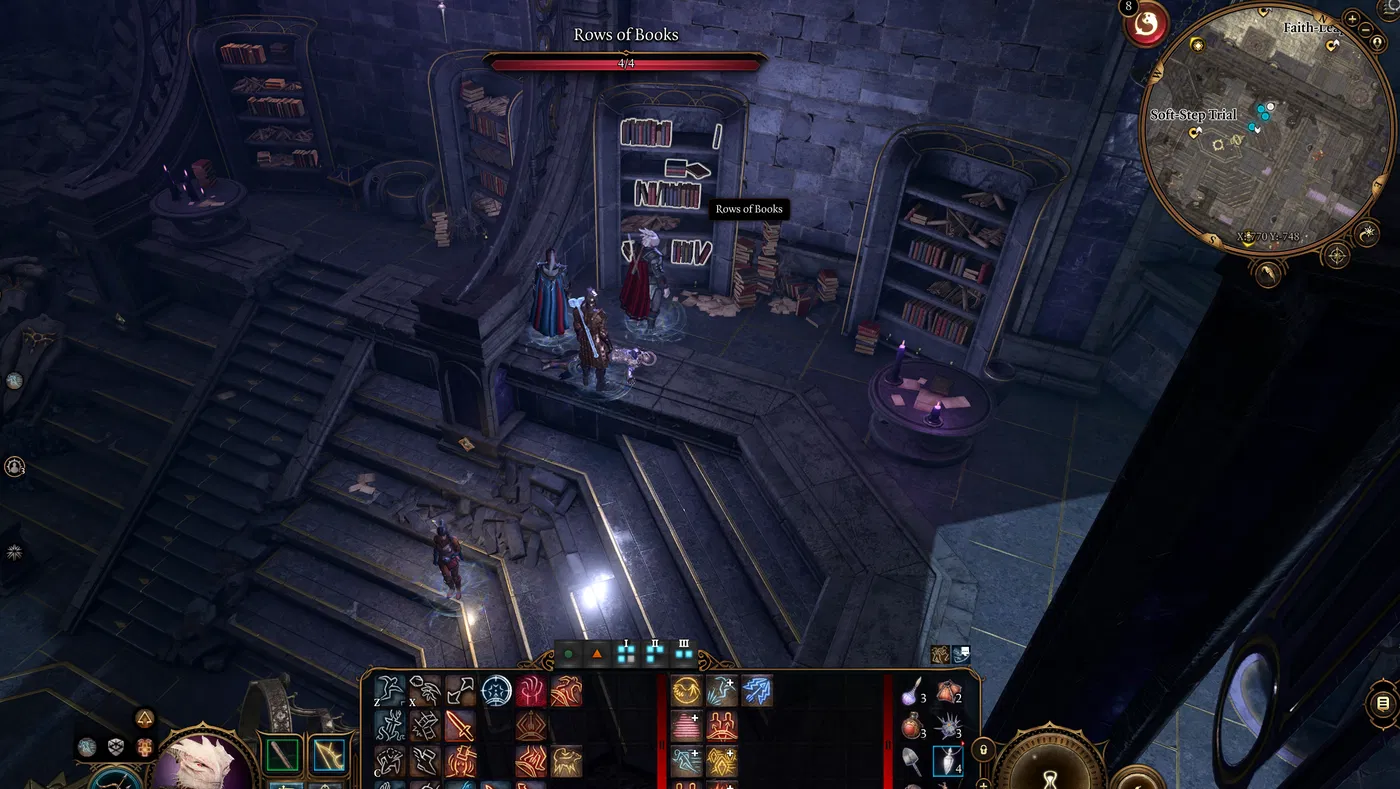
This one requires you to find a specific book. Overall, I do recommend taking out enemies as this will give some XP. Overall, you want to destroy the orb in the center of the area, to deactivate the silence field. After that, enemies should be easy pickings.
You will need to find a specific book which can be located on the right side, the second bookshelf - ![]() Teachings of Loss: The Nightsinger.
Teachings of Loss: The Nightsinger.
Now, with the book in hand, you can enter the area behind bars, by clicking a button and put it on the pedestal:
A door will open in front of you, where you will be able to pick up the ![]() Spear of Night,
Spear of Night, ![]() Dark Justiciar Helmet, and the
Dark Justiciar Helmet, and the ![]() Dark Justiciar Half-Plate.
Dark Justiciar Half-Plate.
Preparing to enter Shadowfell
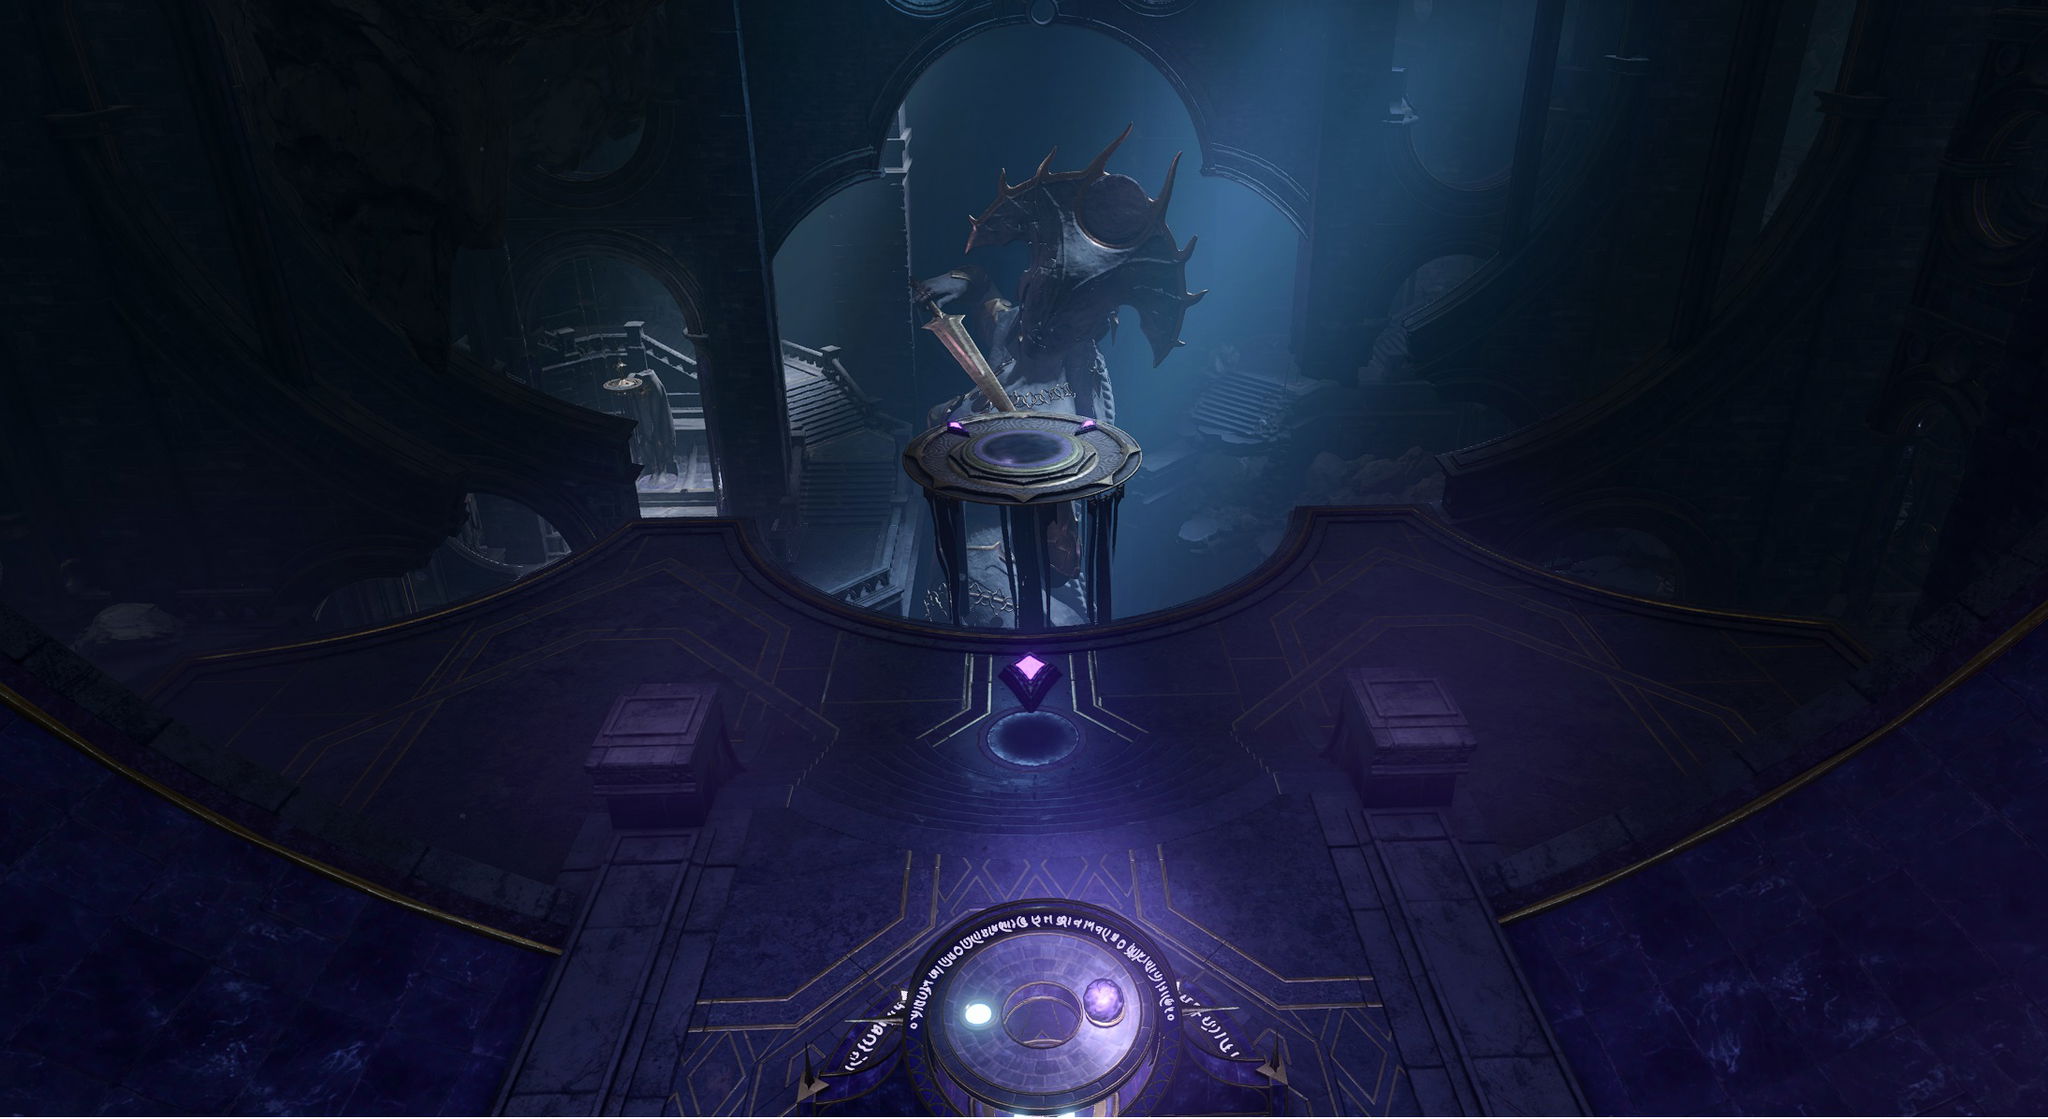
Once you have 4 Umbral Gems, you are ready to go to the next stage and enter Shadowfell. First, reach the platform in the center of the Gauntlet.
Get on the platform and click the button.
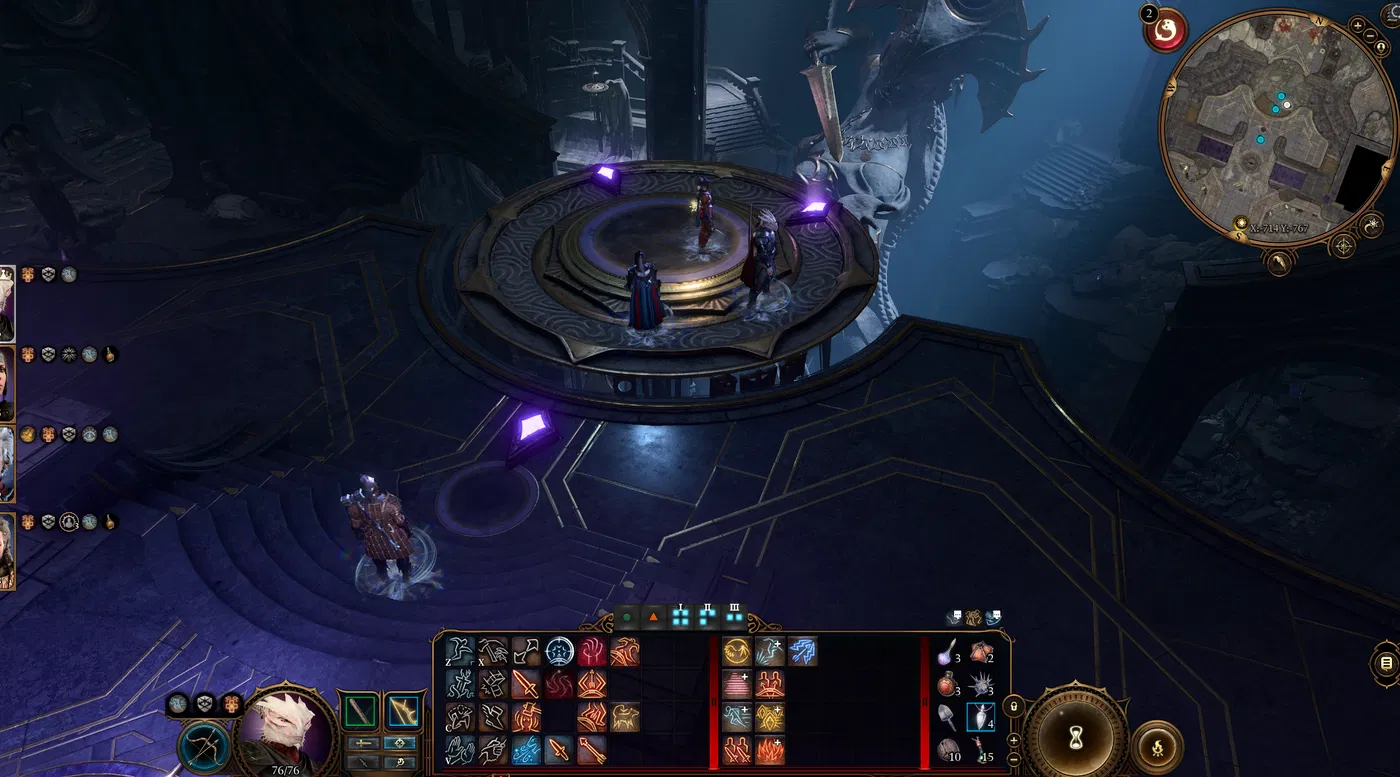
Once you fly to the next area, insert the 3 other Umbral Gems and proceed further. You will also find a waypoint that you can then move another companion if you leave it behind.
Now, once you are in the last area, before the pool, make sure that you have done and purchased all the stuff that you might need for larger encounters. After this, Act 2 will shift, and many of the quests will not be accessible.
Inside the Shadowfell
Jump down the cliffs, and on your way, you can find two ![]() Dark Justiciar Helms.
Dark Justiciar Helms.
Depending on your next steps, you can receive:
- Saving Nightsong:
 Moonlight Glaive,
  Selûne's Spear of Night (received eventually at the end of this act).
 - Shadowheart killing Nightsong:
 Dark Justiciar Half-Plate, Shar's Spear of Evening,
  Dark Justiciar Boots,
  Dark Justiciar Gauntlets.
Like, Dislike, comment, or share!
Join the Discussion
0 commentsNo comments yet.
Be the first one to leave a comment!