
Gunlance Best Builds: Progression and Endgame - Monster Hunter Rise (MH Rise) | MHR
In this post, I will go through the complete Gunlance progression. Moreover, I will cover Endgame builds to maximize the effectiveness of the weapon.
Contents
General Skill recommendation
As there will not be many skill options available here are some skills that I think are mandatory:
- Artillery will increase your shelling damage, wyrmstake cannon, and wyvernfire damage. The best skill for Gunlance users.
- Load Shells - increases your shell capacity by one at level 2. Allows increasing your DPS by creating larger Full bursts or making reload intervals longer.
- Evade Extender - because you cannot roll and only hop, your moving distance is lower compared to other weapons. To solve this problem use Evade Extender. This way you won't need to sheath your weapon when traveling longer distances.
- Guard - this skill will give you an advantage when guarding. You will receive less chip damage, lose less stamina and have lesser knockback. However, it should not totally replace hopping with Evade Extender
- Attack Boost - although you will use your shells most of the time, in many cases you will still do physical attacks
- Weakness Exploit - will make your physical hits do criticals more often when attacking monster weak spots
- Critical Boost - will boost your critical damage
- Critical Eye - will increase your affinity
- Wirebug Whisperer - increases the length of your third wirebug. Moreover, makes them recharge faster.
Generally, I would recommend having at least Guard 1, Artillery, Load Shells, and Evade Extender 1-2. From then on, add skills that increase your physical damage.
Overview of playstyles
In this section, I will shortly overview a few different playstyles. The different gunlance builds will reflect them
Long Shell Wyrmstake spam
I would say this is recommended playstyle throughout most of the game. Why is that?
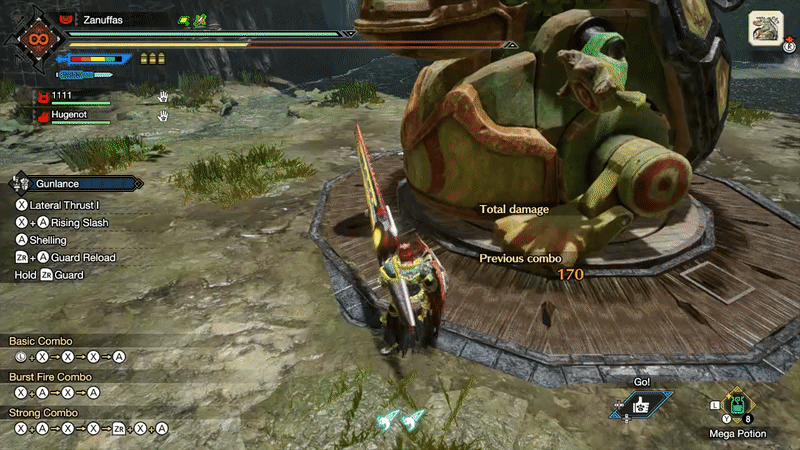
- Your main attack is a fairly short combo of: Charged Shell -> (Down + Shell) -> Dodge and reload
- You do not need a lot of offensive gear
- You will be able to maneuver easily
- Wyrmstake cannon has additional ticks compared to Normal shells.
- You need Long shells for this playstyle
Take a look at the main combo that you should be using:
It is important to dodge after the Wyrmstake Cannon as it has the lowest amount of frames while you are standing still
After the combo, you can either dodge more or reload.
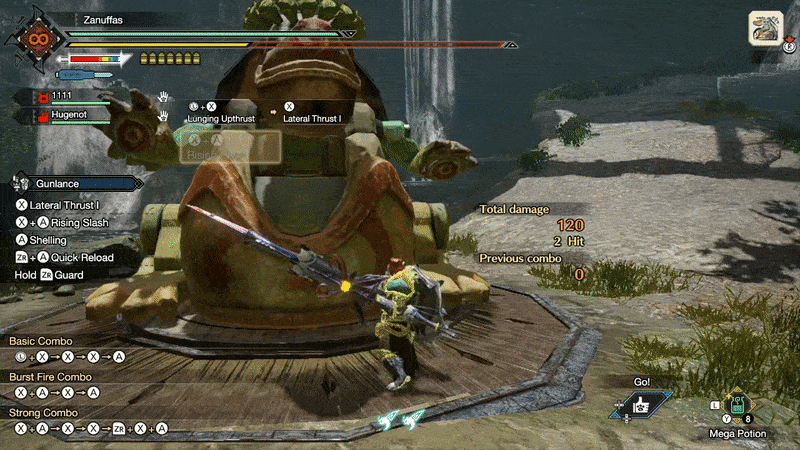
Fullburst
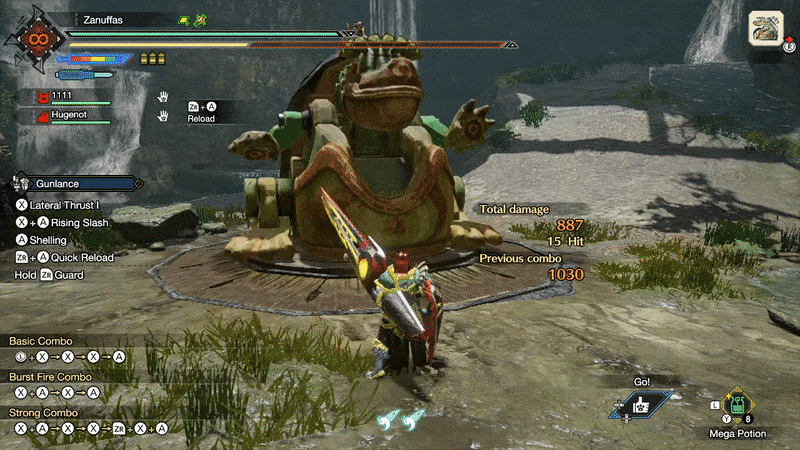
As it sounds this playstyle concentrates on creating explosions. Your main combo is releasing all of the shells in the clip.
Here are the main things to have in mind:
- This playstyle works the best on most occasions with Normal shells
- It requires performing a long combo by itself: X+A (Rising Slash) -> X (Overhead Smash) -> A (Burst Fire) -> X (Wide Sweep) -> ZR + A (Quick Reload) -> Repeat from the start
- To maximize the damage you can use Wyrmstake at the end of the combo
- The shell explosions tear through sharpness fast.
Slaplance
This playstyle sounds silly, however, as you can guess you mainly concentrate on physical damage.
- You do not use any shelling
- Your main priority are weapons with either high Raw or affinity
- Can be applied against limited monsters
- Wyverfire can still be used as it deals significant damage and gives strong guard
Here is the main combo that is mostly used
Poke Shelling
This is an extremely versatile playstyle that uses Wide shelling. Your main move is:
X (Lateral Thrust) -> Hold A (Charged Shelling)
However, for it to work well you need to practice Charged Shelling. It requires you to hold A for a small amount of time just enough for it not to be a normal Shell attack. take a look at this example:
It requires some practice even for me :D But you can dodge after any of the Charged Shelling attacks. This makes it easy to avoid enemy attacks
However...
This is not all. Wide shells have a special Wyrmstake that deals impact damage and can stun enemies:
Some points on this playstyle:
- Safe option as combos are not long
- Works well with Charged Shelling and Guard Reload Switch Skills
- Wyrmstake Cannon deal impact damage and can stun enemies, however it deals overall lower damage.
Low Rank Builds
Early Low Rank - Village Quests 1★ - 3★
At the start of the game, not much is available with fancy stats. However, we will try to maximize what we get with the build
Weapon
We will use Long shelling gunlance. This means that your main attack is this:
This way you will release a Wyrmstake Cannon at the of the move. Moreover, due to this being a short combo, you can easily avoid monsters.
| Weapon | Rampage Skills | Switch Skills |
|---|---|---|
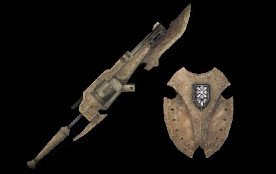 Bone Gunlance II Bone Gunlance II |
Attack Boost II |
Armors
By getting Rhenoplos armor pieces we use artillery to maximize our shell damage. Barroth Coil is also extremely useful by giving Guard 1. You will now have less knockdown.
| Item | Skills |
|---|---|
Mid to End of Low Rank - Village Quests 4★ - 6★
Weapon
The Wyvern Bone Gunlance will have level 2 Long shelling, extremely powerful at this point in the game
| Weapon | Rampage Skills | Switch Skills |
|---|---|---|
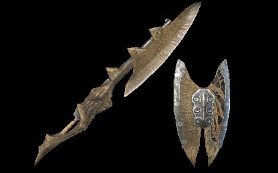
| Wyvern Bone Gunlance |
Attack Boost II |
Armors
With the sacrifice of some offensive skills, you get Evade Extender Lv2. With this, you can jump forward and backward longer distances. It allows you to evade monster attacks and get back to them faster.
| Item | Skills |
|---|---|
There are two options for talismans at this stage of the game.
- Constitution - allows hopping with gunlance to drain less stamina.
- Wirebug Whisperer - allows this gunlance build to have a third wirebug for a longer period of time.
High Rank: HR 4 - 6
Wyrmstake spam gunlance build
I suggest taking any armors that you can craft at the start of High Rank. The monsters will hit much harder and have more aggressive attack rotations. So I recommend dropping previous equipment that you have used.
Weapon
We continue using Long Shelling gunlance.
| Weapon | Rampage Skills | Switch Skills |
|---|---|---|
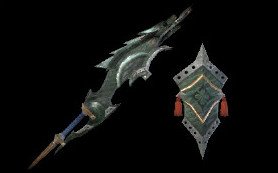
 Golem Gunlance II with an upgrade to Behemoth Gunlance Golem Gunlance II with an upgrade to Behemoth Gunlance |
Affinity Boost II |
These gunlances are easily accessible and you do not need to farm, specific materials for them. Although they can be a bit boring.
Armors
I recommend getting Rhenoplos armors as soon as possible for Artillery Lv 3
| Item | Skills |
|---|---|
With these items, you will lose some of the mobility that you previously had. However, you will have much higher survivability until you get used to the aggressiveness of High Rank monsters.
High Rank: HR: 6 - 7
As you progress through High Rank switch to this equipment when available. Here is the best loadout
Wyrmstake spam gunlance build
Weapon
Howlitzer is extremely strong gunlance at this stage of the game. You get Level 5 Long shells that can last till the end of the game.
Once you are able to unlock Guard Reload. This will make your fights much easier after Wyrmstake Cannon. You will be able to Guard and at the same time ready up Wyrmstake for the next attack
| Name | Rampage Skill | Switch Skills |
|---|---|---|
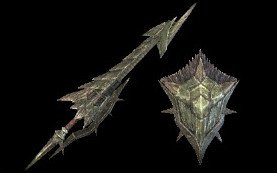
 Howlitzer Howlitzer |
Buddy Rally/Defense Boost 3 |
Armors
| Item | Skills |
|---|---|
| Talisman |
High Rank: HR 7 - 40 (Patch 2.0)
After you defeat Narwa, you will unlock higher ranks. This will cover the progress after this boss.
Long shelling - Wyrmstake Cannon
Probably the easiest build to utilize. Long shells allow for further distance, the only offensive skill that matters is Artillery.
This build aims to use charged shelling + wyrmstake cannon. In rare cases you may also do a full burst after these moves:
- Guard edge
- Ground Splitter
Weapon
| Name | Rampage Skill | Switch Skills |
|---|---|---|
| Howlitzer |
Buddy Rally/Defense Boost 3 |
Armors
Bazelgeuse set covers all Gunlance need for this type of build. Moreover, you will have a lot of free slots for elemental resistances
| Item | Decorations |
|---|---|
Talismans and decorations
| Talisman skills + slots | Decorations | Notes |
|---|---|---|
| Any skill |
Wirebug Jewel 2 x3 Jumping Jewel 2 x1 Ironwall Jewel 2 x1 Shield Jewel 2 x1 |
We maximize the utility skills for better guarding, evading, and wirebug usage. |
Fullburst Orthilde Gunlance build
This build will use a different playstyle and rely more on physical damage in addition to explosions
Weapons
The main weapon that will be used is Ortlinde. It has Normal shells, which means that we will use combos that create explosions by using up all shells in the magazine.
Weapon
| Name | Rampage Skill | Switch Skills |
|---|---|---|
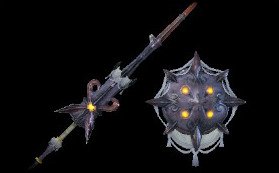
 Ortlinde Ortlinde |
Attack Boost II |
As you can see we also use different Switch skills. Blast Dash gives very large mobility and quick reload allows us to reload magazines instantly
Armors
Bazelgeuse set covers all Gunlance need for this type of build. Moreover, you will have a lot of free slots for elemental resistances
| Item | Decorations |
|---|---|
| - | |
Talismans and decorations
| Talisman skills + slots | Decorations | Notes |
|---|---|---|
| Any skill |
Tenderizer Jewel 2 x3 Vemon jewel 1 x3 Magazine Jewel 2 x2 Blunt Jewel 2 x1 Artillery Jewel 2 x1 Critical Jewel 2 x1 |
Quite demanding decorations at this stage of the game, but gives higher overall damage |
| Any skill |
Attack Jewel 2 x4 Vemon jewel 1 x3 Magazine Jewel 2 x2 Blunt Jewel 2 x1 Artillery Jewel 2 x1 |
Budget option, where you get Attack Boost Lv 7 |
High Rank: HR 40-99
Now after you have defeated the three elder dragons, you are ready for the big grind till HR 100. Here are my suggestions
For Long Shelling build there is nothing new to offer. Unfortunately, it starts to lose ground in terms of DPS to other gunlances. However, it is still a fairly safe playstyle
So let's move.
Fullburst Araknalance build
This is an amazing build, thanks to the materials that you obtain from Teostra.
Weapons
| Name | Rampage Skill | Switch Skills |
|---|---|---|
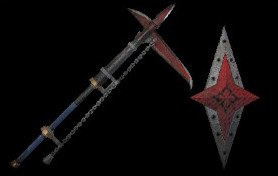
 Araknalance Araknalance |
Attack Boost II |
Armors
| Item | Decorations |
|---|---|
| - | |
Talismans and decorations
| Talisman skills + slots | Decorations | Notes |
|---|---|---|
| Any skill |
Tenderizer Jewel 2 x3 Artillery Jewel 2 x1 Critical Jewel 2 x1 Razor Jewel 2 x1 Magazine Jewel 2 x1 |
Razor Sharp option for longer White Sharpness. You will need to equip Almudron Plate S. The result is less sharpening required. Use the empty level 1 slots for Blaze, Steadfast, Brace, Grinder jewels. |
| Any skill |
Tenderizer Jewel 2 x3 Grinder Jewel 1 x3 Artillery Jewel 2 x1 Critical Jewel 2 x1 Expert Jewel 2 x1 Sharp Jewel 2 x2 Magazine Jewel 2 x1 |
This is the Protective Polish option with a bit more damage. Because we can slot 3 Grinder Jewels easily we take Sharp Jewel 2 instead of Razor or Mastery Jewels |
Endgame: High Rank 100+ (3.0 patch)
This is currently the endgame content. Here is what builds I suggest.
Fullburst and Poke shell gunlance build
This build can be used in two different playstyles: fullburst and poke shelling. This makes it extremely versatile for different enemy encounters.
Weapons
| Name | Rampage Skill | Switch Skills |
|---|---|---|
 Rampage Gunlance S Rampage Gunlance S |
Attack Boost IV Non-elemental Boost Shelling: Normal III |
Armors
| Item | Decorations |
|---|---|
| - | |
Talismans and decorations
| Talisman skills + slots | Decorations | Notes |
|---|---|---|
| Any skill |
Handicraft Jewel 3 x1 Grinder Jewel 1 x2 Artillery Jewel 2 x1 Tenderizer Jewel 2 1 Sharp Jewel 2 x2 Critical Jewel 2 x2 Magazine Jewel 2 x1 |
This is a white sharpness option. You need to change Rampage skill to Sharpness Type I or IV. It does have higher damage. |
| Any skill |
Grinder Jewel 1 x2 Artillery Jewel 2 x1 Tenderizer Jewel 2 1 Attack Jewel 2 x3 Critical Jewel 2 x2 Magazine Jewel 2 x1 |
This is quite a comfortable build, although you will have blue sharpness. In case you want to sustain the sharpness for longer switch Attack Jewels 2 with Razor Jewels 2 |
Slaplance gunlance build
This option is for those that want to try something exotic. This build relies on only dealing physical damage and not using any shelling for combos. Of course, feel free to use Wyvern Fire.
Weapons
| Name | Rampage Skill | Switch Skills |
|---|---|---|
 Tigrex Gunlance Tigrex Gunlance |
Attack Boost III |
Armors
| Item | Decorations |
|---|---|
Talismans and decorations
| Talisman skills + slots | Decorations | Notes |
|---|---|---|
| Critical Boost 1 |
Expert Jewel 2 x5 Critical Jewel 2 x2 Brace Jewel 1 x1 |
Having Critical Boost on talisman allows for additional Expert Jewel that gives higher EFR than Attack Jewel |
| Wirebug Whisperer 1+ |
Expert Jewel 2 x4 Critical Jewel 2 x3 Brace Jewel 1 x1 |
Although you can use Attack Jewels instead of Expert Jewels, the result is lower effective raw. We also take Wirebug Whisperer which will allow for longer third wirebug |
| Attack Boost 1 |
Expert Jewel 2 x4 Critical Jewel 2 x3 Brace Jewel 1 x1 |
Attack Boost does not change much |
Conclusion
Thank you for reading this best gunlance build guide. It should cover all that you need to finish the game and to craft the best equipment.
Feel free to leave feedback below!
Like, Dislike, comment, or share!
Join the Discussion
0 commentsNo comments yet.
Be the first one to leave a comment!