
Early Game Sign Build - Witcher 3: Wild Hunt
Contents
Final Build
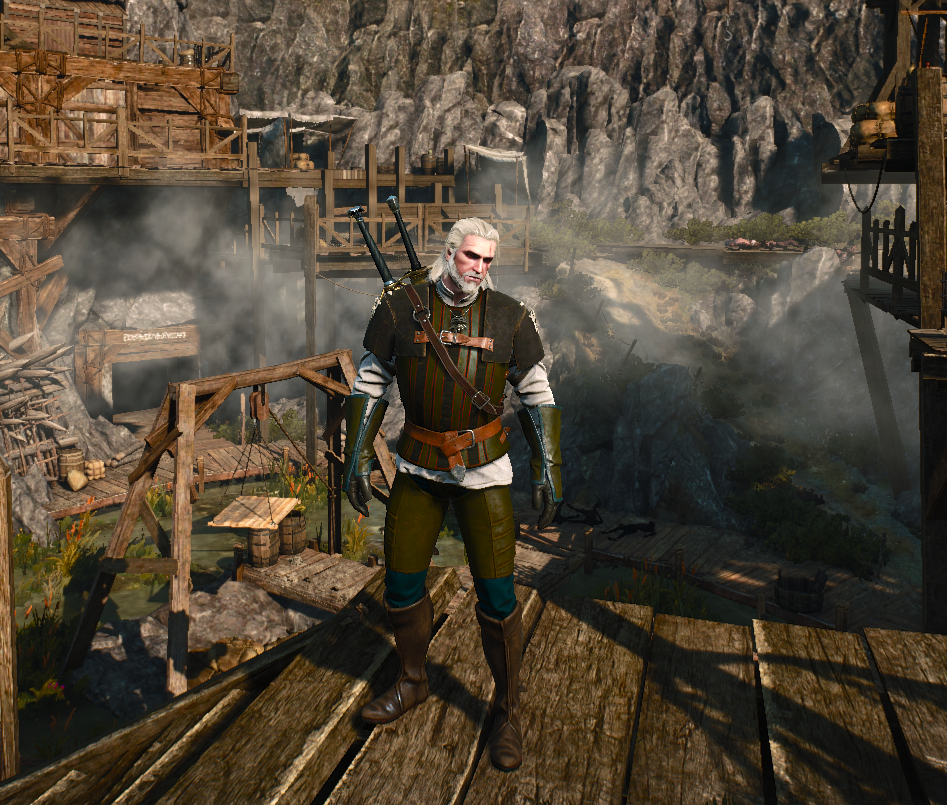
Sign builds generally excel at crowd control, and damage over time. They achieve this by maximising 2 parameters: Sign Intensity, and Stamina Regeneration. Here is the final setup I have used for this build.
Stats
This build can achieve 152% sign intensity, without using any decoctions. This grants us close to a 100% chance to ignite our enemies with Igni, a high Slowdown% with Yrden, and a high stagger and knockdown chance with Aard.
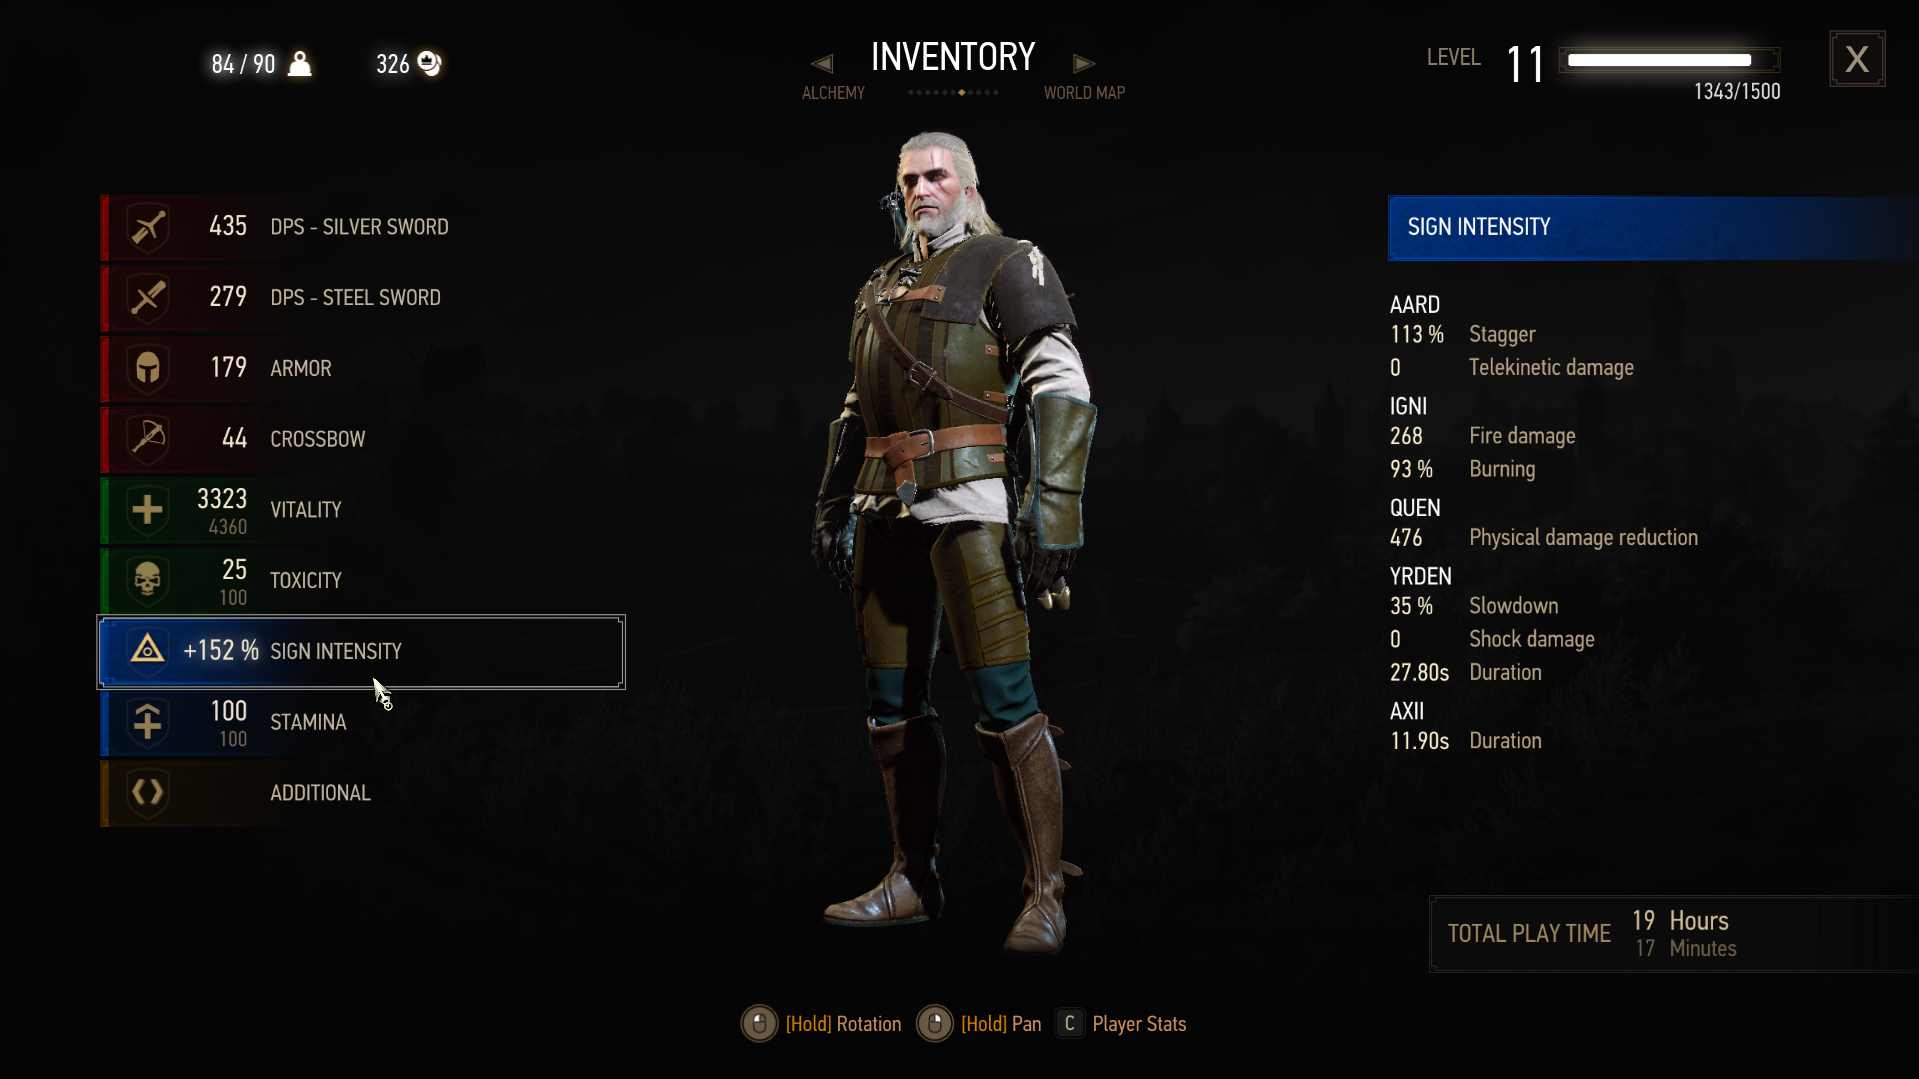
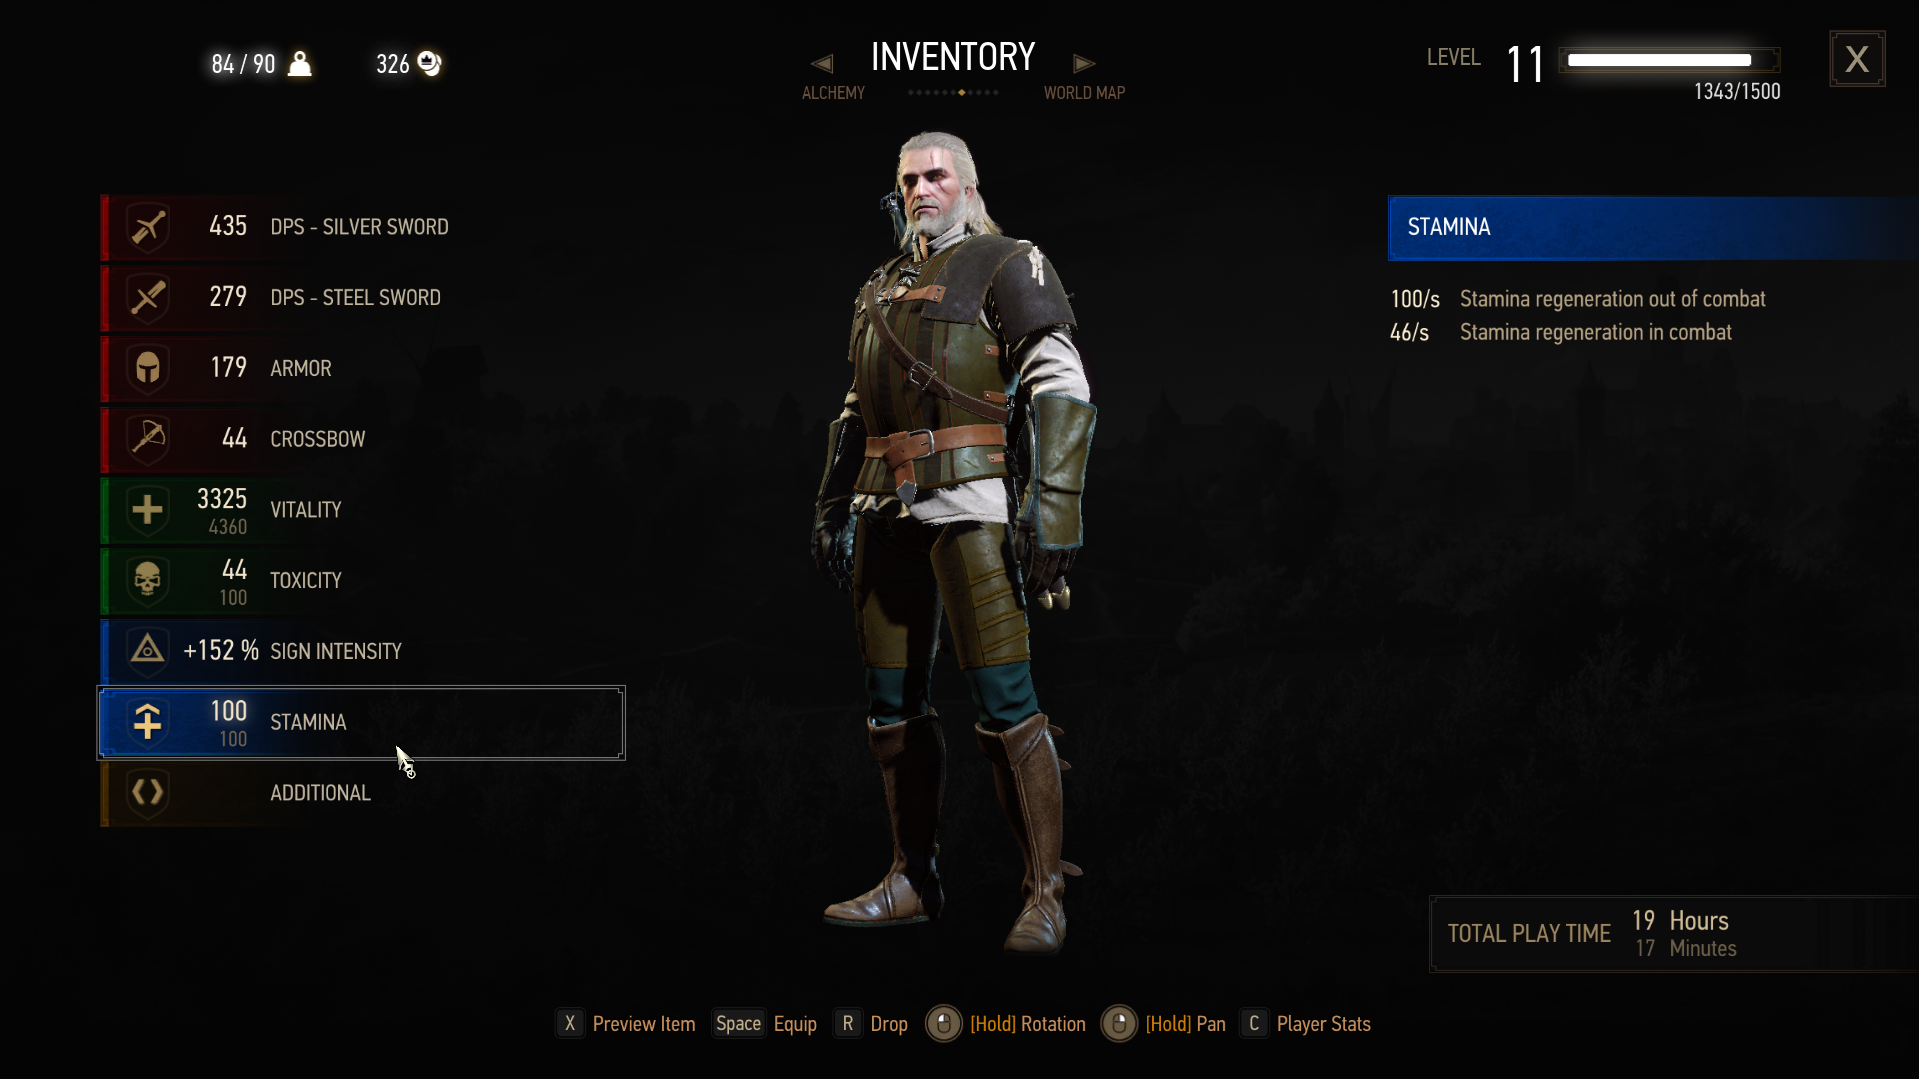
Additionally, this build has very high stamina regen, especially when using the Tawny Owl potion. 46 stamina / second means we can cast a sign almost once every 2 seconds, which is excellent for this point in the game.
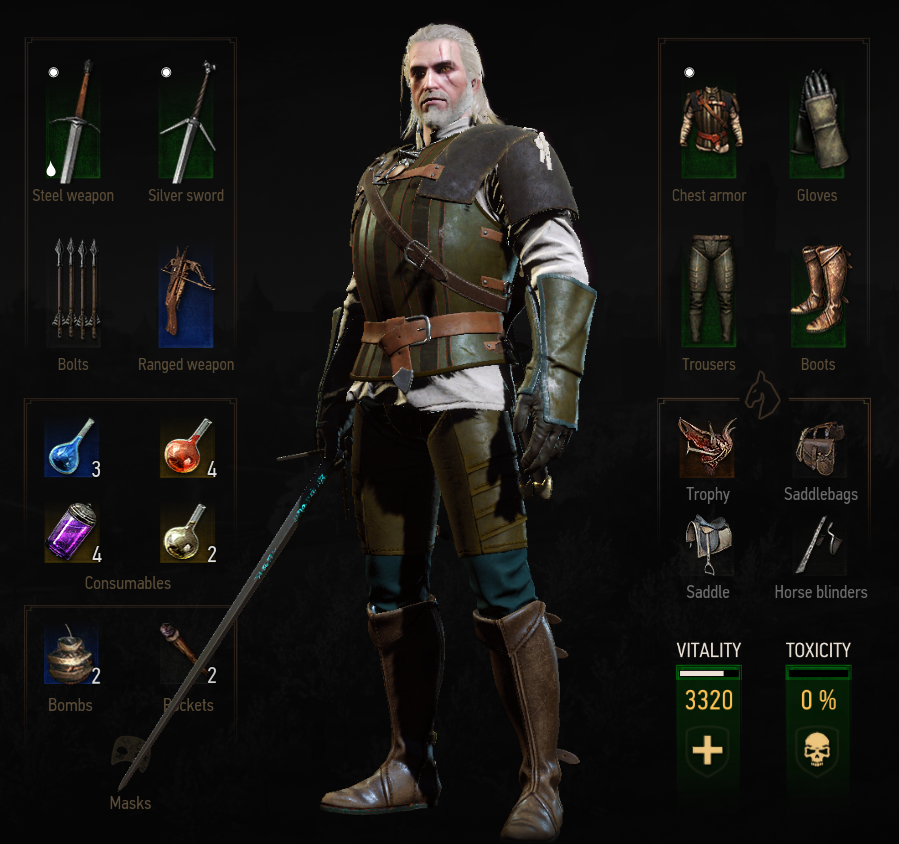
Gear
The final gear consists of the complete Griffin witcher set, which is the best gear set for a sign build as every piece increases sign intensity by 5%. Infuse the swords with the medium Velez Runestone, while the armor is infused with a Greater Glyph of Yrden, which has a consistent spawn location, and does not require crafting.
Griffin Armor Set - Level 11
| Item | Effects |
|---|---|
|
|
|
|
|
|
|
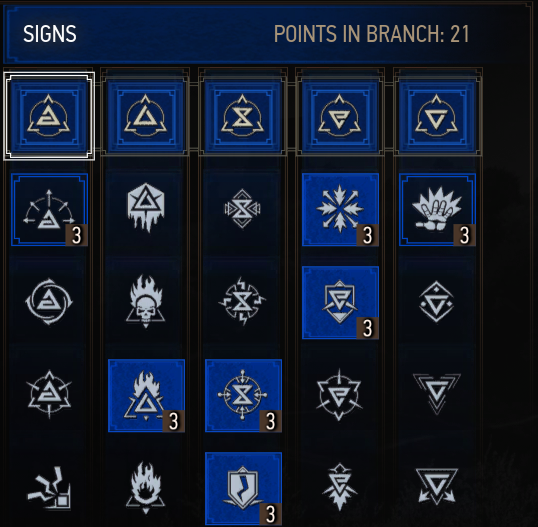
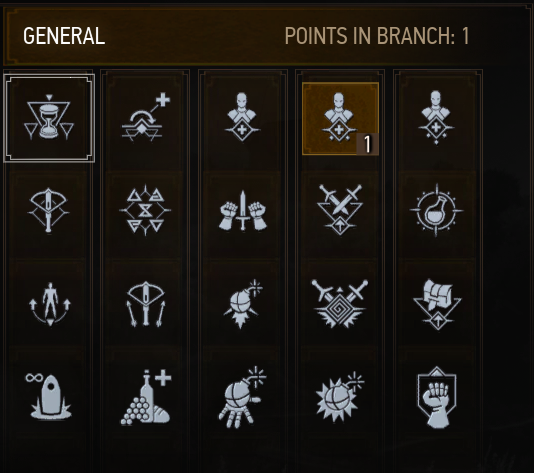
Skills
Generally speaking, Sign builds want to take as many Sign Skills as possible to increase their Stamina Regeneration. This also increases Sign Intensity through the synergy between the blue perks and blue mutagens.
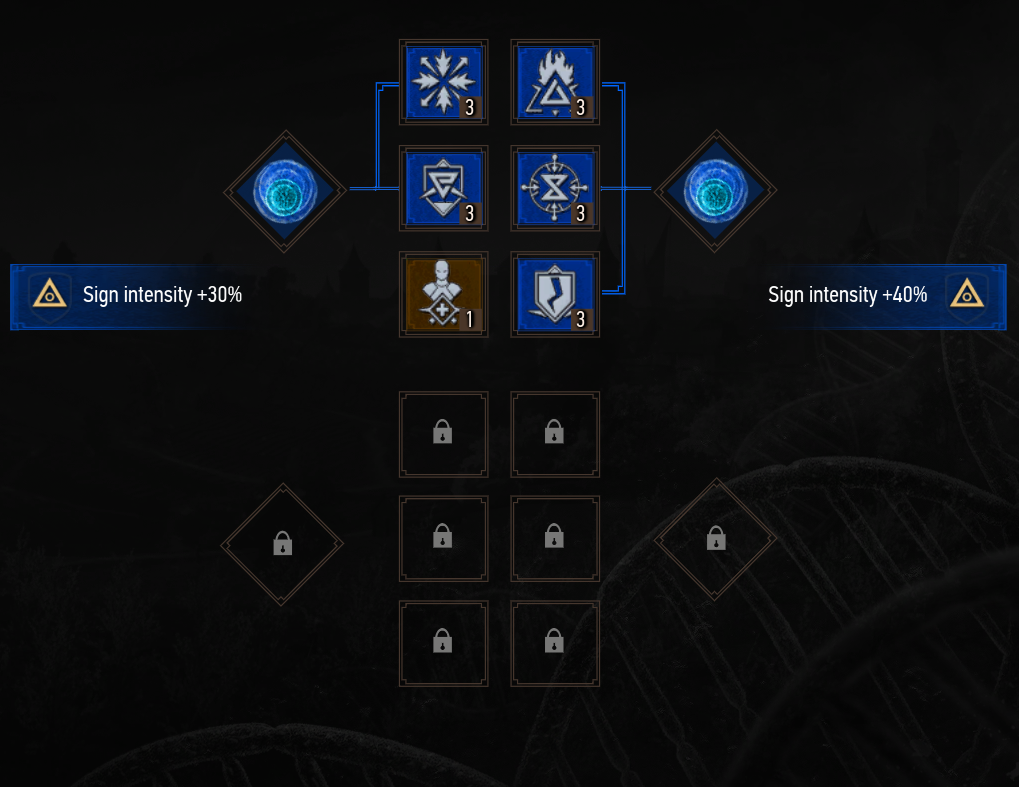
Build Breakdown
This build has a dual focus on Yrden and Igni because between them they cover the widest range of possible enemies and encounters while complimenting each other and our playstyle. That being said, all signs have situational utility and I advise you to experiment with their use, as many enemies have secret interactions with certain signs.
Igni is strong throughout the game and does not require further enhancements, besides increased intensity, to be effective. It has a chance to set enemies on fire which not only deals significant damage over time but also locks the enemy in a burning animation. This effectively removes them from combat for the duration of the burning effect. Just don't attack them with your sword while they burn, as that will end the effect early.
Yrden has a nasty Slowdown effect, making enemies sluggish while within its grasp, giving you more time to regenerate stamina and cast other signs. With Supercharged Glyphs Skill, however, enemies will also continually take damage that scales with our Yrden sign intensity. This means that Yrden has above-par returns on the increases to sign intensity, as enemies will not only take more damage, but the higher Slowdown% will mean that the enemies will have to spend more time within the area of Yrden, causing them to take even more damage.
Next up, Active Quen and Exploding Shield are 2 excellent defensive Skills, both of which are useful in this build. Active Quen enables us to hold the casting key, to maintain a stable forcefield around Geralt. This forcefield will heal us with a fraction of the damage it absorbs. In addition, Exploding Shield will force enemies away from us when we are surrounded, giving us more time to escape, while dealing some damage back to them.
Last but not least, Far-Reaching Aard, and Delusion, are 2 very useful but situational skills that we can incorporate into our build from time to time when the situation calls for it. Delusion is very useful in certain social situations, allowing us to earn extra EXP, skip unnecessary fights, as well as help deal with shielded opponents. Far-reaching Aard on the other hand, is extremely useful in knocking down flying harpies, sirens, and large creatures like Griffins, Basilisks, or Wyverns. Switching out skills to better fit the situation is a core part of the Sign Build experience, and I advise you to experiment with their uses.
Progression
Now that we have looked at the final product, let us dive into how to get to best get to that point.
Skills Order
| Order | Skill | Description |
| 1 |
Griffin School Techniques |
Each Piece of Medium Armor increases Sign Intensity by 5%, and Stamina Regeneration by 5%. All of Geralt's starting gear is classified as Medium Armor, meaning taking this perk is the best way to get us through White Orchard. |
| 2 |
Exploding Shield |
When it breaks, Quen will push back and damage nearby opponents, with a small chance of knockdown. This is the only tier 1 skill that meaningfully enhances our combat ability. |
| 3 |
Far-Reaching Aard |
Increases Aard's range by 3 yard(s). The in-game description does not make it obvious how big of a difference this makes, but in practice, it is quite significant. very useful against the griffin, though we should still focus on Igni and swords for damage. |
| 4 |
Active Shield |
When fully upgraded, Geralt can hold the Active Shield indefinitely. Your movement speed is drastically reduced, but like regular Quen, this shield will save you from at least 1 attack. Furthermore, this skill allows us to regenerate health in combat. |
| 5 |
Delusion |
This skill is useful throughout the game in dialogue, but also when fighting humans with shields. We had to take something to unlock the third tier of skills. |
| 6 |
Igni Intensity |
Increases Igni Sign Intensity by 30%. Igni is our bread and butter for the entire playthrough. increasing its Sign intensity increases the chance of causing burning, which helps us disable dangerous enemies, or control entire crowds of foes. |
| 7 |
Yrden Intensity |
Increases Yrden Sign intensity by 30%. A necessary stepping stone toward the fourth tier of skills, while also making Supercharged Glyphs more powerful when we unlock them. |
| 8 |
Supercharged Glyphs |
Enemies under the Influence of Yrden Gradually lose Vitality and Essence. Scales with Sign Intensity and enemy level. Most tooltips in the game range from horribly inaccurate, to casually misleading. In the case of Supercharged Glyphs, the damage is noticeable and way above 30 vitality per second which is advertised. |


Gear
While the final build uses Griffin Witcher Armor, we cannot donn it until level 11. This means that we have to find alternatives until then. here are some of the best options that I could find on our journey to the Griffin Witcher Set.
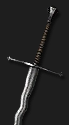
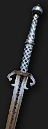
Steel Swords
| Level | Item | Information |
| 2 |
Viper Steel Sword |
|
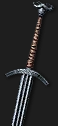
| 3+ |
Ard'Aenye |
|
| 3+ |
Glory of the North |
|
| 4 |
Harvall |
|
| 7 |
Sword of a Thousand Flowers |
|
|
9 |
Ultimatum |
|


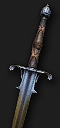
Silver Swords
There are very few Relic Silver Swords that have guaranteed spawn locations that are both useful and can be found in Velen. Look for a weapon with either increased Igni or Yrden Sign intensity.
| Level | Item | Information |
| 1 |
Viper Silver Sword |
|
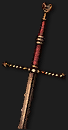
| 3+ |
Maugrim |
|
| 7 |
Widow of a Thousand Flowers |
|


Armor
There is plenty of good Medium armor to be found in Velen, though very little of it has reliable spawn locations. Prioritise good resistance to slashing, bludgeoning, and monster damage over armor.
| Level | Item | Information |
| 1 |
Warrior's Leather Jacket |
|
| 3+ |
|
|
| 7 | 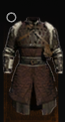 Armor of a Thousand Flowers Set Armor of a Thousand Flowers Set |
|
| 10 |
Nilfgaardian Armor Set |
|

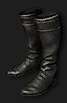 Condottiere's Boots
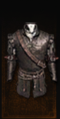
Alchemy
| Potion | Information |
 Petri's Philter Petri's Philter |
|
 Tawny Owl Tawny Owl |
|
 Werewolf Decoction Werewolf Decoction |
|
 Foglet Decoction Foglet Decoction |
|
Further Considerations
With all of these elements covered, the early game Sign build is fully assembled. Here are a couple more suggestions that can help take the build to the next level.
Greater Glyphs of Yrden
The Newgen edition of the game added a new quest to eastern Velen called "In the Eternal Fire's Shadow". A plethora of Greater Glyphs of Yrden can be found by progressing through this quest, which can be found in the large spiraling mine called Devil's Pit. These powerful glyphs dot the main progression path of the quest since they were left by the ancient witcher Reynauld, of the School of the Wolf. You can locate these glyphs by their distinguishing bright purple glow that is visible in the environment. These should be plenty to infuse your armor until you reach the Mastercrafted tier.
Farming Mutagens
Here is my mutagen farming guide covering all the mutagen farming spots in the base game.
Future Skills
As we increase our level, and unlock additional skill slots, here are some of the skills we should consider investing in.
| Skill | Information |
 Sustained Glyphs Sustained Glyphs |
Increases Sign duration by 10 seconds. Increases the number of alternative mode charges by 9. Longer duration means we have to recast it less often, meaning more casts of Igni. Alternative mode charges become useful later. |
 Magic Trap Magic Trap |
A more offensive version of the sign. Hold the cast button to use. This version regularly zaps the closest enemy, dealing moderate damage until its charges run out. Any projectiles flying through the area are instantly destroyed, giving additional protection. |
 Shockwave Shockwave |
Aard can now deal damage which scales with sign intensity and enemy current health. Each cast of the sign will inflict damage equal to a certain % of the enemy's current health + a small flat amount. The % of current health lost scales with sign intensity. Very good against large monsters that are immune to burning, such as golems, or gargoyles. |
 Aard Sweep Aard Sweep |
Aard now hits in a circle around Geralt. Hold the cast button to use. The chance to knock down enemies is slightly reduced. very useful for crowd control when you are surrounded, or when faced with a multitude of flying opponents. |
 Quen Discharge Quen Discharge |
Reflects 30% of the damage that was absorbed by Quen, back at the attacker. Nice tool to use against groups of enemies with active Quen, especially when at low health. Becomes more useful with higher sign intensity. |
 Adrenaline Burst Adrenaline Burst |
General Skill. Increases adrenaline gain by 5%. enables signs to generate adrenaline. |
 Focus Focus |
Adrenaline points now increase Sign Intensity, in addition to Attack Power. |
Conclusions
Witcher Signs are powerful tool in Geralt's arsenal. Even though the game does a poor job of explaining the details of how the various skills work, with some experimentation and a little research, Sign builds can become available to any player who enjoys slower, more methodical gameplay. Signs, in my opinion, is the most fun build to fight large groups of high-level humans, and I would frequently anger Redanian and Nilfgaardian guards, just to fight them.
Like, Dislike, comment, or share!
Join the Discussion
0 commentsNo comments yet.
Be the first one to leave a comment!