
Blood Necromancer Build - Dragon Age: Origins (DAO)
Contents
Blood Necromancer Build
So the build is here for those who are looking to use Entropy and Spirit Magic. In my opinion, it is not as strong as Primal Tree, but does offer a satisfying playstyle and combinations. So I will concentrate on the two trees mentioned in the beginning to create the Dark theme of the build.
The build does suffer from one problem... Undead. You will not have that many tools against them, so a good party that can support you will prove valuable. Still, it is a solid choice.
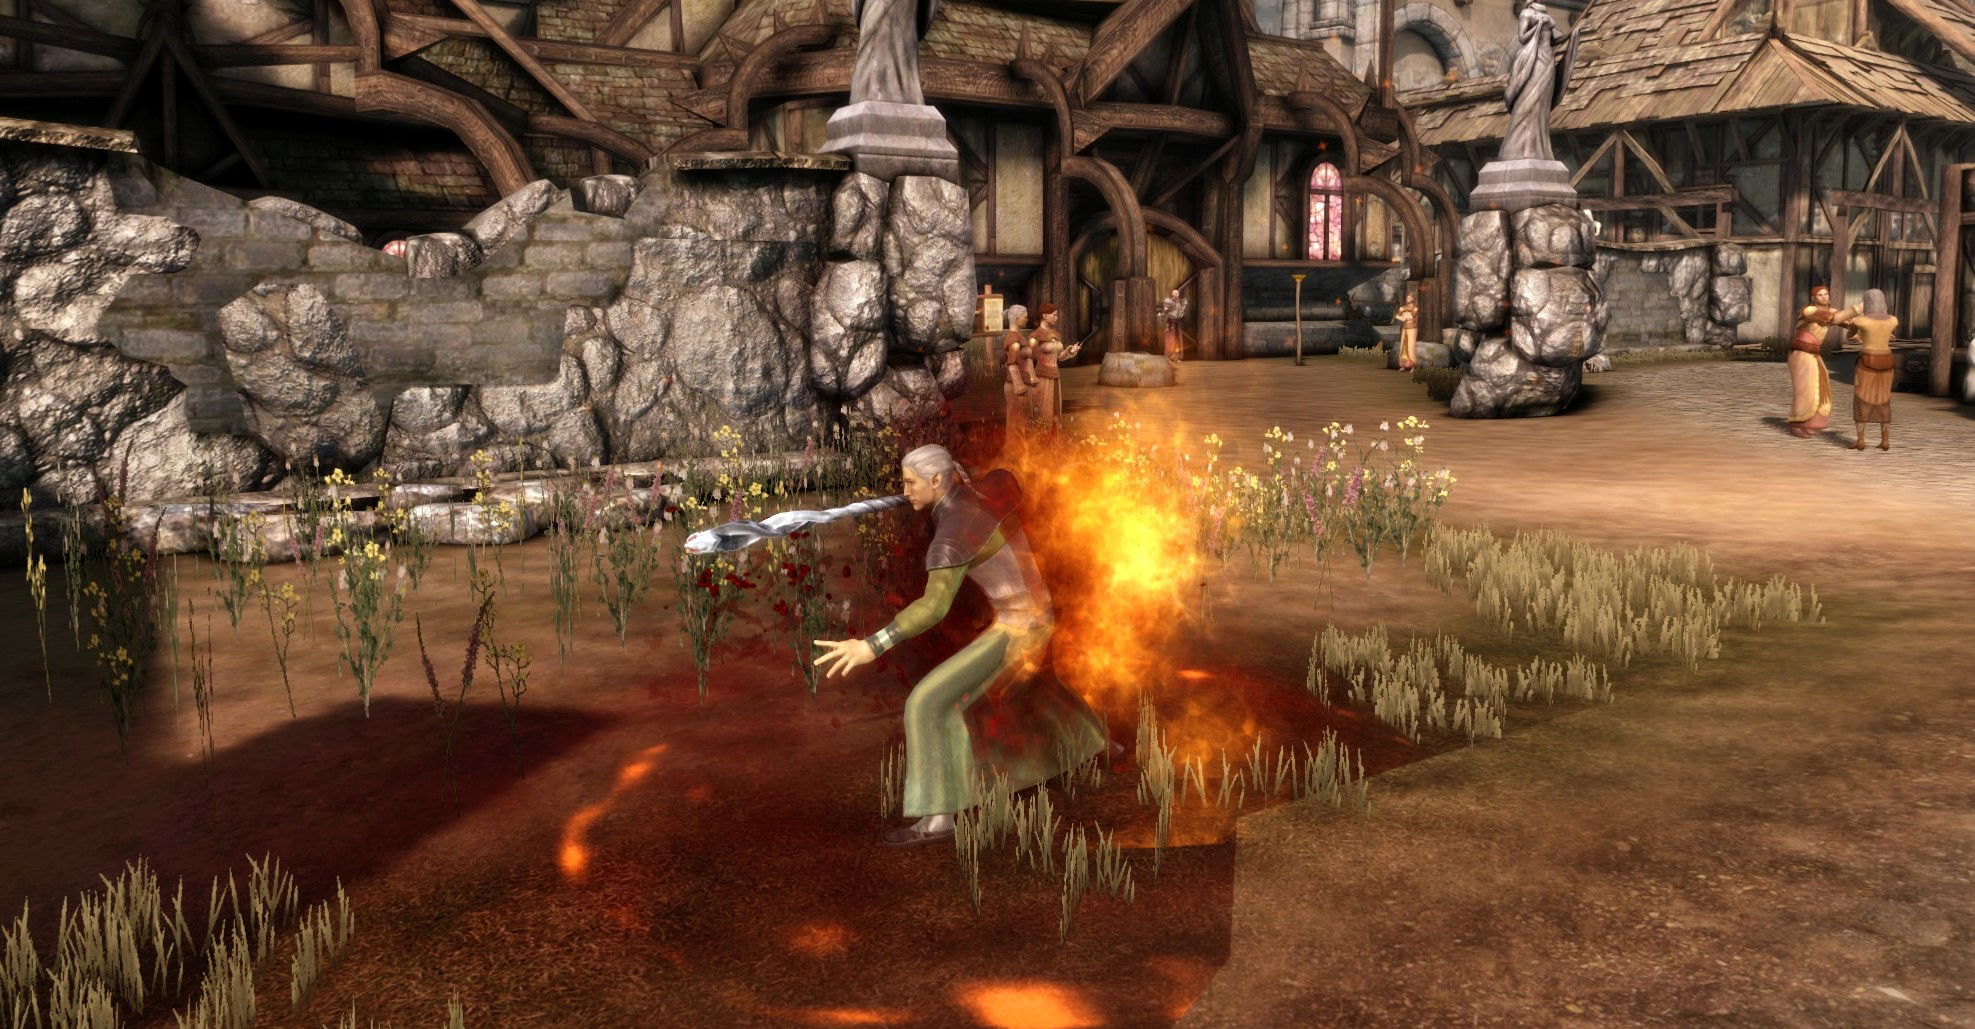
For example, you will be able to put the whole room to Sleep. After this, you have various follow-ups - inflicting significant damage via Horror or putting a group of enemies under confusion, fighting amongst themselves, getting stunned, etc.
You will also be able to create corpse explosions which are excellent for destroying large groups of enemies. Although this is risky as your allies can be damaged, generally your tank will hold aggro, and with good gear, it will receive minimal damage. Moreover, a skeleton companion can be resurrected to provide some support in combat.
Blood Magic is another core aspect, that will expand your casting pool - to HP. The main focus is the ability to paralyze a large group of enemies using Blood Wound. Not only that, if your HP falls low, just use Blood Sacrifice and restore your health from Tank or Ranger's pet.
Character Creation
If you are into optimizing there are a few things that you can do to optimize your build a bit.
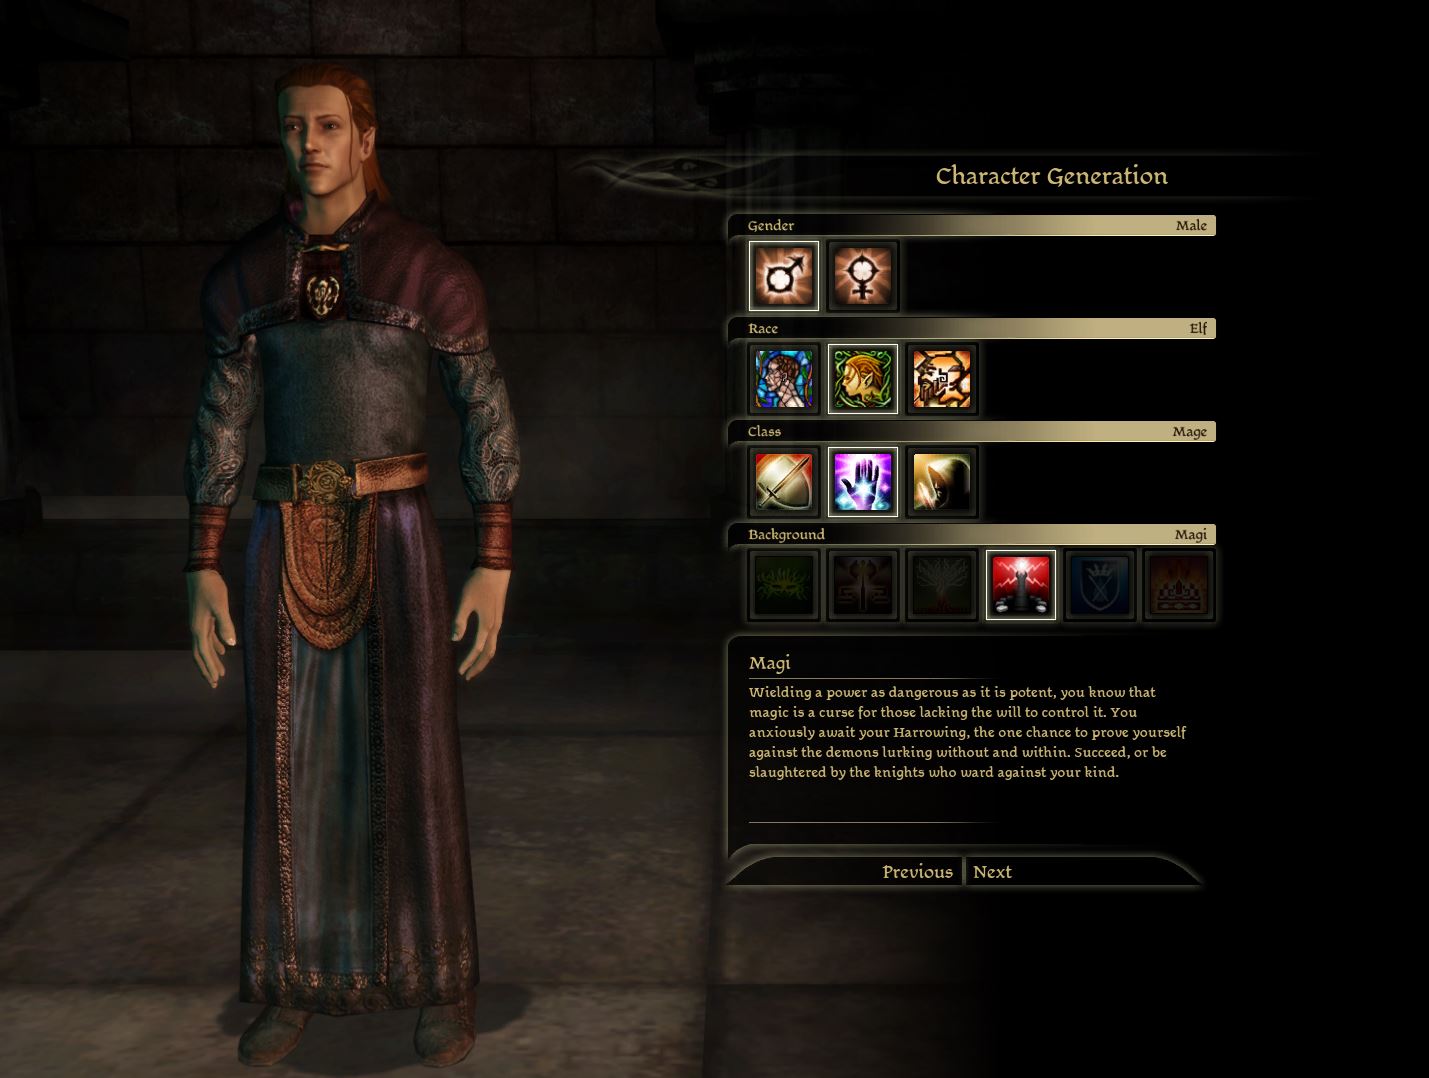
Race
There are 2 race options in my opinion:
| Attribute | Description |
|---|---|
| Human | A little less optimized but can also be a choice for a caster build like this. |
| Elf | The go-to choice for this build as it gets the biggest bonus to Magic. |
Class
The choice here is obvious:
| Class | Description |
|---|---|
| Mage | The main class will give you access to all the spells mentioned in the build and recommended specializations. |
Background
Sadly only one choice is possible here:
| Background | Description |
|---|---|
| Magi | All mages have to start in Circle Tower, no matter the race choice. |
Attributes
For the start of the game, all points should be invested - +5 Magic. This will make all of the spells much more effective. By all I mean - healing, control, and damage. You may think about investing in Willpower, but I would not worry too much about it, as your MP will increase naturally and from gear bonuses.
Skills
I would recommend getting Coercion, this will help with some early-game dialogues and quest options.
| Skill | Description |
|---|---|
| Coercion | 1 level will help in the early game to unlock some additional dialogue options. |
Spells
The build will start relatively weak, however, as you progress strong spells that can create deadly combos will be unlocked.
| Spells | Description |
|---|---|
| Mind Blast | A solid spell that can be used in close quarters to stun enemies and reset threat levels. |
| Disorient | This is a progression spell, to unlock the next spells in the tree. |
Quest Priority and Locations
Once you have finished Ostagar and Lothering, the world will open up and you can visit multiple areas. Below I will cover some progression recommendations, to obtain a few core items needed.
If you do not have Specializations unlocked:
- Finish Lothering quests - this is a timed area, so it's good to do all the stuff here before moving on
- Lake Calenhad Docks - visit the Mage's Collective, and pick up Places of Power quest. This will be useful as you will have to visit various areas through the main story.
- Soldier's Peak - you can obtain Robes of Avernus.
- Return to Ostagar - at least find the old Mage chest, where you will find Corrupted Magister's Staff.
- Circle Tower - additional attributes for progression. Mana Clash can be useful for this quest but is not mandatory.
- Redcliffe Castle - this could be done earlier, before Circle Tower, but you will be limited by decisions you will need to resolve the main quest here. Here you can unlock Blood Mage specialization.
- Your preferred quests
If you have the specialization:
- Finish Lothering quests - this is a timed area, so it's good to do all the stuff here before moving on
- Lake Calenhad Docks - visit the Mage's Collective, and pick up Places of Power quest. This will be useful as you will have to visit various areas through the main story.
- Soldier's Peak - you can obtain Robes of Avernus.
- Return to Ostagar - at least find the old Mage chest, where you will find Corrupted Magister's Staff.
- Circle Tower - additional attributes for progression. Mana Clash can be useful for this quest but is not mandatory.
- Your preferred quests
Full Build Setup
In this section, I will go with in-depth explanations of each important selection for attributes, talents, and skills. This will give you a better understanding of what role each decision will have on your overall build. The explanations can also be used to better decide your picks for optimizations
Attributes
In this section, I would like to review the recommended attributes for Necromancer Build. You will be required to pick them every level up, so optimizing and not wasting any of them will prove vital for the build.
| Attribute | Description |
|---|---|
| Magic - everything | This is the main attribute that the build needs. This will improve the healing power of your spells. Moreover, it will make almost all aspects of the mage better like Lyrium potion effectiveness and control spell success. |
Skills
The goal in my opinion is to get Combat Training and Coercion to a maximum. This will cover all the aspects that the main character would need in my opinion.
| Skill | Level | Description |
|---|---|---|
| Coercion | 4 | Allows to overcome various dialogues, finish quests earlier, or avoid unnecessary combat. |
| Pickpocket | 1 | Access to one of the most lucrative quests in the game in terms of gold rewards. |
| Combat Training | 4 | Improves mana regeneration, and casting while under attack, mainly we want that +2 regeneration from level 2. After that, it is a good addition. |
| Tactics | 2 | Some tactics slots for when you do not control the character |
Specializations
The build core is 1 specialization. Another one is free and generally depends on your preferences. Here is what and why I recommend.
| Specialization | Description |
|---|---|
| Blood Mage | Unlocks Blood Magic, allowing to cast spells using health. This will greatly increase the casting pool of spells. However, this is not all, one of the strongest talents in the game - Blood Wound is unlocked later. |
| Arcane Warrior | You will have to put 1 point into Combat Magic, to unlock the benefits. You will be able to wear Helm of Honnleath which is the best option for almost any build for headwear. Moreover, if you want to have a more tanky setup with sturdier armor you can pick Wade's Superior Dragonskin armor set for a negative fatigue bonus! |
Talents and Spells
The build is very demanding on talents and there are a lot of spells to pick from. I will try to explain what I think is crucial.
Blood Mage
The core specialization of the build, giving access to mechanics allowing them to cast spells.
| Spell | Description |
|---|---|
| Blood Magic | This is the sustained talent that enables casting with HP. The great thing is that it can be enabled/disabled at will. For low levels, its effectiveness will be limited, and I would only use it once you are out of MP. However, with the next spell, you will be able to sustain it for longer periods. |
| Blood Sacrifice | Can be used to sacrifice the HP of an ally or summon to restore own life force. |
| Blood Wound | The ultimate spell - paralyzes enemies with blood and inflicts spirit damage over time. It is one of the most powerful spells in the game. |
Arcane Warrior Tree
Only one talent will be relevant here.
| Spell | Description |
|---|---|
| Combat Magic | Just by taking this talent, you will be able to wear items with strength requirements using Magic. You do not need to activate it. |
Mage
| Spell | Description |
|---|---|
| Arcane Bolt | Can be used to inflict fast damage when you need to finish off an enemy. Moreover, this is the first spell you obtain, so not many choices to avoid it. Excellent use for the early game. |
Primal Tree
To be fair you can skip this altogether, but one spell in particular gives decent bonuses
Path of Stone Tree
| Spell | Description |
|---|---|
| Rock Armor | A decent defensive sustained spell that will improve the survivability of the mage. |
Spirit Spells
Mana Drain Tree
| Spell | Description |
|---|---|
| Mana Drain | Progression spell |
| Mana Cleanse | Progression spell |
| Spell Might | An extremely useful spell improves the strength of your magic. Moreover, if you use Drain Life it will get empowered. |
| Mana Clash | The ultimate spell to destroy mages and demons. It is extremely powerful and can one-shot many of the deadliest foes. |
Necromancy
| Spell | Description |
|---|---|
| Walking Bomb | A great spell especially if you can land on weaker foes in a large group. Destroying the enemy will create an explosion inflicting great damage around. |
| Death Syphon | These three are optional. I did not use them, and the undead skeleton was not as impressive as I expected. |
| Virulent Walking Bomb | |
| Animate Dead |
Telekinesis
| Spell | Description |
|---|---|
| Mind Blast | In case enemies are close to you, popping this spell will stun them and also reset your threat levels. This means that they are more likely to choose another target like the main tank. |
Entropy
This is the iconic spell class that will give the full feeling of the necromancer, where you play with enemies, curse them, and fill them up with nightmares.
Chains of Entropy
| Spell | Description |
|---|---|
| Weakness | Cheap spell to weaken foes, mainly taken for progression. |
| Paralyze | Paralyzes enemies - excellent control spell, especially on Lietuenants and bosses. |
| Miasma | Weaken foes around the caster. This is a sustained ability and can be very powerful for this type of build. |
| Mass Paralysis | Paralyze enemies in large area. |
Hexes
| Spell | Description |
|---|---|
| Vulnerability Hex | These can be used together to weaken foes. So for example, using it on a boss and following up with Spirit or other Magic (from other casters) will make short work of the target. |
| Affliction Hex | |
| Misdirection Hex | I would say it is relevant for progression, however, it works wonders against bosses or lieutenants (yellow health bar enemies). |
| Death Hex | If you have companions with physical damage like swords, bows, daggers, etc. this can ensure that each of them are critical hit. Moreover, Death Hex can be combined with Death Cloud to inflict huge amounts of damage. Sadly this can cause friendly fire. |
Mental Contamination
The main problem with the spells in this tree is that they are weak against the undead (you cannot put them to sleep). However, Waking Nightmare works against almost all enemies making it very deadly.
Still, I would get the spells in this tree as early as possible as they will work wonders in many early-game encounters.
| Spell | Description |
|---|---|
| Disorient | Progression spell |
| Horror | Works very well with the next spell - Sleep. I would not use this otherwise. |
| Sleep | Puts humanoid enemies to sleep. They will not wake up unless attacked, and this unlocks the potential for deadly combos with Horror and Waking Nightmare. |
| Waking Nightmare | The goal of this tree, that work with Sleep for guaranteed success. It is an excellent control spell in any combat scenario, to disable a few clumped-up targets. |
Entropic Mortality
| Spell | Description |
|---|---|
| Drain Life | To fit the theme of the build I do recommend using Drain Life. Heal is much better, but it requires additional talent investment and you pick this one automatically. |
| Death Magic | Can be used together with Blood Magic to restore health. Sadly the effect is reduced, but still worth considering. |
| Curse of Mortality | Kind of a mediocre spell. Enemies rarely use heal and the spirit damage is disappointing. I would only use this in situations when you are fighting undead and are limited by spell selection. |
| Death Cloud | A solid spell that covers an area in a dark cloud. Use this together with Death Hex to create the strongest spell combo - Entropic Death. Sadly, this has friendly fire. |
Equipment
The gear you use with Necromancer Build will play a crucial role in combat. There are various combos that you can go with.
Below, you will find the gear that should be used with the build. Generally, the lower the item is in the table the lower its priority and the earlier you can get it. So the top ones are the best picks.
For a build that uses Blood Magic, you will want one item with Improved Blood Magic so that your spells don't drain as much HP. So I recommend looking at these:
Weapons
| Item | Description |
|---|---|
| The best staff in terms of overall stat boosts, and improves spirit damage by 10%. Use this together with Black Hand Gauntlets for the maximum bonus of 30%. | |
| Grants +10 Spellpower, which is the highest value out of all staves. | |
| Grants a 15% spirit damage boost, excellent choice before obtaining the above ones. | |
| A bit weaker choice compared to Corrupted Magister's Staff. | |
| A simple staff, that will be excellent for early game, where enemies are resistant to Nature damage. |
Helm
| Item | Description |
|---|---|
| If you picked Arcane Warrior Specialization then, this Helmet becomes mandatory, as it is the most powerful option. | |
 First Enchanter's Cowl First Enchanter's Cowl |
Significantly increases the chance to dodge attacks. This effect stat with other items, can enable you to easily avoid enemy attacks. Still, this is only available very late in the game. |
| Improves mana regeneration and gives a decent boost to defense. |
Armor
| Item | Description |
|---|---|
| Gives significant bonuses to willpower and magic, greatly improving the healing capacity of the build. However, might not be accessible if you are playing for the first time, so look at the options below. | |
| These robes are perfect for the Necromancer playstyle as they improve the total HP pool for casting. Moreover, the +12 Armor bonus is significant for survivability. | |
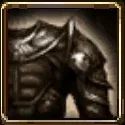 Wade's Superior Dragonskin armor Wade's Superior Dragonskin armor |
Part of Wade's Superior Dragonskin armor set. If you are looking to be able to sustain some enemy damage, this option is perfect. The whole set will make your fatigue value negative, meaning spells will cost even less than what is written in the tooltip. |
| Gives the "Improves Blood Magic" effect. I think the robe is a great pick in the early to mid-game, especially if you will be using Blood Magic. | |
| Gives mana regeneration and a direct increase in spellpower improving your damage. | |
| Improves core stats of caster - willpower, and magic. | |
| Improves core stats of caster - willpower, and magic, albeit with a lower bonus than First Enchanter Robes. | |
| Decent robes that you can get early in the game if you do the Circle Tower quest. |
Gloves
To be fair, any kind of gloves will work. Generally, I would recommend elemental gloves. However, as the build doesn't deal that kind of damage, they are irrelevant. There is one option if you plan on going with the armor set:
| Item | Description |
|---|---|
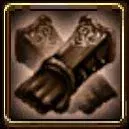 Black Hand Gauntlets Black Hand Gauntlets |
Provides a substantial 20% spirit damage bonus. |
 Wade's Superior Dragonskin Gloves Wade's Superior Dragonskin Gloves |
Part of Wade's Superior Dragonskin armor set. |
 Spirit Hands Spirit Hands |
Provides a +10% spirit damage bonus. |
Boots
| Item | Description |
|---|---|
| The only boots giving direct magic attribute improvement for mages. | |
 Wade's Superior Dragonskin Boots Wade's Superior Dragonskin Boots |
Part of Wade's Superior Dragonskin armor set. Although the boots can be used, that is an unlikely choice as you would utilize the whole set. |
 Imperial Weavers Imperial Weavers |
Improves the chance to dodge attacks. |
| Improves defensive values leading to more chances of avoiding attacks. | |
| Improves defense and also reduces hostility, attracting fewer enemies. |
Accessories
| Item | Description |
|---|---|
| This is the best build for Necromancer build. It does provide significant bonuses to stats but requires one to have finished The Golems of Amgarrak DLC | |
| The best belt available all around. The bonuses to stamina regeneration are great to counteract the sustained abilities. | |
| You will need to finish Witch Hunt DLC to unlock this accessory. The chance to dodge is excellent for survivability improvement. | |
| A decent belt that boosts spellpower and damage. |
Amulets
There are plenty of choices for Blood Mage in terms of amulets.
| Item | Description |
|---|---|
| The only amulet to add pure spellpower. Works on Blood Mage only. | |
| Significantly improves total health pool. Could be used together with Lifegiver to greatly improve the Blood Mage playstyle. | |
| It is one of the best amulets as it increases the mana pool adds a chance to dodge and a significant boost to spell resistance. | |
| The +1 to all attributes is a significant boost, especially at the start of the game. | |
| Provides +1 to magic. | |
 Par Vollen Willstone Par Vollen Willstone |
+2 Willpower, which is a decent boost early in the game. Otherwise, it is a low priority. |
Rings
| Item | Description |
|---|---|
| One of the best rings in the game. It gives +2 to all attributes. It can be obtained in Orzammar | |
| One of the best rings for Blood Mages as it gives a significant boost to the HP pool for Blood Magic. | |
| Provides "Improved Blood Magic" effect allowing to cast spells with less HP used. | |
 Dreamsever Dreamsever |
The +10% spirit damage is significant. However, the total bonuses to spirit damage cannot be higher than 30%. |
| Gives +1 to all attributes, which in turn will improve the constitution, magic, willpower - everything that the build uses. | |
| A great ring at the beginning of the game that you can obtain if you choose Magi origin. | |
 Morrigan's Ring Morrigan's Ring |
+2 Willpower. It's a decent bonus, especially if you have other casters and gear needs to be shared. |
How to use the Build
In this section, I would like to go through some general tips on how to correctly utilize the build.
Main mechanics
In this part, I would like to go through the core mechanics of the build. Using them you can construct your preferred playstyle and utilize everything that the various talent and equipment picks have to offer.
Sustained Spells
As with all caster Builds, this one will utilize them to some degree. Still as a Blood Mage, in the late game, you will have plenty of HP to continue casting spells with it. For this reason, I would recommend activating more sustained abilities than on a normal mage.
- Blood Magic - the spell can be turned on/off depending on the situation. For early games, I would turn it on when out of MP. For late game, when you can freely use Blood Sacrifice I would use this most of the time and deactivate only when HP management becomes a problem.
- Spell Might - improves spellpower resulting in stronger spells. Moreover, it will improve Drain Life and Animate Dead spells for their stronger versions.
And here are some optional ones, that I might use depending on the situation:
- Miasma - excellent for slowing down and weakening foes.
- Death Magic - works okay with Blood Magic, to restore health from dead foes. Sadly, the amount of HP restored is decreased compared to when not using Blood Magic.
- Animate Dead - if you picked this the skeleton could be a decent addition as a distraction.
Arsenal of Control Spells
So as a mage, you do have plenty of spells that apply some kind of control. Let's go through a few of them:
- Blood Wound - the strongest control spell in your arsenal against targets with blood. It paralyzes them and deals spirit damage.
- Sleep - can put to sleep enemies in a wide area. This can then be followed up with other spells or take out enemies one by one.
- Waking Nightmare - has a 100% success chance on sleeping enemies. It stuns foes, makes them attack each other, and creates confusion. I used this spell the most in combat.
- Horror - is also one of the spells that should be used on enemies with Sleep. Otherwise, its effect just paralyzes the foe.
- Mind Blast - excellent spell to stun most targets in close range. This will also improve your survivability In case you get overwhelmed.
Enemy Mages
One of the main and most destructive enemies in the game (besides Templars) is Mages. They can cast Fireball, apply Hexes, or freeze you or your allies. For this reason, I recommend taking Mana Clash.
In most cases, it will instantly destroy enemy casters if they have full mana. So use it the moment you see a caster enemy. It also works on enemies that might have mana, like Fade creatures, even though many of them don't use spells.
Magic Combos
So Entropy and Spirit Tree provide plenty of synergies unlocking some decent combos:
- Spell Might + Drain Life/Animate Dead - an improved version of the spells making them somewhat stronger.
- Sleep + Horror/Waking Nightmare - guarantees the effects of a second spell, and Horror also inflicts significant damage.
- Death Hex + Death Cloud - Entropic Death, applying large spirit burst damage. Death Cloud does hit allies, so be careful when using it.
Using these you will be able to overcome most of the encounters.
Blood Magic
So this build revolves around Blood magic to some degree. This of course requires you to manage it well, so that you would not get killed. I would like to go through a few strategies to ensure that you survive:
- Use Blood Sacrifice to restore HP from the tank or Ranger's Pet. In the worst case, this can be utilized on your healer.
- Death Magic will restore some HP, however, with Blood Magic its effectiveness will be reduced.
- At worst, you can disable Blood Magic, and either use MP to cast, or heal yourself with something like Drain Life.
Early Game Combat
The start of the game might be a bit difficult as you will be limited by your spell arsenal. However, with each level, it will be easier and easier. Here are some recommendations for the early game:
- Mind Blast - should be used when enemies are close, this will not only stun them but reset your threat level, making them choose another target.
- I would only use Blood Magic after you are out of MP in the early game.
- Sleep is a very powerful spell, especially against early-game darkspawn and humanoid enemies. If you land it follow up with Horror and Waking Nightmare to guarantee the effect of those spells.
- If you need healing, use Drain Life. I would use it every time you lose a bit of HP and have 80% or less. It is not a very powerful spell but it does its job for the Necromancer theme.
Late Game Combat
You will have a huge arsenal of spells, for different situations, I will try to cover some of them, but I will leave it to you to find the perfect combos for your playstyle.
- Continue using the Sleep with Horror and Waking Nightmare combo, as this will continue to be very effective.
- Blood Wound, Blood Wound, Blood Wound... A bit boring, but it is so powerful, not using it is a crime.
- Mana Clash - if you see any kind of enemy mage, instantly use it.
- Vulnerability Hex + Affliction Hex can be used on bosses, to greatly weaken them and inflict significant damage with spells.
- For allies dealing physical damage, use Death Hex, as this will guarantee critical hits.
- Lieutenants should be affected by Misdirection Hex so that they inflict minimal damage with their hits.
- Walking Bomb - use it on a group of weaker enemies. Once you cast it, focus fire with your allies to destroy that target so that the corpse would explode taking out others. Be careful not to use it close to the allies. However, your tank should be able to handle the damage.
Conclusion
Thank you for reading the Necromancer Build, post for Dragon Age: Origins. This setup does offer an interesting approach a debuffer confusing enemies and draining their strength using Dark Magic. If you want to debuff enemies, inflict nightmares, and break their positions, give this build a try!
Feel free to leave feedback below
Like, Dislike, comment, or share!
Join the Discussion
0 commentsNo comments yet.
Be the first one to leave a comment!