
Mirror of Loss Guide - Baldur's Gate 3 (BG3)
Mirror of Loss is a powerful Act 3 interactable object that can grant +2 to any ability, and in some cases, additional +1 Charisma. It does have various hidden mechanics and requires optimization for the highest success chance, but for those doing Honour Mode runs, it can have a significant impact.
This post contains major spoilers (which I still try to avoid), and the Mirror is part of Shadowheart's quest, where you will reach it naturally.
Contents
Main steps
Here, I would like to outline the main steps for those interested in obtaining results as soon as possible. I won't go into much detail about the mechanics; I'll outline what needs to be done and when.
Gain access to the Mirror room
The ![]() Mirror of Loss is accessible late into the game via Lower City in Act 3. You will enter it via
Mirror of Loss is accessible late into the game via Lower City in Act 3. You will enter it via ![]() House of Grief, which is part of Shadowheart's quest. It will resolve important parts of her backstory.
House of Grief, which is part of Shadowheart's quest. It will resolve important parts of her backstory.
Once you deal with ![]() Viconia DeVir, you will now be able to access other parts of the cloister. The goal is to unlock
Viconia DeVir, you will now be able to access other parts of the cloister. The goal is to unlock ![]() Threshold of Loss, which can be done in these ways:
Threshold of Loss, which can be done in these ways:
- Pass the 30 Sleigh of Hand check via lockpicking
- Read the
 Hastily Written Note
 - Shadowheart sides with Shar
- Cast
 Knock spell on the doors
Once inside, there will be two people. You can avoid interacting with them as they are related to Shadowheart. Depending on how you interact with them, Shadowheart might not be able to access the mirror. So again, I recommend avoiding interaction with them until you do everything you need with the mirror.
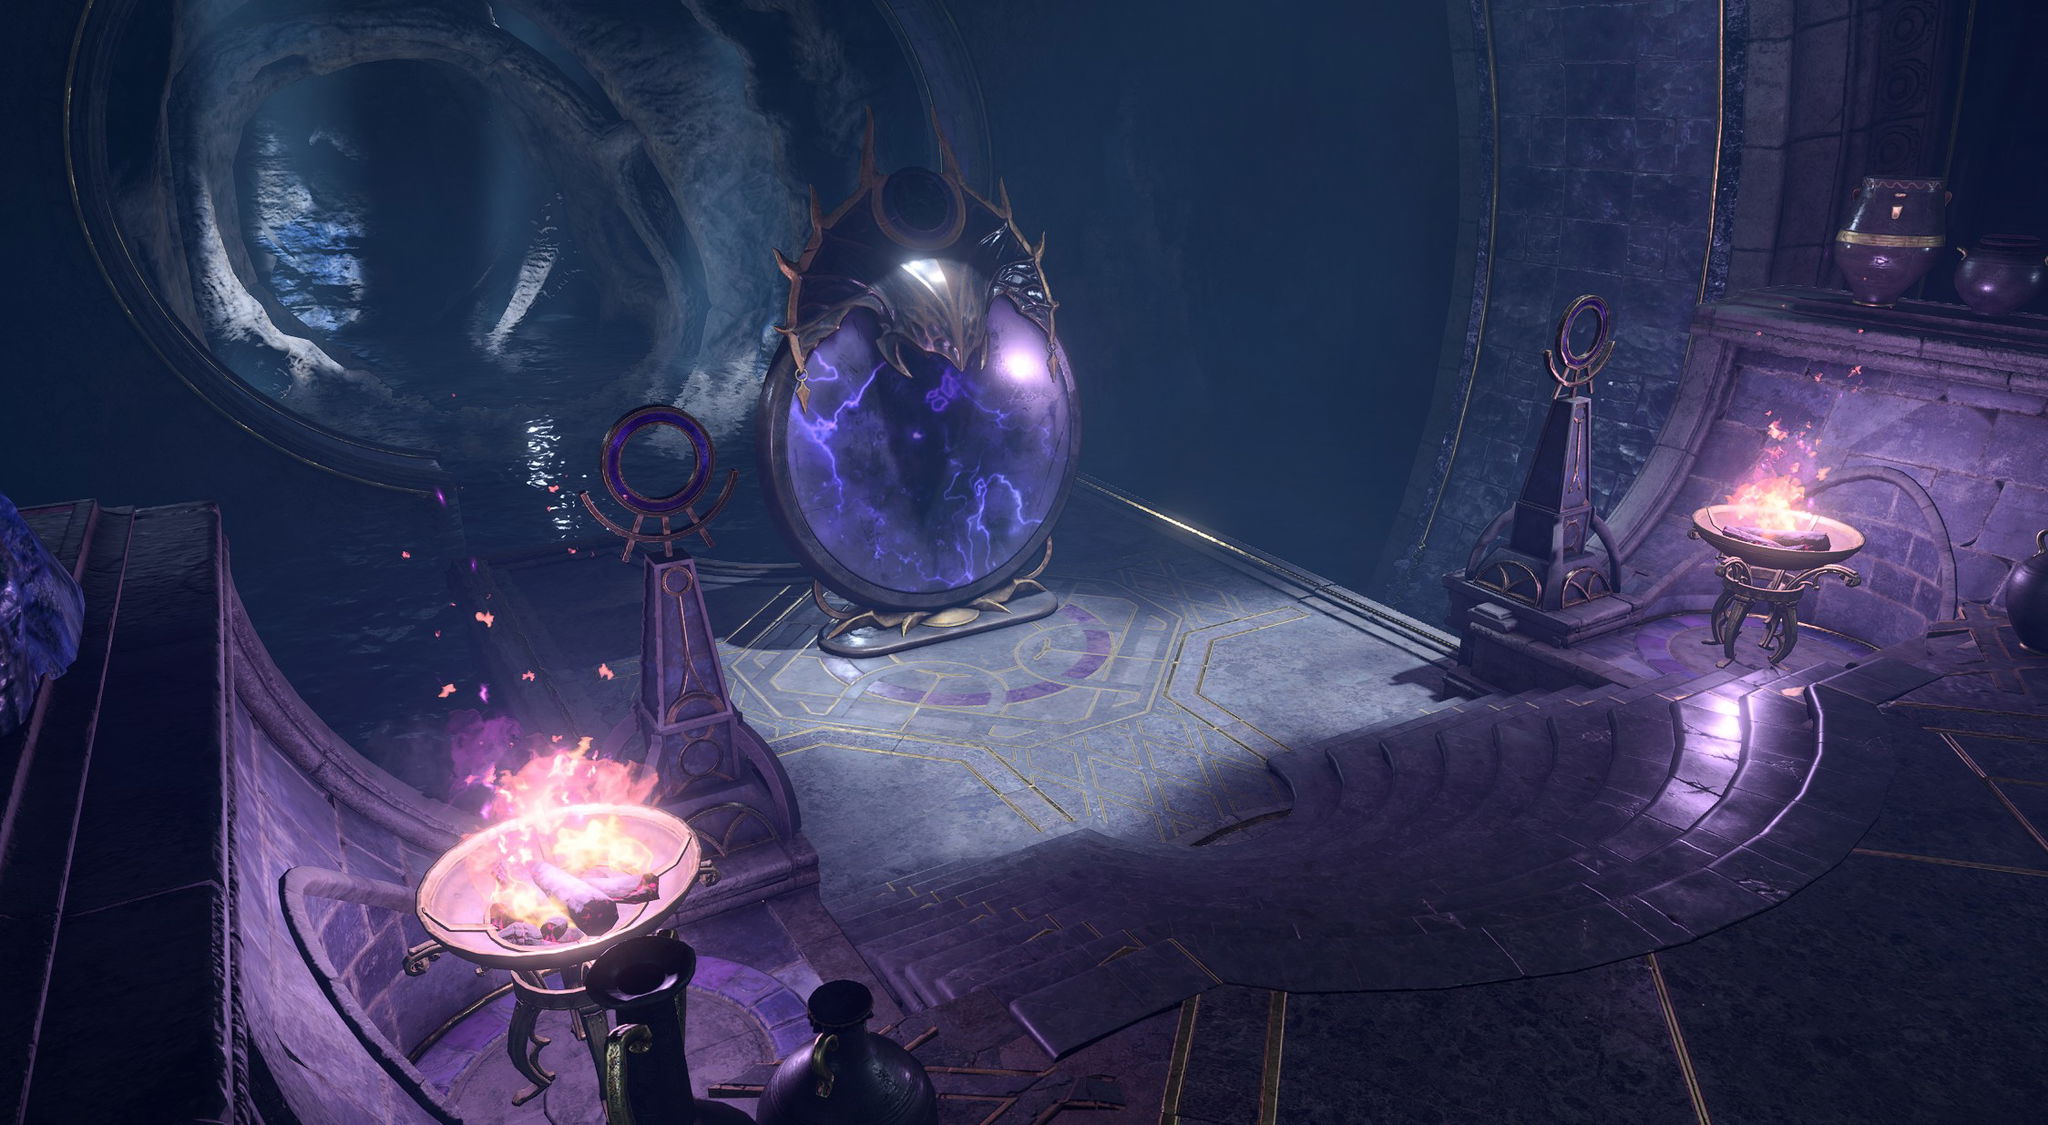
At the far end of the room, you will see the mirror.
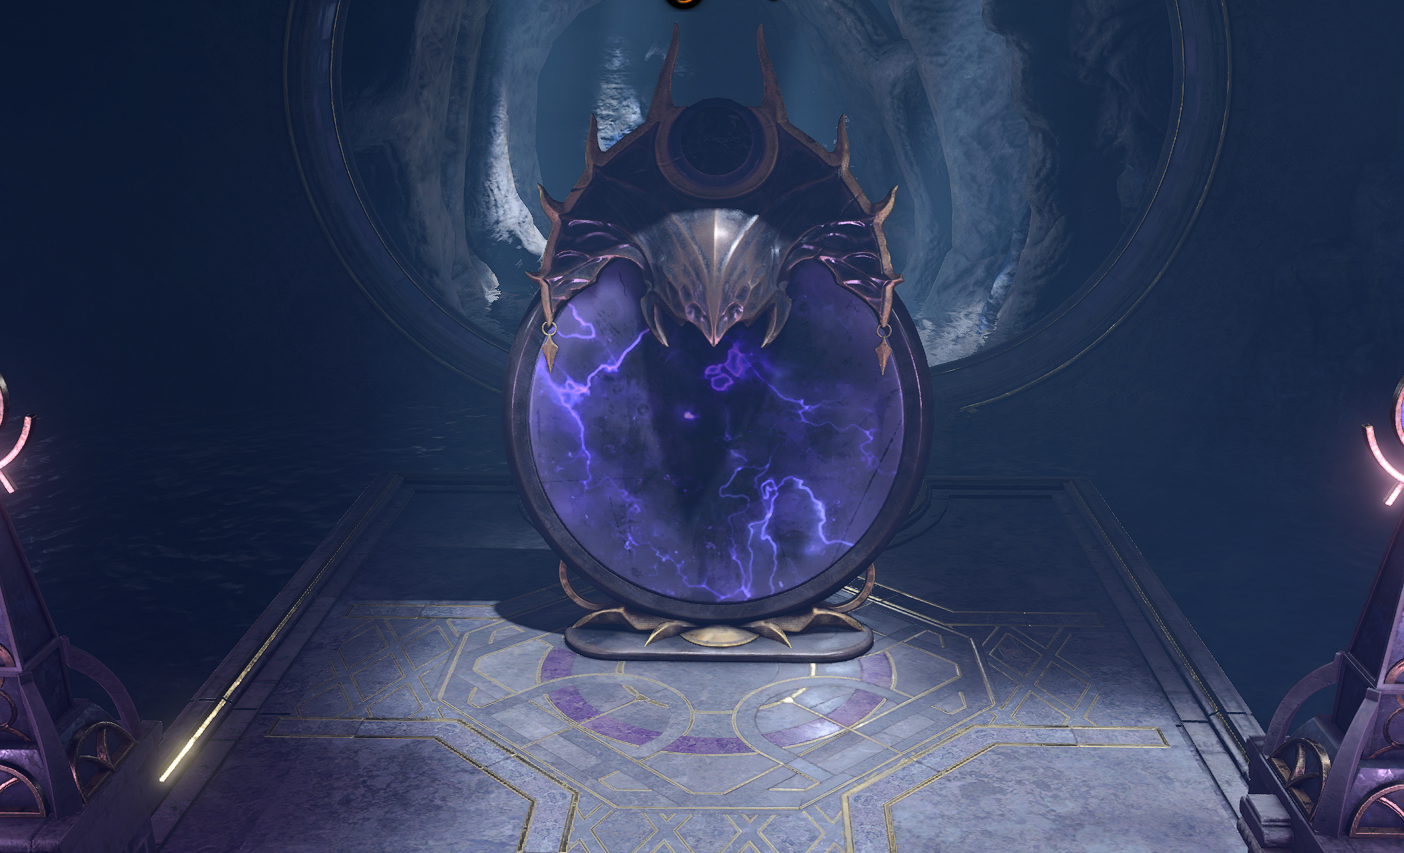
There is one broken mirror in Act 2, but it doesn't work.
Prepare your character
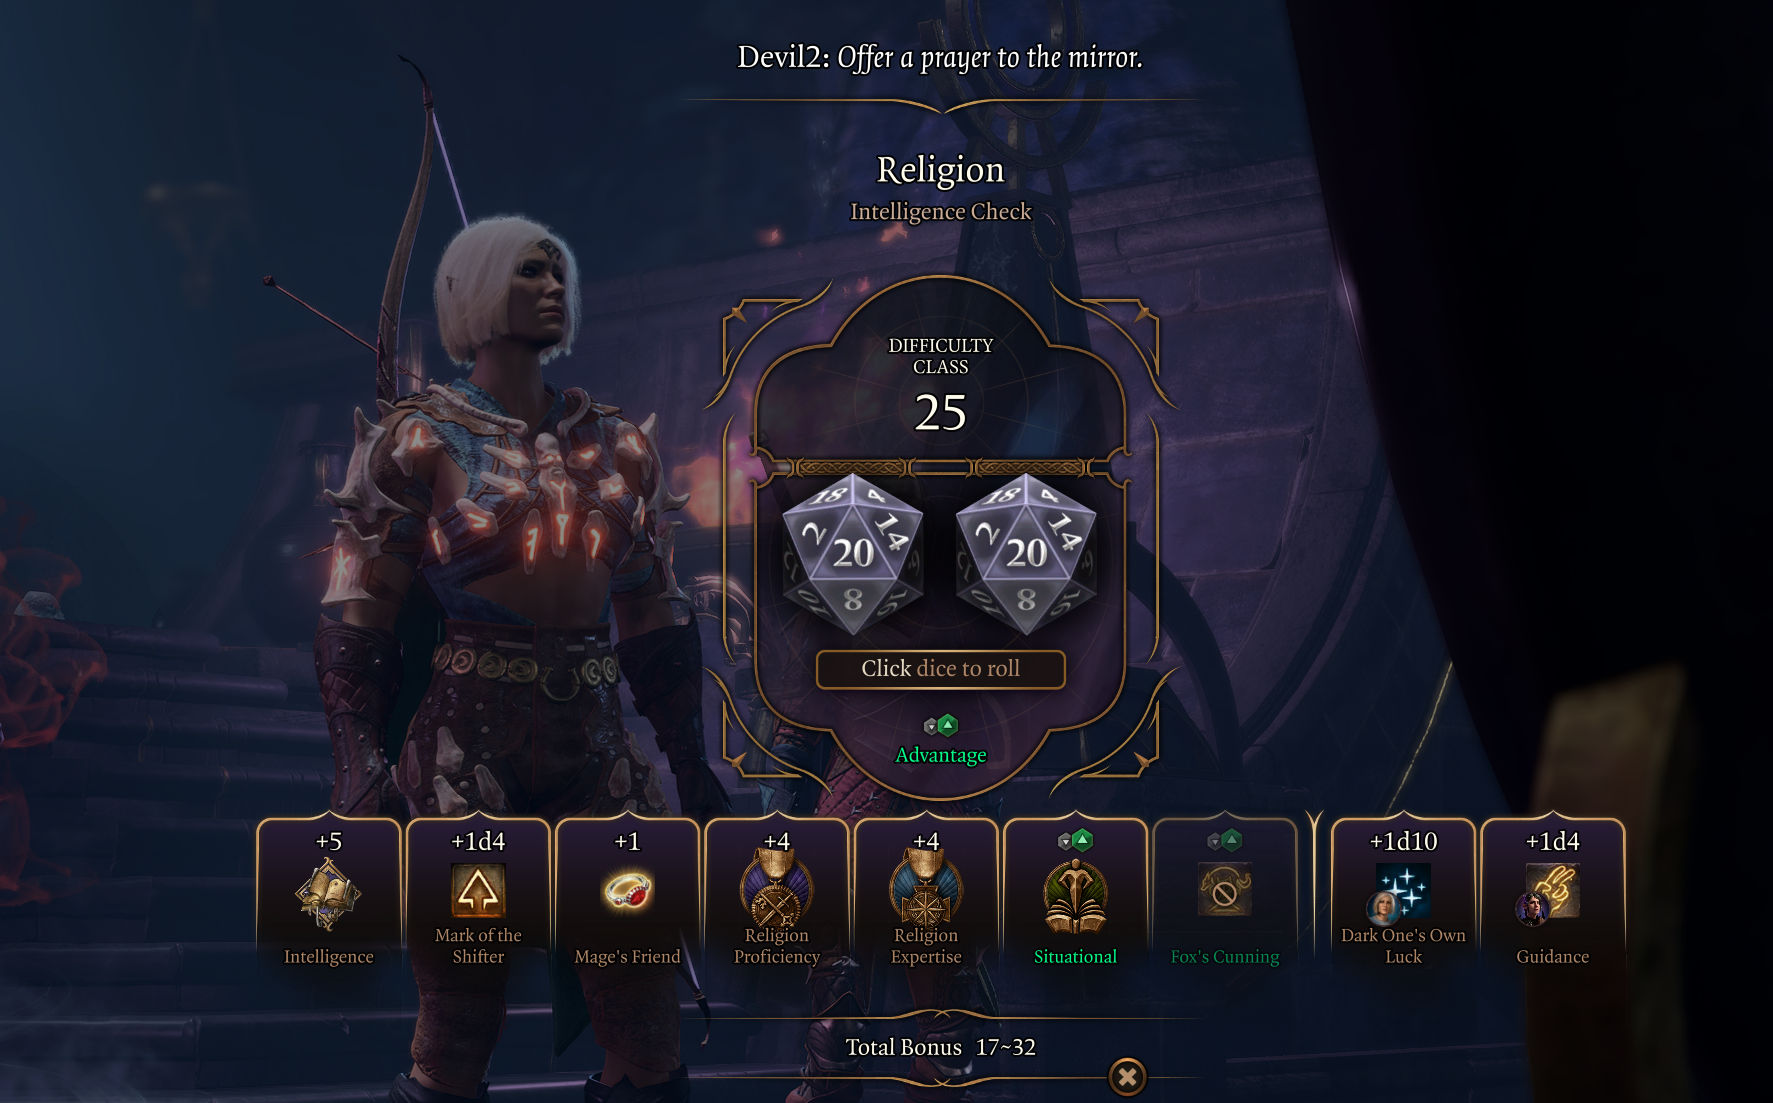
The Mirror has one difficult Religion check (25 difficulty). Sadly, if you fail it (and do not use inspirations), it is almost impossible to get +2 ability points. I will go through a few steps to maximize the success. I would recommend doing a respec of your character and creating this build:
| Level | Class | Selection |
|---|---|---|
| 1 | Bard 1 | Cantrips: any |
| Spells: |
||
| Abilities: STR - 8, DEX - 16 (15+1), CON - 15, INT - 17(15+2), WIS - 8, CHA - 8 | ||
| Skills: Religion, any | ||
| 2 | Bard 2 | Spells: any |
| 3 | Bard 3 | Spells: |
| Subclass: Any | ||
| Abilities: choose Religion expertise | ||
| 4 | Bard 4 | Cantrips: any |
| Spells: any | ||
| Feat: Ability Improvement - +2 Intelligence | ||
| 5 | Warlock 1 | Cantrips: any |
| Subclass: The Fiend | ||
| Spells: any | ||
| 6 | Warlock 2 | Spells: any |
| Eldritch Invocations: any | ||
| 7 | Warlock 3 | Spells: any |
| Pact Boon: any | ||
| 8 | Warlock 4 | Cantrips: any |
| Spells: any | ||
| Feat: Ability Improvement - +1 Intelligence, second point anywhere | ||
| 9 | Warlock 5 | Spells: any |
| Eldritch Invocations: any | ||
| 10 | Warlock 6 | Spells: any |
The goal here was to get ![]() Dark One's Own Luck, religion expertise, and
Dark One's Own Luck, religion expertise, and ![]() Advantage via
Advantage via ![]() Fox's Cunning via
Fox's Cunning via ![]() Enhance Ability. Once you get all you need from the mirror, you can do a respec back to your main build.
Enhance Ability. Once you get all you need from the mirror, you can do a respec back to your main build.
There is another Build that you can do, which ensures that you cannot get Critical Failure, but you will need to maximise bonuses from other sources, as this one doesn't get ![]() Dark One's Own Luck:
Dark One's Own Luck:
| Level | Class | Selection |
|---|---|---|
| 1 | Rogue 1 | Abilities: STR - 8, DEX - 16 (14+2), CON - 14, INT - 16 (15+1), WIS - 12, CHA - 8 |
| Skills: Any | ||
| 2 | Rogue 2 | - |
| 3 | Rogue 3 | Subclass: any |
| 4 | Rogue 4 | Feat: |
| 5 | Rogue 5 | - |
| 6 | Rogue 6 | Skills: Religion |
| 7 | Rogue 7 | - |
| 8 | Rogue 8 | Feat: Ability Improvement - +2 Intelligence |
| 9 | Rogue 9 | - |
| 10 | Rogue 10 | Feat: Ability Improvement - +2 Intelligence |
| 11 | Rogue 11 | - |
Gear Preparation
Here are a few gear items that can help with rolls:
| Slot | Item | Description |
|---|---|---|
 Head Head |
Gives access to |
|
| If you want to avoid respeccing the character, you can use this headwear to increase your Intelligence. | ||
 Amulet Amulet |
Just reminding of this item, best to use it on another character, so that you could apply |
|
 Rings Rings |
Gives +1 to Religion skill checks. | |
| Adds 1d4 when you are shapeshifting. This is pretty easy with |
Other Characters
I also recommend preparing characters with these actions:
- Have someone with
 Guidance, this can be another cleric, druid, or even someone wearing
  Silver Pendant.
 - Any other Bard, which could cast
 Bardic Inspiration for a significant roll boost.
All of this will give a sizeable bonus to the rolls:
Patriar's Memory for +1 Charisma
Here are the main logic steps for Patriar's Memory:
- If your build doesn't need +1 Charisma, I recommend skipping this and going for the next step to gain +2 on a selected ability.
- If your build only needs +2 Charisma, then also skip this step.
- This is only relevant for those who want a +1 Charisma bonus in addition to +2 (total of +3).
- Generally, this is needed for builds that skipped
 Auntie Ethel's Hair +1 Charisma.
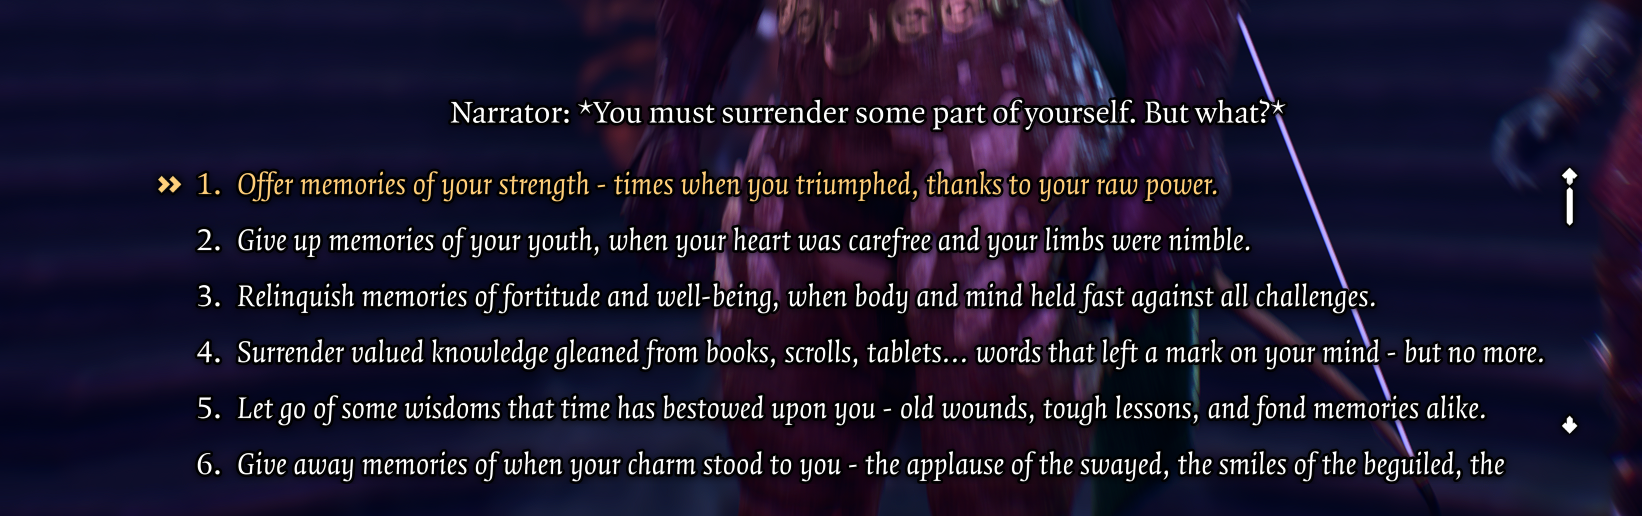
This is an important option for casters like Bards and Sorcerers, and sadly, it is not 100% guaranteed. This is tricky and largely dependent on luck. First, interact with the Mirror, and then choose the first option:
Gaze into the mirror, intent on offering it one of your memories.
Now you can see all the memories that you can offer (6 in total, which decrease each time you use one). The idea here is that you can offer one of your memories for a chance to gain another memory, which might contain this +1 Charisma bonus.
So every time you give up a memory, a dialogue would come up:
Something precious was surrendered. Already you cannot recall its exact nature - but you feel its loss, all the same.
Still through, for whatever was lost, something new shall be gained...
A foreign sensation assails you. For a moment, you do not feel like yourself.
And here is the most important part. You want this last dialogue to be:
Disappointment floods your mind. You were sure to succeed Stelmane, but Lord Enver Gortash has stolen your support. All that charming and cajoling in the parlours of the Upper City, wasted.
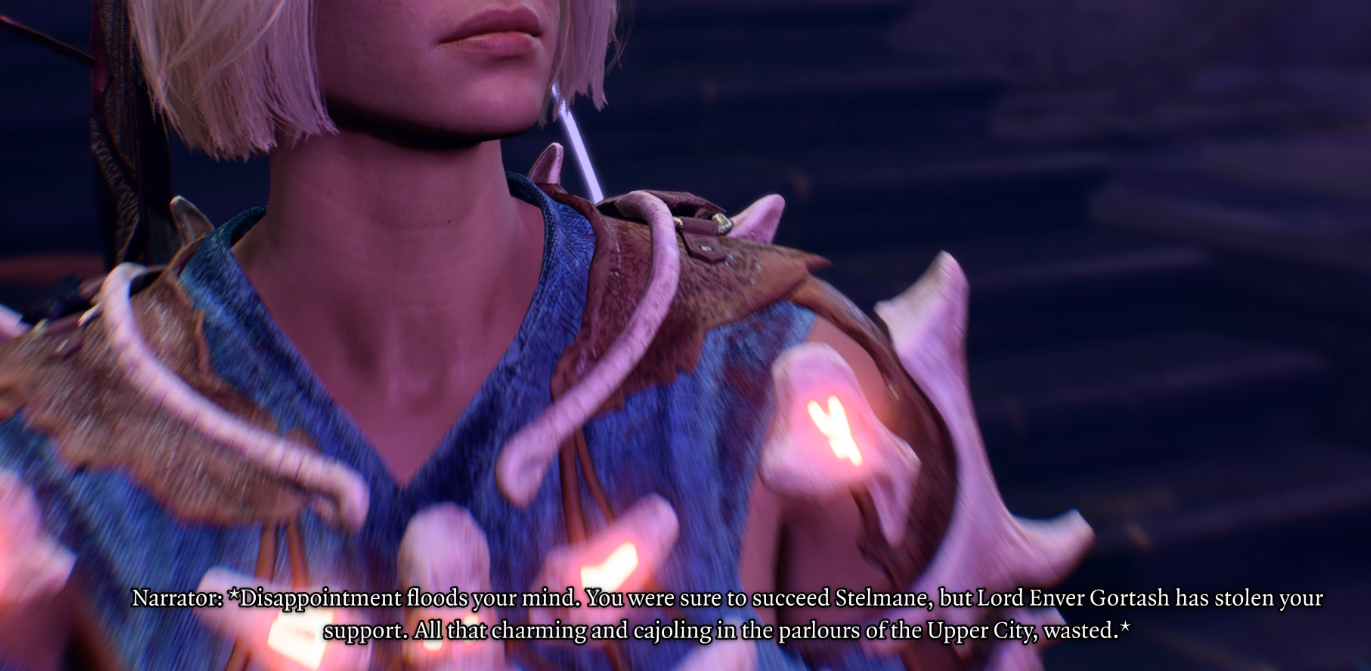
If you got this one, congratulations, you have gained +1 Charisma. If not, you will have to offer another memory for additional try. Talk with the mirror again, and select the first option.
Sadly, you have a limited number of tries - 6 to be precise (for each memory). Moreover, you still want to leave some memories to later gain +2 to Charisma or another ability. So I recommend only sacrificing 3 - 4 memories. If you did not gain +1 Charisma by then, skip it, and concentrate on the next step
Gaining +2 to selected Ability
This is generally the main goal, and what you want to do is select the second option first:
[Religion] Offer a prayer to the mirror.
Stack up all your bonuses:
 Enhance Ability - I would precast this before interacting with the mirror and choose
  Fox's Cunning.
- Guidance
 Dark One's Own Luck
- and others
This will help you to maximise the chances of success and avoid failing the roll. If you passed it, congratulations.
In case you failed the roll, there is still an option to get the +2 Ability bonus. This requires you to sacrifice Forbidden Knowledge from the Necromancy of Thay book. After that, you can sacrifice memories for a chance to gain +2.
Now you can start offering your memories via the other dialogue choice:
Gaze into the mirror, intent on offering it one of your memories.
Again, choose one of the available memories and surrender it. After the choice, here is what would follow:
Something precious was surrendered. Already, you cannot recall its exact nature - but you feel its loss, all the same.
Still though, for whatever was lost, something new shall be gained...
And if you got this dialogue
You feel the presence of something, ancient and unknowable. It has taken notice of you.
Where once the mirror showed nothing, there is now something. Memories, experiences, skills. All prised from the minds of others, and now offered to you, to choose from
Congrats! You were successful
Now you can choose one of the dialogue options that correspond to different ability points:
| Dialogue options | +2 Ability |
|---|---|
| Claim memories of strength from a long-dead general, who marched under the banner of a vanished kingdom. | +2 Strength |
| Help yourself to the memories of a seasoned thief's most daring exploits. | +2 Dexterity |
| Seize the memories of a barbarian, whose mind and body were tempered against hardship | +2 Constitution |
| Glean the secrets of a wizard who once stalked the library of Candlekeep. | +2 Intelligence |
| Turn to the wisdom of a drow. Once of Lolth, then of Shar. | +2 Wisdom |
| Warm to the guile of a bard who could charm even a dragon. | +2 Charisma |
Again, this is not 100% guaranteed, and if you have done everything, you might still not get all the bonuses.
After the Mirror
After you finish interacting with the mirror, you will probably have ![]() Stolen Vigour debuff on at least one of your abilities. Either long rest or use
Stolen Vigour debuff on at least one of your abilities. Either long rest or use ![]() Remove Curse to heal from these.
Remove Curse to heal from these.
Also, remember to respec your character back to the original build.
Shadowheart Options
If you have her in your party, there are a few things to consider about what will happen. Overall, this can contain her quest spoilers, so avoid it before you reach the ![]() Mirror of Loss. The possibilities depend on these two options:
Mirror of Loss. The possibilities depend on these two options:
Disloyal to Shar
If Shadowheart decides not to follow Shar, specifically with the major decision in Act 2, she will not be able to use the mirror. Anything you do there will have no impact.
Loyal to Shar
Here, you have one major decision before interacting with the mirror. As you enter the room, you will see 2 people. I would skip interacting with them and go straight to the mirror. This way you are considered loyal to Shar.
As you can expect, interacting with those people can lead you to the path of being disloyal to Shar, which closes access to Mirror benefits. So I recommend this sequence of steps.
Credits
If you are interested in knowing more about mechanics, check this YouTube video.
Like, Dislike, comment, or share!
Join the Discussion
0 commentsNo comments yet.
Be the first one to leave a comment!