
Artificer Dual Dagger Build - Dragon Age: Inquisition (DAI)
Contents
Artificer Dual Wielding Dagger build
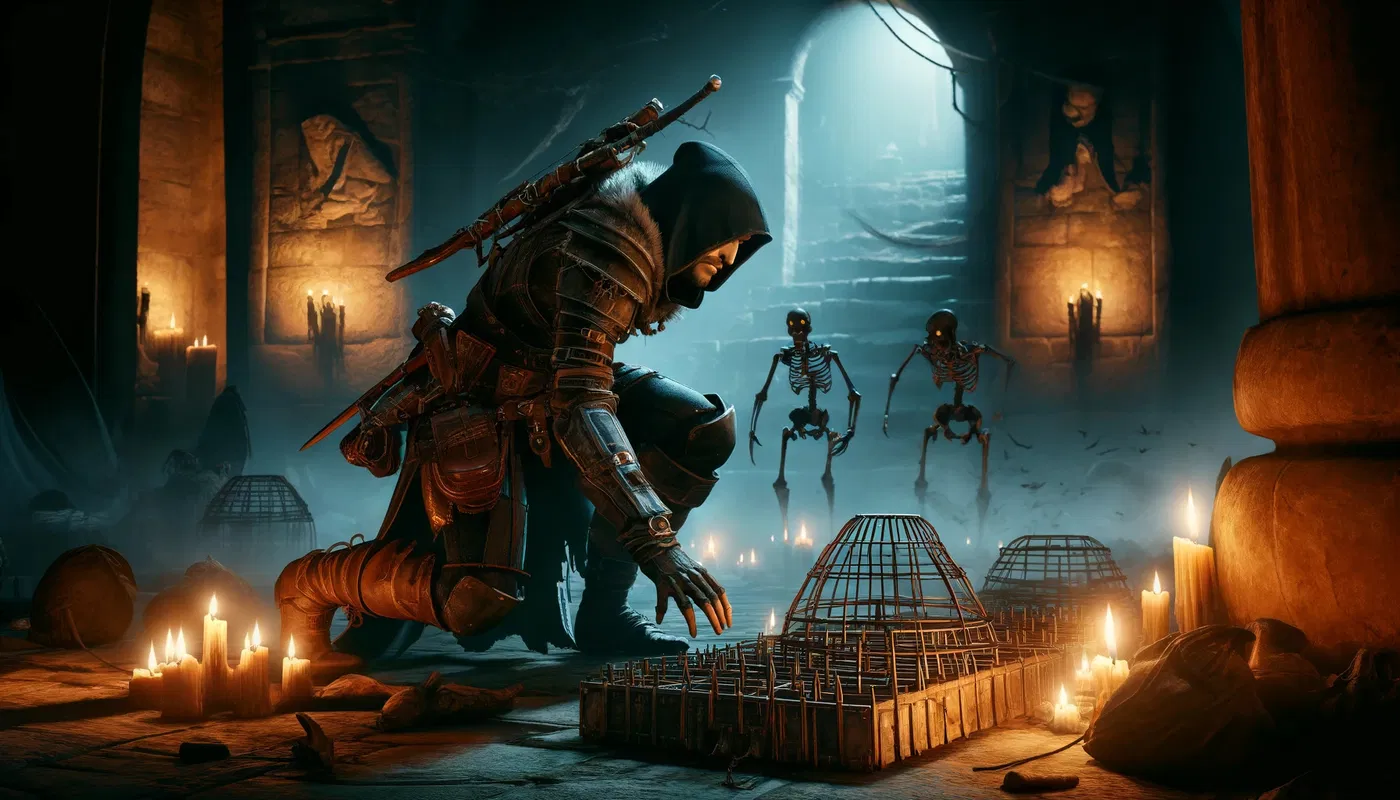
This Dragon Age Inquisition Artificer dual-wield build is a bit different. It relies on spamming traps to create elemental explosions with mines. Once the area has been covered in Elemental Mines, you will be out of Stamina.
However, this is not a problem, you have access to multi-hit attacks - Throwing Blades and Spinning Blades. These will instantly restore most of the stamina, thanks to the high critical hit chance of Artificer. After that, you follow up with more mines creating a total wreck of enemy positions.
Abilities - before Specialization, Levels 1-10
Before reaching level 10 you will not have Artificer specialization. Due to this, there may be minimal constraints that you have.
| Order | Skill | Description |
|---|---|---|
| 1 | Enter stealth at will, even if you are staggered or under negative effects. Moreover, you will get a small boost of 50% damage with the first attack | |
| 2 | Takes you to stealth after the second hit | |
| 3 | We take it to unlock other abilities, but it still gives a good option to deal damage | |
| 4 | Many of your hits will deal killing blows early in the game as you will deal large amounts of damage. | |
| 5 | Because you will concentrate on attacking from flanks, this will double your critical rate | |
| 6 | Reduces the threat that you generate |
Once you reach level 10~ you should be able to obtain an Artificer specialization. You are then ready to move to the next builds
Abilities - progression till Endgame
| Order | Skill | Description |
|---|---|---|
| 1 | The first ability to take that greatly increases your survivability and tactical advantage | |
| 2 | Your best passive ability. Cooldowns are reduced every time you or your companions do a critical hit. This allows you to have much shorter cooldown times if you have a high enough critical rate | |
| 3 | Your traps will deal additional damage because the Artificer Dual wield build will use them constantly, this ability is essential. | |
| 4 | This is the Dual Dagger Artificer build main ability. You will spam the whole battlefield with elemental Mines, dealing large amounts of damage. Unfortunately, this will cost all of your stamina, but other abilities will allow circumvent this drawback. | |
| 5 | A mandatory passive ability. Your whole party will have an increased critical chance. Greatly buffs the Opportunity Knocks effect. | |
| 6 | This is a good ability to have so that you can run away from enemies close to you. | |
| 7 | Take this for progression | |
| 8 | This ability will allow the build to restore stamina for each critical hit. You will have many of those, so you can instantly restore your stamina pool | |
| 9 | Enables the Artificer to Sunder enemy armor for a while after a successful critical hit. | |
| 10 | Due to multiple hits, this ability is effective at generating critical hits. This way you can restore stamina and abilities much faster. | |
| 11 | This ability plays an important role. It enables to deal damage and enter stealth at the same time | |
| 12 |  Bloodied Pray Bloodied Pray |
Increases damage by 10% if Artificer's HP is higher than the enemy that it attacks. |
| 13 | A passive ability that adds a bonus critical chance if you make a hit with a normal attack. This piles up until Artificer makes a critical hit. | |
| 14 | This is another ability together with Throwing Blades that you can use to instantly generate many critical hits. With the upgrade, you make 9 hits, which can instantly restore most of your stamina. | |
| 15 | Reduces the threat that Artificer generates, allowing you to avoid enemy attacks. Moreover, provides a bonus for flanking damage. | |
| 16 | This ability allows poisoning your weapons. This gives a small boost to the overall DPS | |
| 17 | Gives a 25% bonus duration to the Poison effect. |
Stats and attributes

-
Critical chance – I recommend having at least 70%. It will ensure that you both have fast cooldowns and an almost full stamina bar.
-
Critical Damage – After you have a high critical rate (70%+), prioritize this stat if you are able.
-
Cunning – if you are not able to get direct investment to critical chance get Cunning bonuses
-
Attack – provides a larger damage bonus, better than dexterity as you usually get much higher bonuses for Attack
-
Dexterity – alternative to critical damage, but provides less bonus
Best Equipment and items
In this section, I will cover the best items for dual wield artificer build in Dragon Age: Inquisition
Weapons - craftable
| Priority | Item | Description |
|---|---|---|
| 1 | Gives decent slots, and large damage, but can be hard to obtain. It has the highest base damage out of all daggers. | |
| 2 | Alternative to the first option, and can be acquired much easier. Gives 11 Leather offensive slots for bonus flanking damage | |
| 3 | Single target dagger that has excellent leather slots. Can be bought in Black Emporium. Also comes with a grip slot | |
| 4 | Provides better slots than Coiled Strike Schematic even with a grip, but loses on DPS. |
Weapons - obtainable
There are plentiful dagger options to choose from for the Assassin.
| Priority | Item | Description |
|---|---|---|
| 1 | The dagger provides a unique ability that increases movement and attack speed after each kills. Only obtained in the Trespasser DLC. | |
| 2 | Obtained with The Descent DLC. Gives a large boost to dexterity resulting in higher critical damage | |
| 3 | The dagger provides a large boost to Flanking damage and a 20% bonus Focus Gain. | |
| 4 | The dagger is extremely powerful and hard to obtain early in the game. However, if you manage it, your DPS will skyrocket due Hidden Blades effect |
Armors - obtainable
| Priority | Item | Description |
|---|---|---|
| 1 | This armor is a perfect match for this build as it provides a large boost to of 45 Cunning resulting in a much higher critical chance | |
| 2 | Obtainable only in the Trespasser DLC. Boosts Critical Damage, Critical Chance, and Attack. | |
| 3 | This armor reduces ability stamina cost by 20% if not attacked for 5 seconds. This should be easy for Artificer build. |
Armors - craftable
| Priority | Item | Description |
|---|---|---|
| 1 | This armor has 23 utility leather slots if you include upgrades. Feel free to increase either dexterity or cunning based on what the ARtificer build needs more. | |
| 2 | This is a cheaper alternative to Superior Prowler Armor Schematic. It also gives less defense and 22 utility leather slots. | |
| 3 | Can be obtained from The Descent DLC. Has decent slots, but is worse compared to the options above. |
Helmets - obtainable
| Priority | Item | Description |
|---|---|---|
| 1 | Has both good bonus stats and armor rating. Can be obtained in The Descent DLC | |
| 2 | A decent mid-game option that gives a good boost to critical damage by increasing Dexterity. | |
| 3 | Alternative to Mask of the Grand Duchess if you have a high critical chance (50%+) | |
| 4 | Alternative to Ambassador's Mask if you have a low critical chance |
Helmets - craftable
| Priority | Item | Description |
|---|---|---|
| 1 | The best craftable helmet that gives 10 leather utility slots and is easy to obtain | |
| 2 | A cheaper alternative of the Superior Skirmisher Hat Schematic. Has only 8 leather utility slots | |
| 3 | Costs only 182 Sovereigns and gives 7 leather utility slots. Get it if you are short on money. |
Amulets
| Priority | Item | Description |
|---|---|---|
| 1 | This amulet will increase dexterity resulting in higher critical damage. | |
| 2 | This amulet will increase both critical chance and critical damage | |
| 3 | The amulet will increase the critical chance, allowing to reduce ability cooldowns. |
Belts
| Priority | Item | Description |
|---|---|---|
| 1 | This belt boosts the critical chance. Only obtainable in the Trespasser DLC. | |
| 2 | This belt gives a bonus chance to stagger enemies. This way they will have their attacks interrupted. | |
| 3 | The belt can be obtained in Emerald Greaves. It gives +200 health. | |
| 4 | Similar to the above belt provides a large increase in HP. |
Rings
| Priority | Item | Description |
|---|---|---|
| 1 | Provides a large boost to critical damage, especially powerful once you have 50%+ critical chance | |
| 2 | Only obtainable in Trespasser DLC. However, provides large offensive bonuses | |
| 3 | Expensive ring bought in Black Emporium. Boosts your critical damage and critical rate. | |
| 4 | Increases Critical chance allowing Opportunity knocks ability to activate more often | |
| 5 | Increases overall Artificer build damage |
Tactics
The hard part is to learn to correctly activate Elemental Mines. They take some practice to use, however, they deal huge damage after you get it right.

Here is how I approach the fight:
-
Enter Stealth
-
Use Poison Weapons (if you don’t have them skip the step)
-
If enemies are in a group throw, Elemental Mines, otherwise use Spike Trap
-
Use Throwing Blades
-
Use Spinning Blades
-
Use Flank Attack/Stealth to enter stealth get a breather and check how the situation changed on the battlefield.
-
Apply Poisoned weapons while in stealth
-
Repeat from step 2
Of course, you can continue Throwing Blades -> Spinning Blades -> Throwing Blades -> Spinning Blades if you are not being attacked.
Conclusion
Thank you for reading this amazing Elemental Mine Artificer build using Dual wielding. This is an exciting setup, offering an engaging combat loop that will provide various options in different combat situations.
Like, Dislike, comment, or share!
Join the Discussion
0 commentsNo comments yet.
Be the first one to leave a comment!