Unarmed Fist Build - Fallout: New Vegas (FNV)
This post will cover the best Pistol build for Fallout: New Vegas. I will be going in-depth on the main attributes, skills, and gear. This should help you make decisions on how to progress through the game in the optimal matter
Contents
Unarmed Fist Build
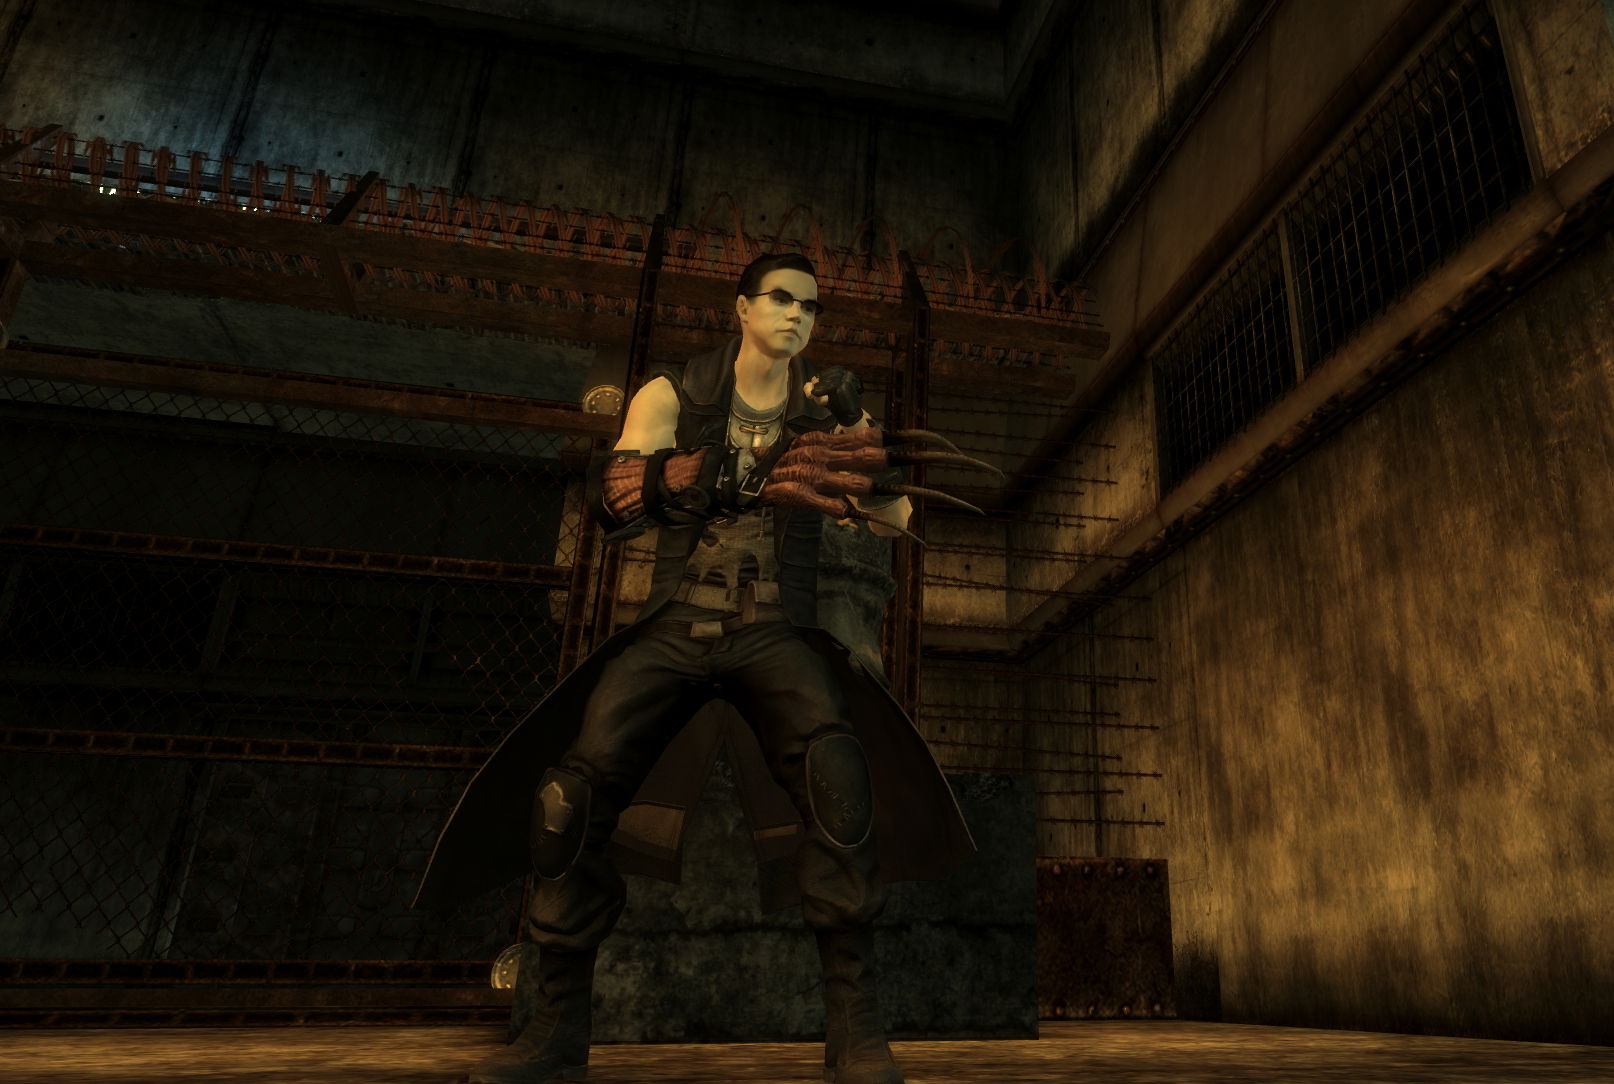
With this build, it is the goal to create an unarmed monster that would shred through the enemies in close combat. Gladly, Fallout New Vegas allows for this. The main idea is to take any perk that positively impacts your fists and their damage. After that, get relevant gear to further empower yourself.
Even though the early game may be challenging as you progress it becomes easier. Moreover, it is also easier to accumulate bottle caps as you do not use any ammo and all of it can be sold. This allows buying better gear, chems and stimpaks
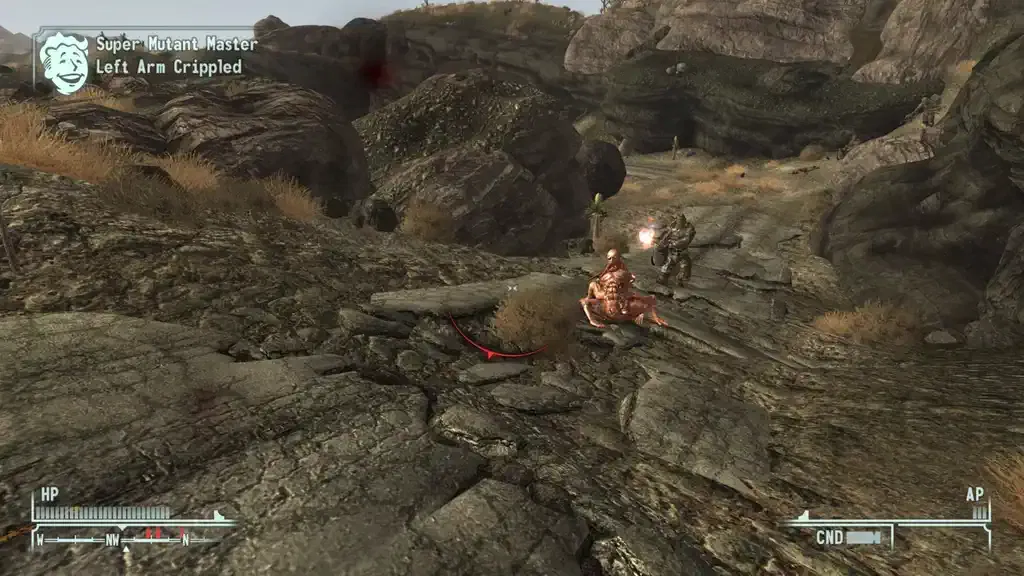
The game offers a wide variety of "fist" weapons that each give unique effects: fast attacks, explosive hits, electrocution, etc. Feel free to test them out to find your preferred playstyle. Generally, from about level 24+ you should be overpowering any game encounter the game throws at you.
So let's get into the build
Starting the Game
In this section, I would like to go through some recommendations for the Unarmed build. This covers only the start of the game, so read the next section on how you should progress and how the end game build should look like.
SPECIAL
| Attribute | Value | Description |
|---|---|---|
| 6 | Although the game description says that strength increases unarmed damage, it does not. We need it enough to wear Power Fists. | |
 Perception Perception |
5 | Although this build does not utilize Perception much, we need it for the Better Criticals perk |
 Endurance Endurance |
8 | Gives bonus HP and resistance, making it easier to survive combat encounters. Moreover, it will allow us to get plenty of implants |
| 1 | Not very important as it only gives bonus stats for companions | |
| 6 | Intelligence increases skill points earned each level up. This should be enough to get most of the needed skills for the build. | |
 Agility Agility |
6 | We need agility for some perks and it gives a bonus to Action points. We will increase it with perks later on |
| 8 | This attribute is very important for our build as we will utilize critical hits to maximize unarmed damage. Moreover, this will be beneficial at the Casino to get additional bottle caps |
Tag Skills
These are the ones that you choose at the beginning of the game. Here is what I recommend:
| Skill | Description |
|---|---|
| Even if your shots would not succeed, close combat was also where you were trained well. It did not scare you and allowed you to hit the enemy in the weak spot, leaving them paralyzed | |
 Medicine Medicine |
I think this is important for Unarmed build. You will constantly take damage (unless using a sneak approach) and using chems like Stimpak, Turbo, Med-X, etc. is almost essential |
 Lockpick Lockpick |
Generally, many skills work here. I like looting so Lockpick is my preferred option. Sneak is another choice, but may not be as useful early in the game, due to large open areas. If you like persuading people, take Speech, etc. So there are many options, moreover, stealth may not be as useful in the first few levels. |
Traits
The traits are definitely optional and just recommendations. Pick up to two of them:
- Skilled - fairly low intelligence can be counteracted with this trait. it gives +5 to all skills making it a bit easier, getting everything you need. Of course, this reduces XP gain by 10%, but you can counteract this with Well Rested.
- Built to Destroy - increases weapon damage at the cost of faster weapon decay. Later you can take the Jury Rigging perk, which makes repairing items very easy.
- Wild Wasteland - see new and unique encounters in the wasteland
Early game tips
Here I would like to offer some early game tips for the build to make it easier when starting out
Sell ammo
Because the build does not use ammo, you can sell most of it. This will allow you to accumulate a decent war chest that you can use on chems - stimpaks, med-x, etc. When starting the game, Courier's Stash addon gives some, that you can sell.
Of course, if you feel the need to use ranged weapons in the early game (as it may be difficult without good armor), keep weapons/ammo and use them
Doing the main quest
Unless you are cheesing some of the game mechanics, and want to experience the game as intended, I recommend doing the main story quest up until you reach Novac. The journey will provide you with two companions:
- ED-E - in Primm City, it is a robot that you can revive using some scrap parts. The parts can be found on Lone Wolf Radio.
- Boone - you will find him in Novac. To join you, you have to do his quest and help him
These companions will help you a lot and make the game more fun and easier. Another thing is that Novac will give you your own room, where you can store loot. This makes scavenging easier throughout the game.
After this, it's your choice what to do
Progression and Final Unarmed Build
Now I would like to go through the progression for the build and how it should look once "it is done". I will also share some tips and directions to get the most out of it.
SPECIAL
Here is how your attributes should look like when they are maximized and you obtain most of the stuff in the game.
| Attribute | Value | Description |
|---|---|---|
| 9 |
|
|
 Perception Perception |
6 |
|
 Endurance Endurance |
9 |
|
| 2 |
|
|
| 7 |
|
|
 Agility Agility |
8 |
|
| 10 |
|
Skills
In this section, I will go through the skills for the Fist Build. I want to recommend the progression below. This will ensure that you get all the skills that you need for the build. Of course, you can still spend 3-5 points at every level on other choices and this will not create any problems.
I recommend leaving skills at 90 (except science and lockpicks as you may miss some loot) and getting the rest 10 points from skill books in Mojave Wasteland
| Order | Skill | Description |
|---|---|---|
| 1 | Improve the skill to get the bonus damage and make early-game combat a bit easier | |
| 2 |  Lockpick 50 Lockpick 50 |
Allows unlocking Average locks, that contain some sweet loot and ammo |
| 3 |  Melee Weapons 45 Melee Weapons 45 |
Will be needed to unlock perks |
| 4 |  Lockpick 75 Lockpick 75 |
Allows unlock Hard locks. |
| 5 | Improve the effectiveness of your fists and unlock new perks | |
| 6 |  Medicine 60 Medicine 60 |
Improve stimpak healing and get new perks related to chems usage |
| 7 | This should be a good point in the game to start introducing stealth. You will also get some good perks later on | |
| 8 |  Lockpick 100 Lockpick 100 |
Allows unlocking Very Hard locks |
| 9 | Maximum for Unarmed and getting the best perks | |
| 10 | Better Sneaking ability and more perks | |
| 11 |  Melee Weapons 80 Melee Weapons 80 |
Needed to unlock the Ninja perk |
| 12 |  Medicine 70 Medicine 70 |
Improves stimpak effectiveness |
| 13 |  Survival 70 Survival 70 |
Allows unlocking Rad Child perk that greatly improves health regeneration |
| 14 |  Repair 90 Repair 90 |
No need to hurry with this one. however, it gives a Jury Rigging perk, which is very good for saving money when repairing items. |
| 15 |  Melee Weapons 90 (optional) Melee Weapons 90 (optional) |
This is totally optional, it is needed for Unstoppable Force perk, which gives bonus damage against blocking opponents. By this time, enemies should be dying very fast, so the perk loses its importance. |
After this you are free to put the points however, you want and prioritize the things that you think are needed based on your playstyle.
Perks
Although I list the perk in level order of when you should get them, I recommend assuming that this is a list. Different players will prefer getting different skills first, so some of the perks might be available later/earlier.
Generally, there are a lot of perks that are useful for the fist build. I mostly concentrate on those that improve damage
| Level | Perk | Details |
|---|---|---|
| 2 |  Confirmed Bachelor/Black Widow Confirmed Bachelor/Black Widow |
As many of the game enemies are male, getting this perk will give 10% more damage and unlock unique dialogue options (if you wish to use them) |
| 4 |  Educated Educated |
This skill should be taken as early as possible (level 4), it will give 2 skill points each level up which accumulate a lot during the game |
| 6 |  Intense Training Intense Training |
Get agility. We will need it later for some perks |
| 8 |  Super Slam! Super Slam! |
This is a very powerful ability, that allows knocking out enemies. This works on any of them. The problem is that after some time you lose any strategic thinking - go into fight, knockdown, finish off. There is no need to hide, run away, plan, etc. I recommend taking Stonewall as an alternative and pick this one later, or don't take it at all. |
| 10 |  Stonewall Stonewall |
This perk gives bonus protection against melee and unarmed attacks. However, the most important part is that you cannot be knocked down. |
| 12 |  Finesse Finesse |
+5% Critical chance, for even more precise shots. |
| 14 |  Piercing Strike Piercing Strike |
A very powerful perk for the unarmed build. Ignores 15 DT (which is all protection of Deathclaw) for more damage. |
| 16 |  Silent Running Silent Running |
Makes it harder to detect you while sneaking. Use this to get a better position and take out enemies by surprise. I think this is also a good start to use this game mechanic with your high sneak level. |
| 18 |  Better Criticals Better Criticals |
Increases critical damage with your attacks by 50%. One of the most impactful damage perks for the Fist build |
| 20 |  Purifier Purifier |
Gives a huge 50% boost with unarmed attacks against the most vicious enemies of the wasteland - deathclaws, super mutants, night stalkers, etc. |
| 22 |  Chemist Chemist |
This is a perfect time to start using chems to improve your combat capabilities. |
| 24 |  Ninja Ninja |
Improves stealth critical hit damage by 25%. |
| 26 |  Paralyzing Palm (Optional) Paralyzing Palm (Optional) |
If you use VATS, this perk allows paralyzing enemies with normal hits. I recommend saving and trying it out. Otherwise, go for Intense Training and bonus Endurance or Agility |
| 28 |  Slayer Slayer |
Improves the attack speed of unarmed attacks by 30% |
| 30 |  Eye for Eye Eye for Eye |
Gives 10% damage for each broken limb. You may be confused about why this perk should be used. However, getting your arms broken has no negative effect on you as you do not use weapons. Moreover, this will give you a bonus of 20% damage |
| 32 |  Tunnel Runner Tunnel Runner |
It increases the speed at which you move while sneaking |
| 34 |  Travel Light Travel Light |
Increases your moving speed, allowing you to close the distance to enemies faster |
| 36 |  Jury Rigging Jury Rigging |
Having wide knowledge of weapons, allows you to fix them with roughly similar ones. |
| 38 |  Light Touch Light Touch |
If you wear light armor, definitely pick this one. It gives a bonus of 5% critical chance and decreases the enemy's critical chance by 25% |
| 40 |  Rad Child Rad Child |
A very valuable perk that gives bonus health regeneration while under Radiation effects. The bonus is quite large compared to other sources (food and implants) |
| 42 |  Living Anatomy Living Anatomy |
With vast combat experience, you know the weak spots of humans. This allows you to deal 5% more damage. |
| 44 |  Bloody Mess Bloody Mess |
Increases damage by 5%. Moreover, killed enemies splash around, which can be too gory for some |
| 46 |  Unstoppable Force (optional) Unstoppable Force (optional) |
I list this perk as optional. It gives bonus damage against blocking enemies, but by this time you will probably steamroll through everything so it is not as important |
| 48 | Any perk | Feel free to take any perk here |
| 50 |  Thought you Died Thought you Died |
This skill would be the best option. However, if you cannot take it then go for Just Lucky I'm Alive or Ain't Like That Now |
General Tips
At level 15 start Old World Blues DLC
I really recommend starting this DLC. It will give +2 Strength after you finish it.
To start the DLC you can go to the Mojave Drive-in and at night initiate the quest. This way you can avoid the Weapon Handling perk and use perk points elsewhere
Sell all ammo
As mentioned before, once in a while clean your ammo inventory at vendors. This will give some good caps that you can use to buy stimpaks and chems or repair your gear.
Use Chems
This is a crucial mechanic if you want to maximize any build effectiveness. Of course, it comes with its downsides like chem addiction, but in the late game, when you have lots of caps this can be easily healed at any doctor
The main ones to always have on hand are:
- Stimpaks - heals your HP and the effect scales with Medicine skill. You will probably use it the most throughout the game.
- Med-X - gives 25 damage resistance, greatly reducing the damage you take
- Turbo - slows time, allowing you to get the upper hand in combat. Makes enemies like Deathclaws a piece of cake.
- Slasher - gives 25% damage and 25 damage resistance buff for 1 minute
- Battle Brew - technically it is alcohol. However, it gives a lot of various boosts, but the most interesting is 35 damage reduction. Requires Old World Blues DLC to craft
- Psycho - 25% damage increase
- Rushing Water - gives a 50% attack speed boost which is crazy. Crafted with 50 Survival and by using Jet and Purified Water at Campfire or Electric Hot plate. Does not work on automatic weapons' rate of fire.
If you use Med-X, Slasher, and Battle Brew together this results in 85 Damage Reduction. This is the maximum that you can get and makes any armor you wear redundant in terms of protection.
Unlock all the unarmed moves
The unarmed combat introduces some unique moves. You get some in VATS when you increase the level of your Unarmed skill. However, there are a few that you can get through various quests and conversations.
- Ranger Takedown - the attack is activated by moving backward and using a power attack. This executes a sweeping kick, that may knock down enemies. You can obtain it in Novac you can meet Ranger Andy. He has a speech check of 30. The other way is to help him and check on Ranger Station Charlie.
- Scribe Counter - after blocking an attack, use the attack to instantly activate a counter. It is taught by companion Veronica. You should gift her formal wear, like a dress. As a "thank you" she offers to teach you the move
- Khan Trick - when strafing (left or right) use a power attack, to throw dust and stun enemies. I personally did not use this much. To unlock the move you need to finish the side quest Aba Daba Honeymoon given by Diane in Red Rock Drug Lab.
- Legion Assault - a charge attack, that allows closing distance when rushing forward. Taught by Lucius at The Fort in Caesar's Tent. You will reach this place as you progress through the main story. You need unarmed skill 50 and friendly relations with Legion.
Equipment
This section will cover some gear recommendations for the Unarmed Build
Weapons
For the unarmed build, there are a ton of fist weapon choices. All of them fit a particular niche - armored enemies, crit hits, pure damage, etc. The ones I list are all good choices and you cannot go wrong.
| Weapon | Description |
|---|---|
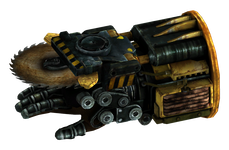 Industrial Hand Industrial Hand |
This is the most powerful unarmed weapon in the game. It deals continuous damage and with a high crit chance, this results in large damage spikes. moreover, it ignores the enemy's protection which makes it crazily overpowered. |
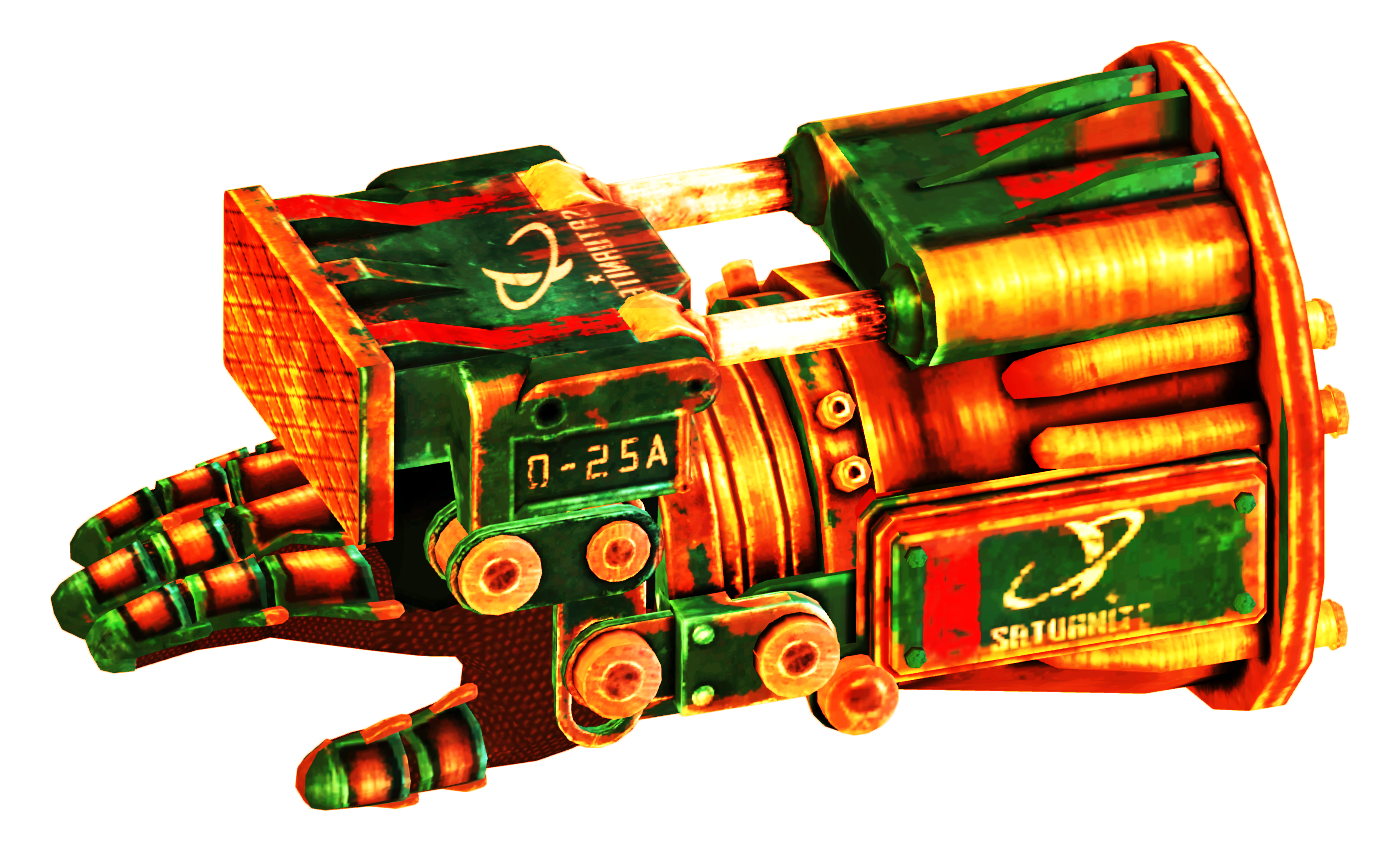 Saturnite Fist Super-Heated Saturnite Fist Super-Heated |
This is a very powerful unarmed weapon. However, for maximum effectiveness, you should get the Pyromaniac perk. This makes it the second strongest fist weapon after Industrial Hand. |
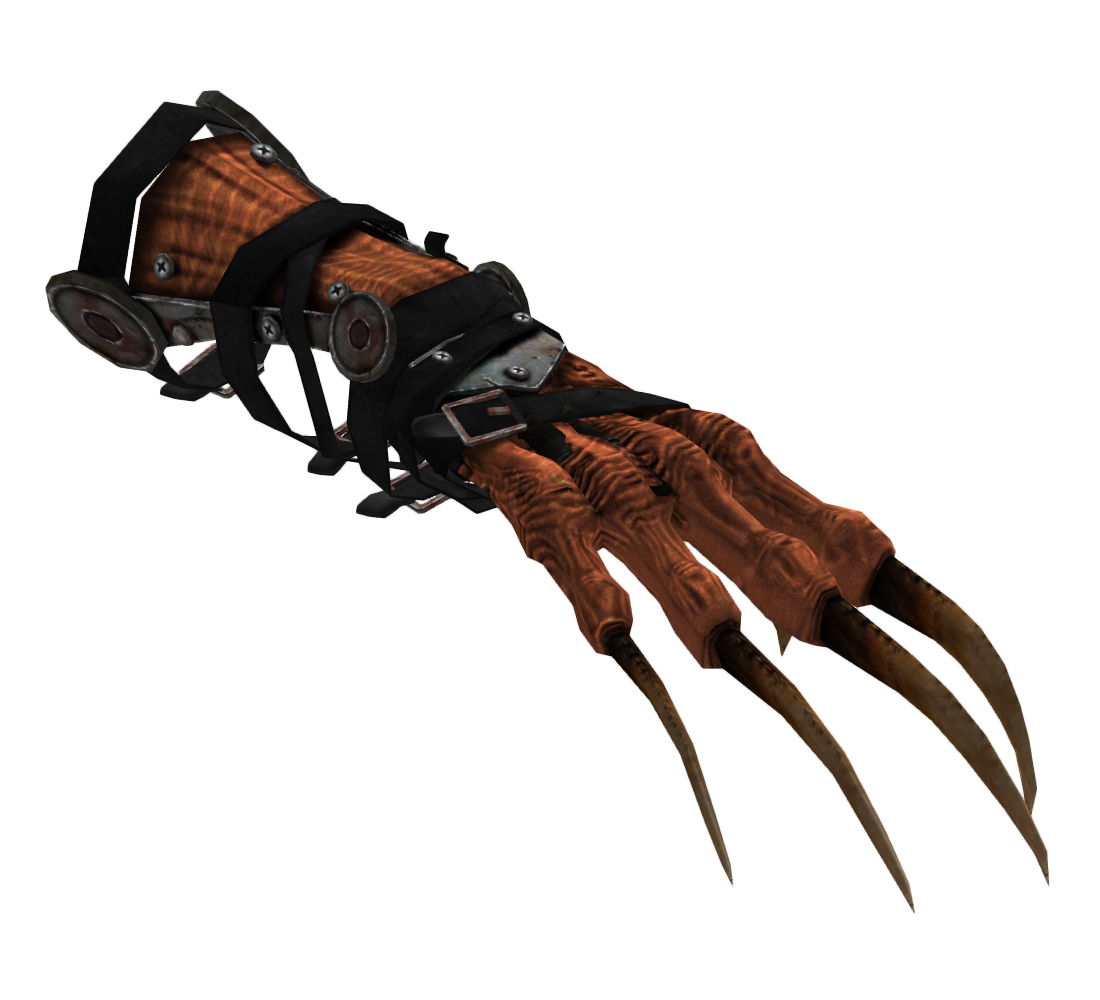 Fist of Rawr or Fist of the North Rawr (Wild Wasteland edition) Fist of Rawr or Fist of the North Rawr (Wild Wasteland edition) |
Has a high critical chance and damage multiplier. I definitely recommend trying it out. The two versions are the same, one of them is just with the Wild Wasteland |
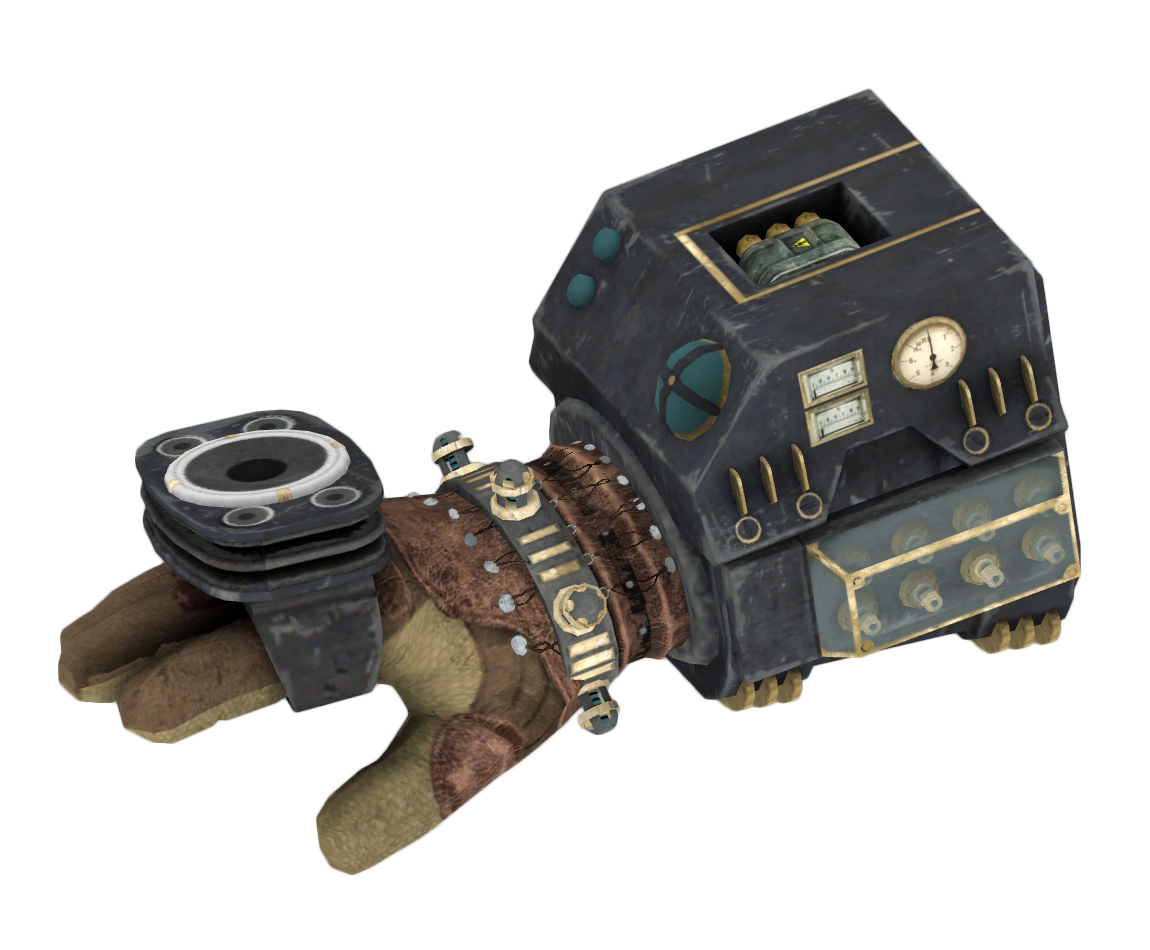 Pushy Pushy |
A Ballistic Fist variant. It is the most powerful in terms of DPS and can be obtained fairly easily if you are careful |
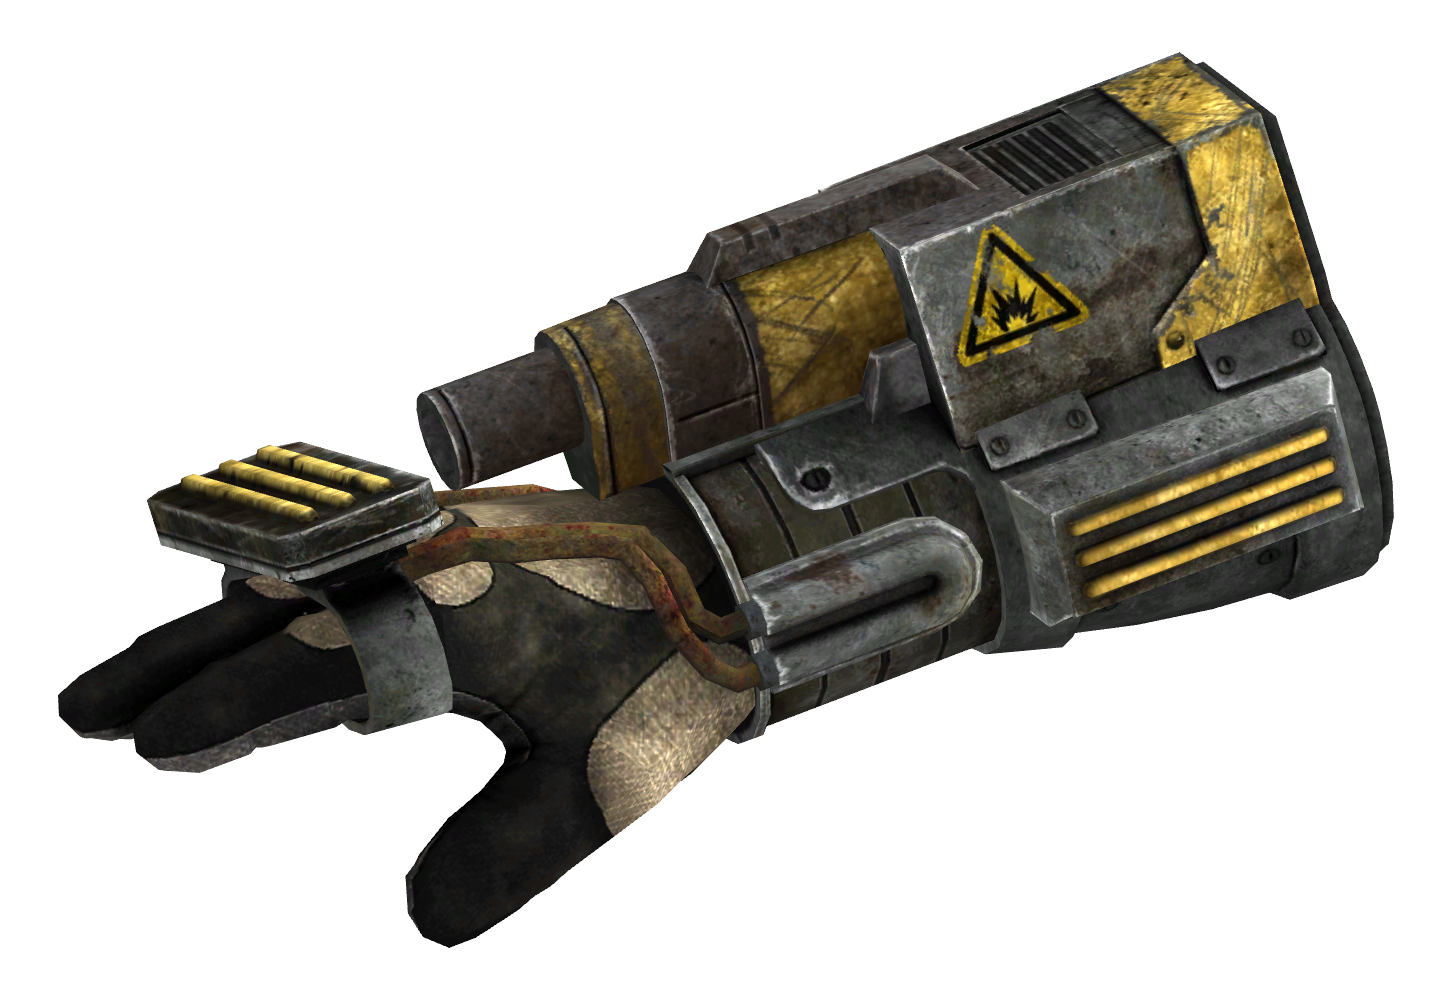 Two-Step Goodbye Two-Step Goodbye |
Although it is very powerful, the gimmicky mechanics and low critical damage made me not use this weapon. It is also quite expensive, so I do not recommend prioritizing it. However, the explosions are fun, especially when you are raiding something like a Legion camp |
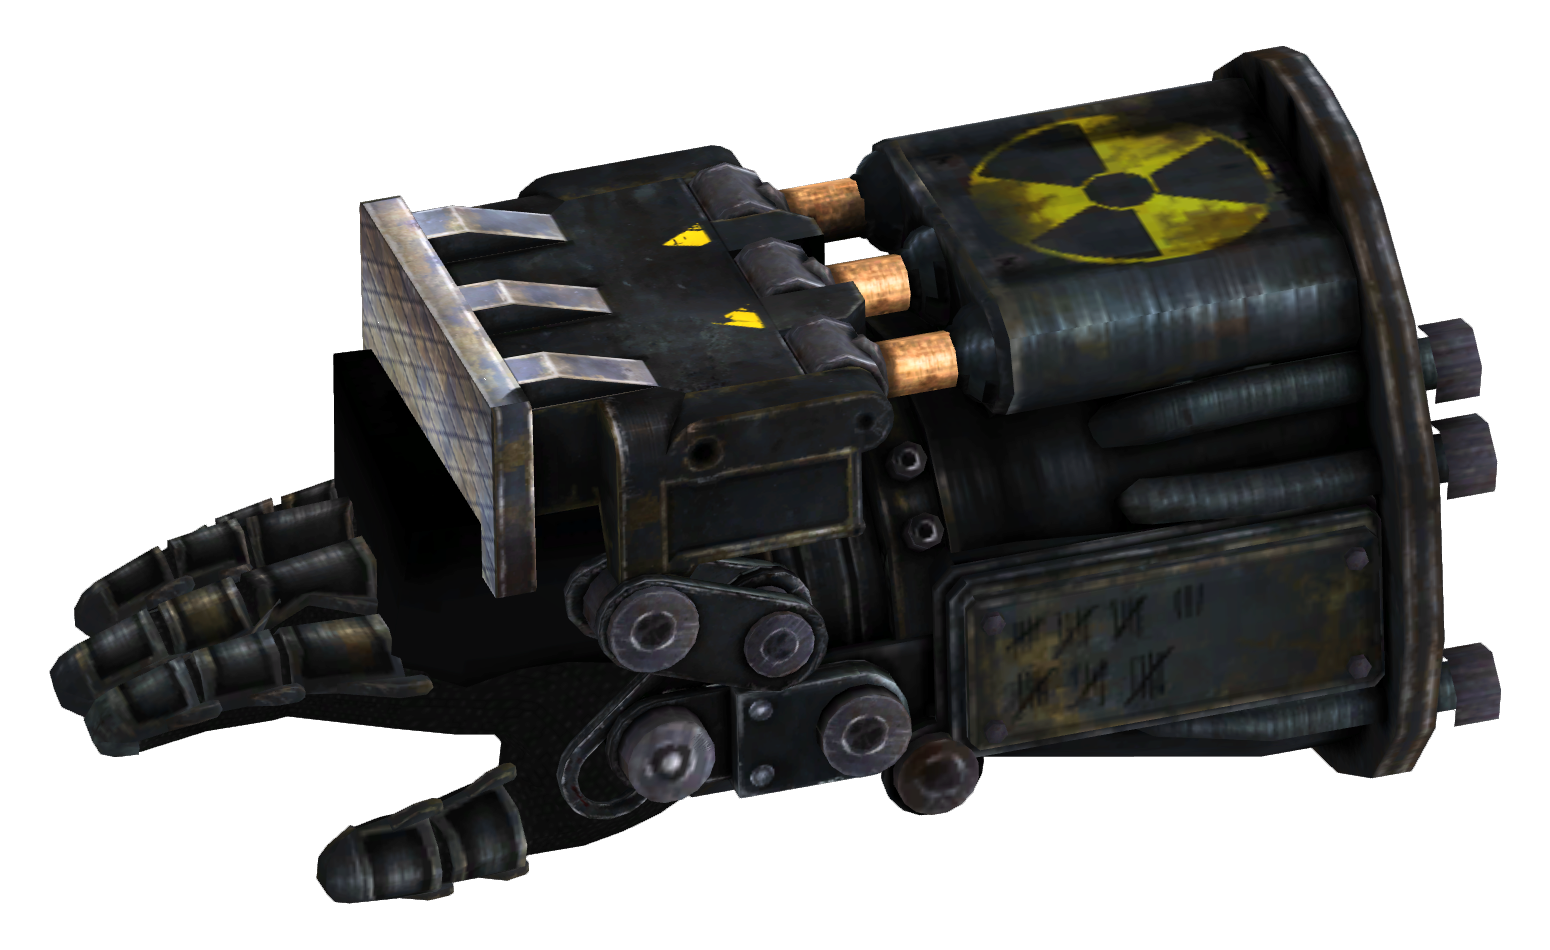 Greased Lightning Greased Lightning |
Has extremely high attack speed, you just smash through enemies without worrying if you hit or miss. |
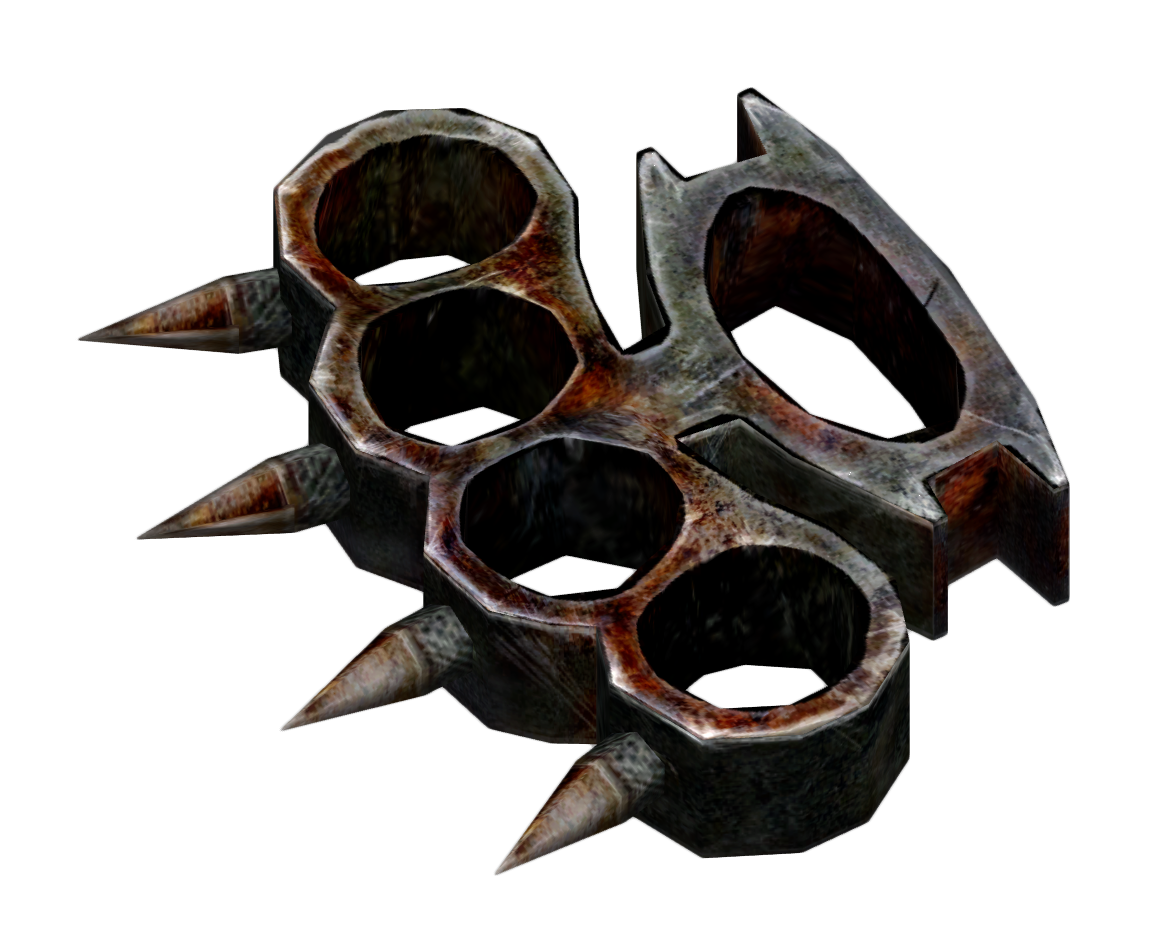 Spiked Knuckles Spiked Knuckles |
Seems silly as a recommendation compared to others? However, it is a perfect early weapon, has decent DPS, and is readily available throughout the game. |
Armor
| Armor | Description |
|---|---|
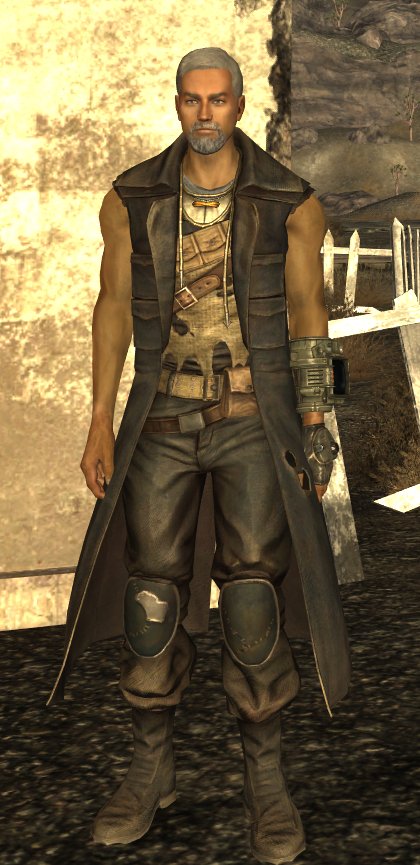 Ulysse's Duster Ulysse's Duster |
This is hands down one of the best armors. Gives a 5% Crit Chance and also activates Light Touch. |
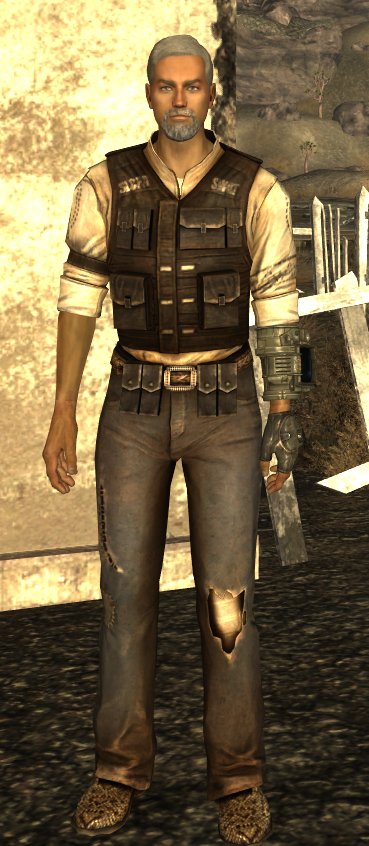 Joshua Graham's Armor Joshua Graham's Armor |
Has a good Damage Threshold and increases Crit Chance by 3%. Moreover, this will activate Light Touch |
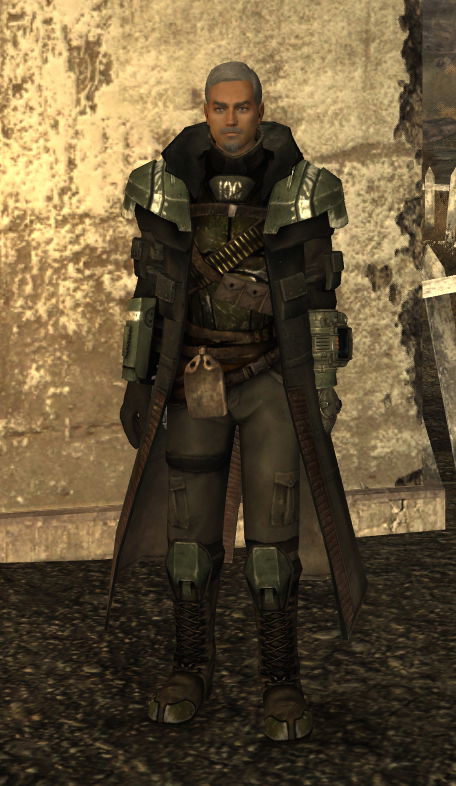 Elite Riot Gear Elite Riot Gear |
Gives a 5% Crit chance boost, however, you lose the effect of Light Touch. On the other side, you gain a very cool-looking armor with minor DPS loss. |
Helmets
| Helmet | Description |
|---|---|
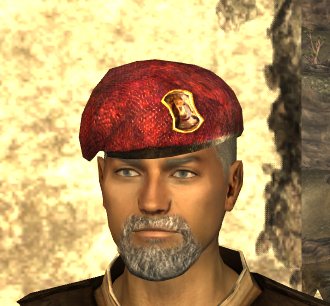 1st Recon Beret 1st Recon Beret |
This is hands down the best helmet to use for maximum DPS. It is one of three headwear that gives this bonus (and the highest). I recommend wearing it while exploring during the day or outside |
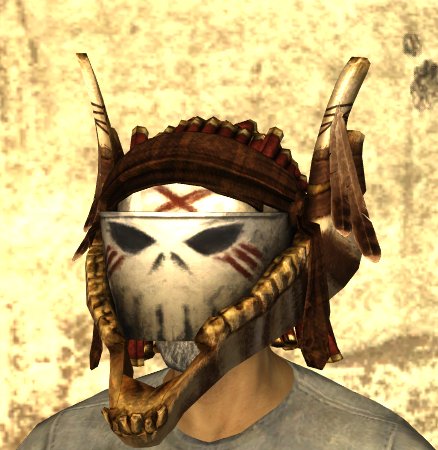 Salt-Upon-Wounds' Helmet Salt-Upon-Wounds' Helmet |
Gives +2 Crit Chance and provides a 4 Damage Threshold. |
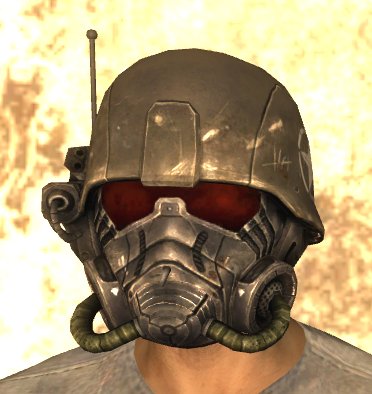 Elite Riot Gear Helmet Elite Riot Gear Helmet |
This is a perfect helmet for night operations as it provides sneak sight. This makes it easier to spot enemies. You can use it together with 1st Recon Beret |
Other
| Armor | Description |
|---|---|
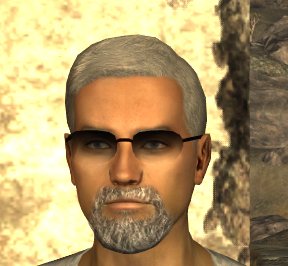 Lucky Shades Lucky Shades |
These are a perfect option if you do not use a helmet that covers the eye. It gives +1 Luck, which ensures the maximum amount for the Crit Chance. It's perfect with 1st Recon Beret |
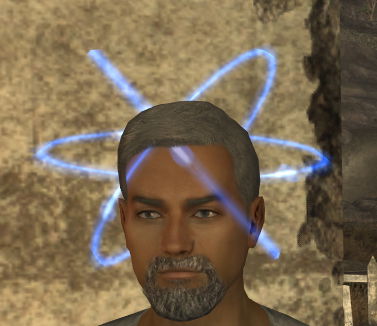 Atomic-Valence Tri-Radii-Oscillator Atomic-Valence Tri-Radii-Oscillator |
Can be worn together with any helmet. Gives health regeneration and Endurance +1. Moreover, it provides an additional Damage Threshold. Requires Old World Blues DLC |
 Valence Radii-Accentuator Valence Radii-Accentuator |
Can be worn together with any helmet. Gives health regeneration and Endurance +1. Moreover, it provides an additional Damage Threshold. The weaker version of the Atomic-valence Tri-Radii-Oscillator. Requires Old World Blues DLC |
Conclusion
Thank you for reading this post on the Unarmed Fist build in Fallout New Vegas. I covered the most important aspects like the start of the game and how to progress with your perks. This should give you a guiding hand not get lost in this huge game
Feel free to leave any questions in the comments
Like, Dislike, comment, or share!

Discussion