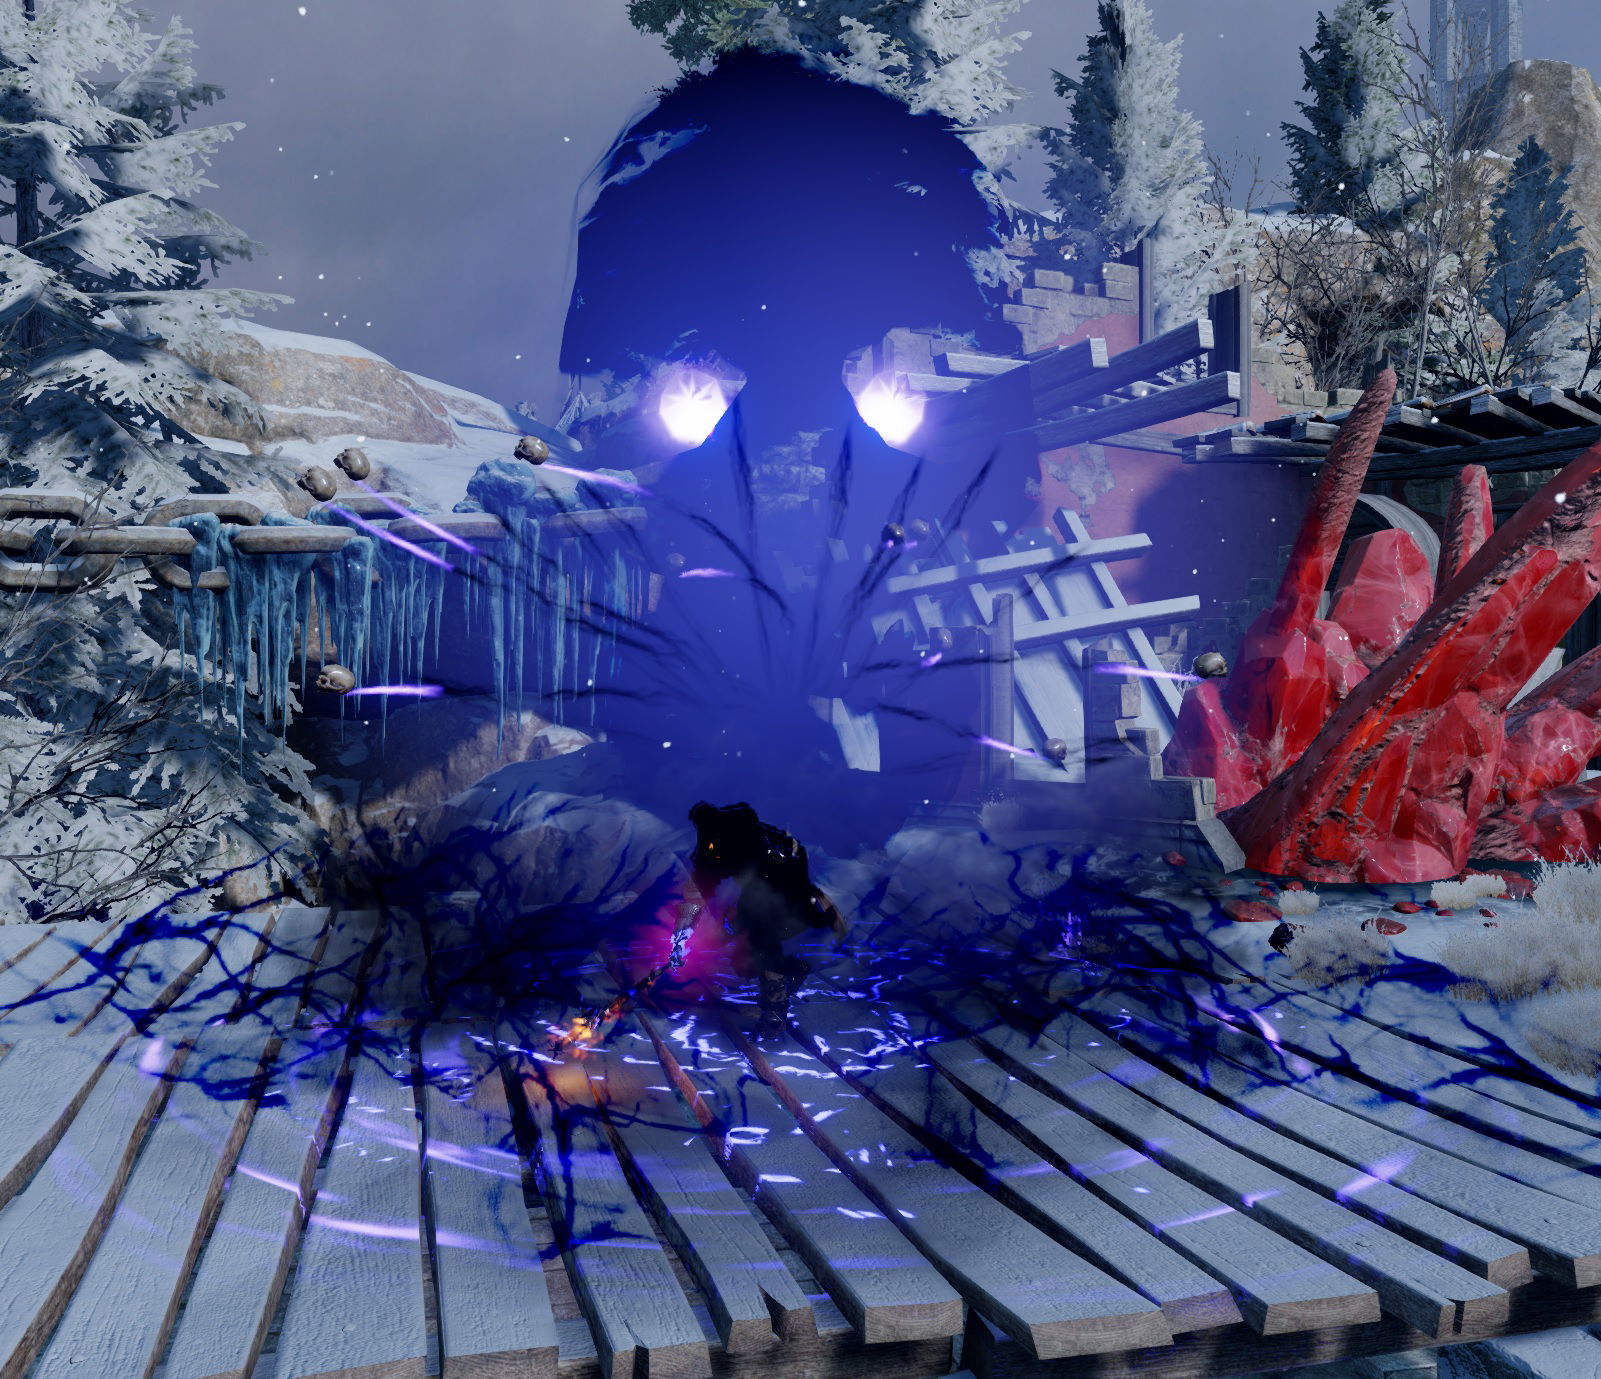
Necromancer Best builds - any difficulty - Dragon Age: Inquisition (DAI)
In this post, I will go through the Dragon Age Inquisition Necromancer builds
Do you see yourself as a mage creating explosions on the field? Use the dead to fuel your next spells so that you could maintain control of the battlefield. This is what you could expect of these builds
Unfortunately, there are some caveats with Necromancer that could hinder the new player. For example, the large cost of spells or a long time till mana regeneration kicks in. However, in this post, I will cover how you can maximize your Necromancer build.
Contents
Pre Specialization, Level 1 -10
The starting abilities to level 10 may not be optimal but they should help you to learn how to play this type of build.
| Order | Skill | Description |
|---|---|---|
| 1 | Mandatory ability to have for a mage, at the beginning of the game | |
| 2 | An excellent ability that does elemental damage based on your staff | |
| 3 | Main fire element skill that you will have early in the game | |
| 4 | If your spell does a critical hit, the next spell has no cooldown. Can work well in the early game with Energy Barrage | |
| 5 | Will decrease your spell cooldowns by one second each time a spell is cast | |
| 6 | Use this ability to restore mana at any time. Moreover, you can use it to reposition yourself | |
| 7 | Your main lightning element ability. Can stagger multiple enemies. |
With these abilities, you will have multiple elementals available at any time.
Necromancer Builds
Important! To make a necromancer an effective build, when enemies are under the effect of Fear, use the attack button ("Y" on PC). This will force your companions to attack the enemy. By default, AI stops attacking them once they are under effects of Fear
At levels 10-12, you will be able to get a specialization quest and unlock the Necromancer.
Now respec your ability points and take these skills:
| Order | Skill | Description |
|---|---|---|
| 1 | Your main crowd control ability. Try to use it on archers as they can shred you in a few seconds, so you need to have them under control | |
| 2 | This is one of the main abilities that will allow you to faster regenerate mana. However, it may take a while for it to activate. So it is best to have a large mana pool with Sigil of the Great Bear equipped. | |
| 3 | More damage (+15%) to panicked enemies. And especially if you pick Fire spells this will be active often. | |
| 4 | Last resort ability. Probably you will die more often than needed until you get a hang of this build. Use those 10 seconds to dish out some non-stop spells. | |
| 5 | An extremely good ability, although quite costly for 65 mana points. Try to use it every time it resets. With the Virulent upgrade, the explosions will spread to other enemies. | |
| 6 | Essential spell for every mage, use it at the start of the combat or if you are getting attacked | |
| 7 | An excellent ability that does elemental damage based on your staff, good to mix up your elemental damage | |
| 8 | A strong single-target ability to put Fear into an enemy. I recommend using it on enemies who start attacking you to make them run away | |
| 9 | If your spell does a critical hit, the next spell has no cooldown. Can work well in the early game with Energy Barrage | |
| 10 | Will decrease your spell cooldowns by one second each time a spell is cast | |
| 11 | I would even suggest getting this before Barrier if you feel safe enough. This ability has two purposes: - Reposition yourself at will, to run away or get closer - Run through enemies to restore mana, before Death Siphon will activate |
These are core abilities that should be used throughout any of the Necromancer variations listed below
Winter Necromancer
This is a Winter tree spell variation that mainly freezes and chills enemies around the battlefield
![]()
You will concentrate on being a more defensive mage. You will still do damage, however, not as much. However, you will be able to slow any enemy in its tracks, put fear in them and create some shattering combos
| Order | Skill | Description |
|---|---|---|
| 12 | It will increase the mana regeneration rate if you stand still. Have in mind, Energy Barrage moves the character a bit, negating the effect | |
| 13 | With the Chilling Array upgrade, the mine will activate instantly. The spell can be used both offensively or defensively | |
| 14 | We mainly take this for progression | |
| 15 | Quite a cheap ability that can be cast in a large AOE range. It will deal damage over time for 10 seconds | |
| 16 | Will boost damage if you have less MP. This will always be the case, especially if you have Sigil of the Great Bear. | |
| 17 | Will increase the Inquisitor damage after an enemy dies for a short period of time |
Some other good abilities to get:
- Peaceful Aura - decrease the likelihood that enemies will target you
- Terror an upgrade for Horror - to boost the effectiveness of the Horror skill
- Winter Grasp + Winter's Ruin for a combo with Ice Mine
Tactics tips Winter Necromancer
- Use Fade Step to get close to enemies and use Ice Mine. This way you can use it offensively
- Walking Bomb should be cast any time it is available.
- Have Sigil of the Great Bear equipped to increase your mana pool
Storm Necromancer
This variation of Necromancer concentrates on obtaining Lightning skills to further boost it offensive capabilities

Although you will mainly obtain one additional skill: Chaing Lightning, you will gain many passive abilities. They will greatly boost your cooldown rates and allows casting spells more often
| Order | Skill | Description |
|---|---|---|
| 12 | With the upgrade, you will be able to hit 6 times for 250% weapon damage. Moreover, the enemies will be shocked and may get shortly staggered interrupting their attacks. | |
| 13 | Will boost your attack when you have mana missing. The less mana you have the bigger the damage boost | |
| 14 | You will randomly hit the enemy around the battlefield every 15 seconds | |
| 15 | Each attack shortens spell cooldowns | |
| 16 | Killing an enemy will increase your damage by 20% for 10 seconds | |
| 17 | Decreases the likelihood that enemies will target the Inquisitor |
Some other skills to get if you have additional skill points:
- Terror an upgrade for Horror - to boost the effectiveness of the Horror skill
- Lightning Bolt + Exploding Bolt - quite an expensive spell, but can deal large amounts of damage if targeting a strong enemy surrounded by many minions.
- Dispel - to make enemy mages weaker and despawn Rift enemies
Tactics tips
- Chain Lightning should be used on at least a group of two enemies.
- Walking Bomb should be cast any time it is available.
- Have Sigil of the Great Bear equipped to increase your mana pool
Inferno Necromancer
I think this variation is the best Necromancer build Dragon Age Inquisition.
![]()
Inferno provides one of the strongest spells in the game: Fire Mine. Moreover, you will also unlock the Wall of Fire that can put fear into enemies in the AOE range.
Generally, you should constantly be putting enemies in fear around the battlefield.
| Order | Skill | Description |
|---|---|---|
| 12 | Although we take it to unlock the next ability it will boost the fear and burning duration of your spells. | |
| 13 | One of the strongest spells in the game. Will activate instantly but mines will appear before the character. So to best use it, you will need to be close to the enemies. | |
| 14 | Use this ability to put fear in the enemy group and make them run away | |
| 15 | Decreases the likelihood that enemies will target the Inquisitor | |
| 16 | Killing an enemy will increase your damage by 20% for 10 seconds |
Some other skills to get if you have additional skill points:
- Conductive Current - will increase your damage if your mana is low
- Terror an upgrade for Horror - to boost the effectiveness of the Horror skill
- Dispel - to make enemy mages weaker and despawn Rift enemies
Inferno Necromancer tactics and tips
- Use Fade Step to get close to the enemies and then cast Fire Mine for large damage against a group of enemies.
- Cast Wall of Fire to block pathways and make enemies run away while you attack them
- Walking Bomb should be cast any time it is available.
- When an enemy is under the effect of Fear use the "Attack" command for companions. This way they will start attacking enemies again.
Stats
These should be prioritized from level 14+
-
Critical rate – the higher the better, more increased damage
-
Critical Damage – prioritize after the critical rate
-
Cunning – increases critical rate, some armors provide huge bonuses
For lower levels:
-
Magic
-
Willpower
-
Armor rating
Best Equipment and items
To make this build shine you will need Masterwork materials that have a Walking Bomb effect:
| Masterwork skill | Description | Materials |
|---|---|---|
| Walking Bomb | Will generate Walking bombs more often | Fade-Touched Imperial Vestment Cotton Fade-Touched Lustrous Cotton Fade-Touched Cotton |
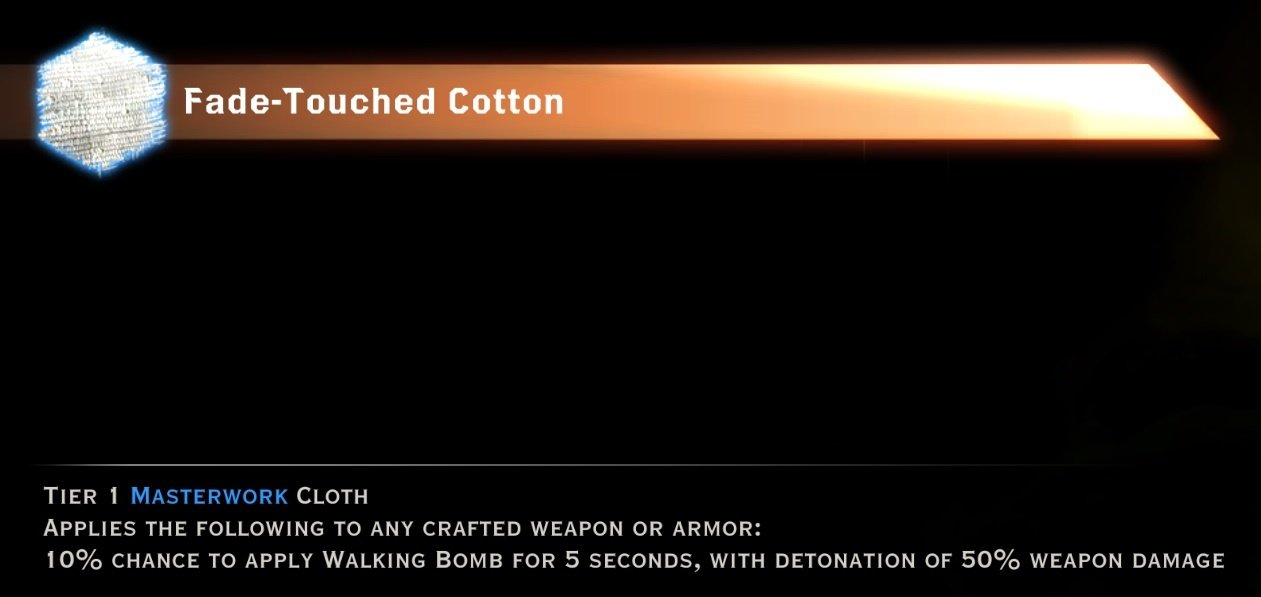
How does this work? Due to you having the Walking Bomb ability you can manually trigger it + activate the Virulent effect resulting in 500% damage. This will also not expand your own mana allowing you to cast your normal Walking Bomb at any time.
Use two different tiers of masterwork materials with the Walking Bomb effect (if you have them) one for 50% weapon damage and another for 75% weapon damage. To proc the effect more often
General Items
- Sigil of the Great Bear - this is mandatory for a mage. It will double the total mana pool and not weaken mana regeneration due to it being percentage-based.
Weapons - obtainable
Generally, the ones with a boost to critical damage should be equipped when the Necromancer has a 50%+ critical chance
| Priority | Item | Description |
|---|---|---|
| 1 | This staff gives +100% critical damage. It is a good alternative to Isana's Song if you have at least a 50% Critical chance | |
| 2 | This staff can be obtained in The Descent DLC. Provides +41 to magic. In terms of pure damage, it has no equals. It also has a 10% chance to cast Chain Lightning. | |
| 3 | I recommend this staff, only if you have a high critical chance of 50% or more. | |
| 4 | The staff is obtained from high dragon Hivernal. Moreover, it provides adequate stats |
Weapons - craftable
Generally, I prefer craftable staves if you have good masterwork and other materials
| Priority | Item | Description |
|---|---|---|
| 1 | Although this is Tier 4, I would still go for Wrath of Lovias Schematic which provides better slots for the end game. | |
| 2 | One of the best staves in the game as it gives offensive buffs for all party members | |
| 3 | The stave gives leather slots for increased critical chance or critical damage |
Armors - obtainable
Here is a recommended list of obtainable armor that you can wear.
| Priority | Item | Description |
|---|---|---|
| 1 | Obtainable only in the Trespasser DLC. Boosts Critical Damage, Critical Chance, and Attack. | |
| 2 | Similar to the craftable version. So choose the one that you prefer. Gives 45 points to willpower | |
| 3 | Reduces the cost of the abilities and spells. Moreover, gives +6 to the magic attribute | |
| 4 | The Robe provides decent stats, especially if you use Focus abilities often. Only available for an elf |
Armors - craftable
I think all of the armors listed below are extremely good, choose the one to your liking
| Priority | Item | Description |
|---|---|---|
| 1 |  Superior Battlemage Armor Schematic Superior Battlemage Armor Schematic |
Best craftable Armor. This version has one Cloth and a leather utility slot. Quite powerful and can be bought in Hissing Wastes. Moreover, you can add Arms and Legs upgrades to have an even larger boost to damage |
| 2 | For this armor, you will need the Spoils of the Qunari DLC pack. The schematic gives 3 Utility slots to increase offensive stats. I think it trades blows with Superior Battlemage Armor Schematic, due to the leather slots that it provides | |
| 3 | Top-tier armor schematic. However, it does not have leather utility/offensive slots |
Helmets - obtainable
| Priority | Item | Description |
|---|---|---|
| 1 | Can be an alternative to the Mask of the Grand Duchess. However, it will only increase attack and not critical stats | |
| 2 | A mid-tier helmet, I would recommend equipping this if you do not have the Winter Palace masks or Cowl of the Pure | |
| 3 | I would still recommend Mask of the Grand Duchess. However, if you have a high critical rate (50%+), this helmet is much better. | |
| 4 | The best helmet in terms of the boost to critical chance. |
Helmets - Craftable
| Priority | Item | Description |
|---|---|---|
| 1 | Great slots for increasing critical stats. best craft | |
| 2 |  Battlemage Cowl Schematic Battlemage Cowl Schematic |
Upgraded version of Tier 2 schematic. Provides better utility slots. Similar to other Tier 3 schematics |
| 3 |  Superior Seer Cowl Superior Seer Cowl |
Similar to the other options in Tier 3. |
Amulets
| Priority | Item | Description |
|---|---|---|
| 1 | This amulet provides both mana regeneration and a reduced cooldown modifier. However, it can be risky as occasionally enemies will get taunted as a side effect. | |
| 2 | Recommended by one of the players, this amulet is a strong combo with Simulacrum ability after the Inquisitor dies and resurrects instantly. This way you can have infinite mana in many encounters. I suggest to try it out and see if you like this type of gameplay | |
| 2 | This amulet will increase the mana regeneration rate. A good option for the Necromancer as Death Syphon may take a while to activate | |
| 3 | Use this amulet to increase the critical chance by 5% | |
| 4 | Equip this amulet once you reach a high critical chance of about 50% or more |
Belts
| Priority | Item | Description |
|---|---|---|
| 1 | This belt boosts the critical chance. Only obtainable in the Trespasser DLC. | |
| 2 | These belts increase elemental damage by 125% of the respective element. However, the necromancer will have its HP reduced by 50% | |
| 3 | The belt can be obtained in Emerald Greaves. It gives +200 health. | |
| 4 | Similar to the above belt provides a large increase in HP. |
Rings
| Priority | Item | Description |
|---|---|---|
| 1 | The ring is extremely powerful as it enables the mage to become invisible. This results in guaranteed critical hits on the most powerful spells | |
| 2 | Makes Necromancer's main ability Walking Bomb even more powerful | |
| 3 | Gives +20% critical damage, equip it once you have a high enough critical Chance | |
| 4 | The rings boost critical damage by 10% and critical chance by 5%. It is one of the best rings for this build | |
| 5 | Gives a +10% critical chance. Great to boost it, if you have less than 50% |
Conclusion
This build requires much effort to be used, so I do not recommend it on your first playthrough. However, if you wish for some challenge and role-play as a necromancer it is perfect for you. I try to cover most of the main build ideas so I hope it helps
Feel free to leave comments below
Like, Dislike, comment, or share!

Discussion
No comments yet.
Be the first one to leave a comment!