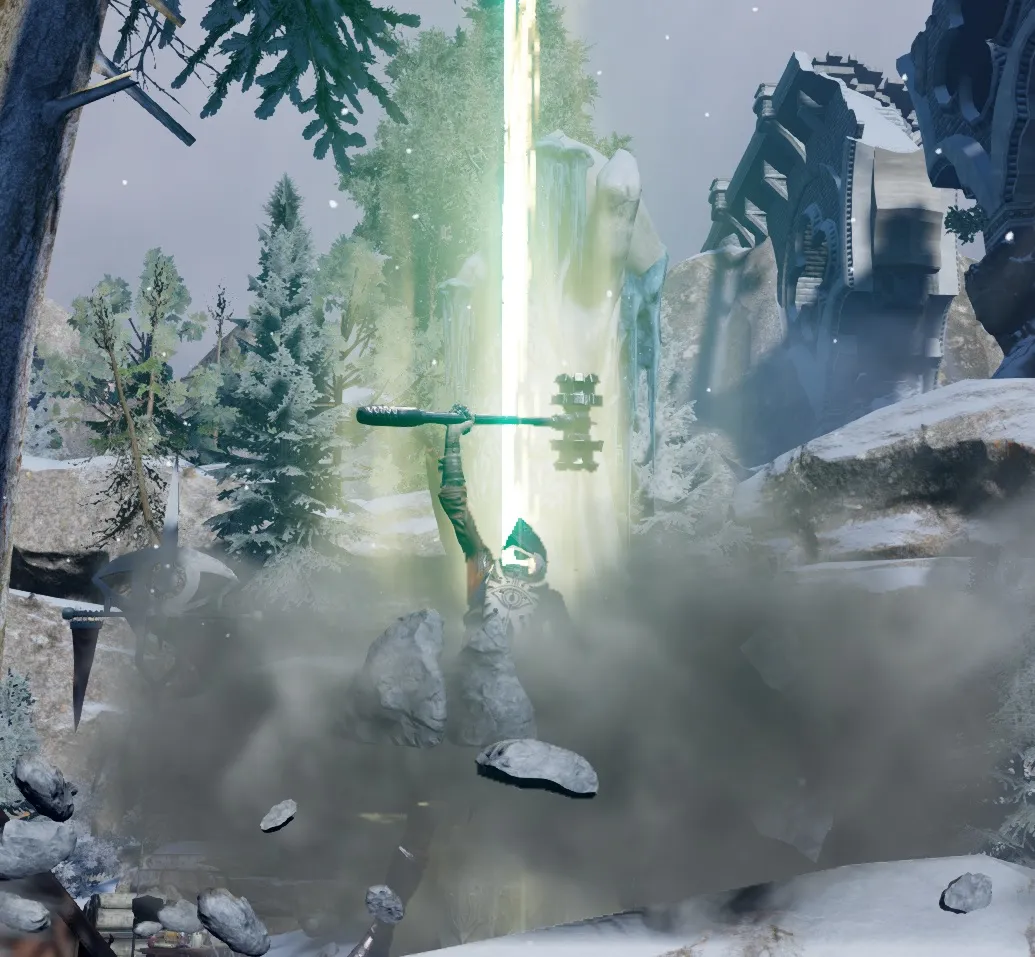
Templar Build - Complete Guide - Dragon Age: Inquisition (DAI)
In this post, I will go through the Dragon Age Inquisition Templar build. They are warriors who use Lyrium to empower themselves, mainly to control mages and banish demons. Not only that, Templars can empower their companions by providing buffs.
You will have great support skills and also decent damage dealing capabilities especially against demons
Contents
Early game abilities, Level 1 - 10
| Order | Skill | Description |
|---|---|---|
| 1 | Great crowd control skill to knock down enemies + deal damage. With the upgrade, knockdowns last longer | |
| 2 | A great skill to close the distance and grapple archers or mages | |
| 3 | We mainly take this for progression | |
| 4 | Will synergize well with Mighty Blow upgrade. | |
| 5 | The main buff skill which you will boost allies, by allowing them to add Guard after each hit. Tremendous ability. | |
| 6 | A monstrous ability. In reality, it deals 500% of weapon damage. Costs 20 stamina and has 2 seconds cooldown. Moreover, it deals with AOE damage where you roll. Use this skill between cooldowns | |
| 7 | We mainly take this for progression | |
| 8 | a great skill to reduce cooldowns on critical hits, as the game progresses you will do them more and more due to higher critical rate |
At about level 10~ you should reach Skyhold where you will be able to start working on the Templar build
Two-handed Templar build
You will now get specialization of Templar. Your first move should be to do a respec of abilities. This is important as it enables you to use one of the strongest crowd control abilities in the middle of the game
As you can guess this is a Two-handed build. This means that you will mostly concentrate on causing lots of damage. However, once you reach level 15+ you can make a variation of the Tank build that is described below. however, it can be hard to pull off on Nightmare.
Abilities progression
| Order | Skill | Description |
|---|---|---|
| 1 | A decent buff, mostly as progression ability | |
| 2 | A good passive ability that will benefit your whole party | |
| 3 | A great passive as Maker’s Will, it decreases damage received | |
| 4 | Templar build signature ability, deals great damage, and also stuns enemies around you. The upgrade makes the stuns last longer | |
| 5 | We mainly take this for progression. But you can use it if you find appropriate situations | |
| 6 | At higher levels, the Templar will have a higher critical chance making this much more effective | |
| 7 | Deal more damage to knocked down or stunned enemies. | |
| 8 | An important ability that will allow this templar build to buff allies and enables guard generation | |
| 9 | A monstrous ability. In reality, it deals 500% of weapon damage. Costs 20 stamina and has 2 seconds cooldown. Moreover, it deals AOE damage where you roll. Use this skill between cooldowns | |
| 10 | Strong Crowd control ability allows Templar to knock out enemies | |
| 11 | We mainly take this for progression | |
| 12 | Reduces cooldowns on abilities for each critical hit by 1 second. Start investing more to critical rate when crafting equipment | |
| 13 | We mainly take this for progression | |
| 14 | Increases stamina regeneration when it is below 50%. Templar will need all the stamina that it can get for multiple two-handed abilities |
After about level 15 you have options for different Templar variations that I recommend. Of course, you can get both of those variations if you reach a high enough level.
Two-Handed menace
This variation will rely on your Two-handed weapon to deal more damage and knock enemies out of their feet
| Order | Skill | Description |
|---|---|---|
| 15 | 700% weapon damage, instant activation, cheap cost, and short cooldowns. A very powerful ability for your two-handed weapon to take out enemies | |
| 16 | Another decent ability that will take out enemies knocking them out. You can also use this on Incapticated targets to deal Impact Detonator combo. |
Holy Warrior
Although the name sounds silly, I think it fits the idea of what this variation concentrates on. You will further polish Templar abilities to create Eldritch Detonator combos for large AOE spirit damage.
| Order | Skill | Description |
|---|---|---|
| 15 | This is an important ability that Templar will use after Wrath of heavens to activate the Eldritch Detonator combo. This will cause large amounts of damage. Moreover, it will also purge Fade Rift spawning locations |
|
| 16 | Use this ability to get into a group of enemies and then use Wrath of Heaven for free. The next step is to use Spell Purge, for massive spirit damage :) |
I think this is the most powerful variation and the most fun if you play as Inquisitor.
Stats and attributes
For equipment you should prioritize these stats:
-
Raw damage - will increase overall damage on all abilities that Templar uses.
-
Critical Chance – this should be a priority after you get Flow of Battle. I recommend trying to reach 50% and keeping it there
-
Critical Damage – prioritize this stat from level 15 or even later - 18
-
Attack – increases all damage, terrific stat
-
Willpower - similar to strength but also gives bonus magic defense
- Strength - increases the damage and gives bonus guard damage
Equipment selection
In this section I will cover the best equipment for the Dragon Age: Inquisition Templar build
Weapons - obtainable
| Priority | Item | Description |
|---|---|---|
| 1 | Available during the Trespasser DLC. It is quite a powerful axe. I suggest trying it out and seeing, as it has unique abilities | |
| 2 | Extremely powerful Maul, that makes enemies explode after they are killed. I prefer this one compared to the others. | |
| 3 | Similar to Prismatic Greataxe, you will randomly deal elemental damage together with physical damage. This weapon can last you until the end of the game. However, have other weapons on hand if you encounter enemies with high elemental resistances | |
| 4 | The sword gives a +36% Attack boost, this equates to an almost 72 strength bonus. This can be an alternative to the Chromatic Greatsword if you don't prefer its looks | |
| 5 | Due to the weapons mechanics, this weapon deals a bonus of 100% elemental damage. So with a skill like Pommel Strike, you will deal 600% elemental damage and 600% physical damage. |
Weapons - craftable
Schematics are usually better than obtainable counterparts. However, you need good materials for that.
| Priority | Item | Description |
|---|---|---|
| 1 | One of the more overpowered weapons that deal additional elemental damage together with Physical damage. Expect Casandra skills to deal double damage | |
| 2 | One of the more overpowered weapons. However, the schematic can only be obtained in Trespasser DLC. Similar to Prismatic Greataxe Schematic | |
| 3 | Has large Leather offensive slots, and can be easily obtained in Black Emporium |
Armors - obtainable
Unfortunately, there are not many options for obtainable armors that provide offensive bonuses
| Priority | Item | Description |
|---|---|---|
| 1 | Obtainable only in the Trespasser DLC. Boosts Critical Damage, Critical Chance, and Attack. | |
| 3 | Abilities cost 10% less stamina with this armor. Moreover, it is perfect if you want the Templar to have high armor | |
| 4 | Gives bonus stamina, which allows using more abilities | |
| 5 | Abilities cost 7.5% less stamina. Moreover, gives bonus defensive stats. |
Armors - craftable
Sadly there are not too many armors that you can craft to give a lot of offensive options. Your main priority is to either get Leather or Metal utility slots
| Priority | Item | Description |
|---|---|---|
| 1 | This medium armor can be worn by anyone and it has leather utility slots. This means it can boost either critical chance or critical damage. | |
| 2 | A decent schematic that gives a large metal utility slot. However, you will need some luck to get it in The Descent DLC. This should be picked if you wish to have a higher armor value. | |
| 3 |  Templar Armor Schematic Templar Armor Schematic |
This is the only heavy armor that gives a leather utility slot. This will allow you to either boost Critical Chance or Critical Damage |
| 4 |  Battlemaster Armor Schematic Battlemaster Armor Schematic |
Great tier 3 schematic that you can get in Hissing Wastes. It also comes with Upgrade slots. |
Helmets - obtainable
| Priority | Item | Description |
|---|---|---|
| 1 | One of the best helmets in the game. Gives a decent boost to dexterity and cunning stats. | |
| 2 | The helmet provides fewer offensive stats than the Winter Palace masks, however, it has a much higher armor rating. | |
| 3 | This Winter Palace mask provides an 8% boost to critical damage. Equip it if you have a high critical chance of 50%. It can be used until you feel that your armor values are getting low | |
| 4 | This Winter Palace mask provides a 12% boost to critical chance. It can be used until you feel that your armor values are getting low |
Helmets - craftable
| Priority | Item | Description |
|---|---|---|
| 1 | This helmet gives Leather utility slots that you can use to increase the critical chance and critical damage. This is the best helmet in terms of DPS and damage and is easy to buy. | |
| 2 |  Revered Defender Helm Schematic Revered Defender Helm Schematic |
Provides a large number of metal utility slots, good for increasing pure attack damage |
| 3 |  Duke's Mane Schematic Duke's Mane Schematic |
This schematic allows crafting a helmet with 11 metal utility slots. However, it is quite demanding to obtain the schematic as you will need first to finis the Jaws of Hakkon DLC. |
| 4 |  Superior Venatori Helmet Schematic Superior Venatori Helmet Schematic |
The helmet can be purchased early in the game if you have The Short List perk. It gives 10 Utility metal slots. |
Amulets
The amulets are listed by Tier. Usually, the Best tier can be obtained late in the game, but it provides maximum bonuses.
| Priority | Item | Description |
|---|---|---|
| 1 | This amulet will give stamina and hp regeneration after each enemy that dies nearby. Quite good as you will be in the front lines and constantly use abilities | |
| 2 | This amulet will increase stamina regeneration allowing the skills to be used more often | |
| 3 | When the templar has a comfortable 50% critical chance. Use the amulet to boost critical damage by 20% | |
| 4 | Use this amulet to increase Templar's Critical Damage and critical rate in the late game | |
| 5 | This amulet should be worn if you have a critical chance of less than 50% |
Belts
| Priority | Item | Description |
|---|---|---|
| 1 | Top tier Belt, unfortunately only available in Trespasser DLC. Boosts Critical Chance by 10% | |
| 2 | The belt will give a higher chance to temporarily stun enemies with normal attacks | |
| 3 | The belt will give a higher chance to weaken the enemy's armor |
Rings
| Priority | Item | Description |
|---|---|---|
| 1 | You only obtain this ring in Trespasser DLC. However, it gives a +20% Critical Damage bonus | |
| 2 | The rings boost critical damage by 10% and critical chance by 5%. It is one of the best rings for this build | |
| 3 | Gives +20% critical damage, equip it once you have high enough critical rate | |
| 4 | Gives a +10% critical chance. Great to boost it, if you have less than 40% | |
| 5 | Boosts overall attack damage. Templar build will still benefit from it greatly as this will affect all damage, but with a smaller value of 10% |
Conclusion
The build is and its Templar variations are interesting giving fairly unique strategies to utilize. Try to play around with the skills and respect at will if you see that something does not play out.
Thank you for reading this Dragon Age Inquisition Templar build and feel free to leave any feedback below!
Like, Dislike, comment, or share!

Discussion
No comments yet.
Be the first one to leave a comment!