
Best Cassandra Two-Hander Templar Build - Dragon Age: Inquisition (DAI)
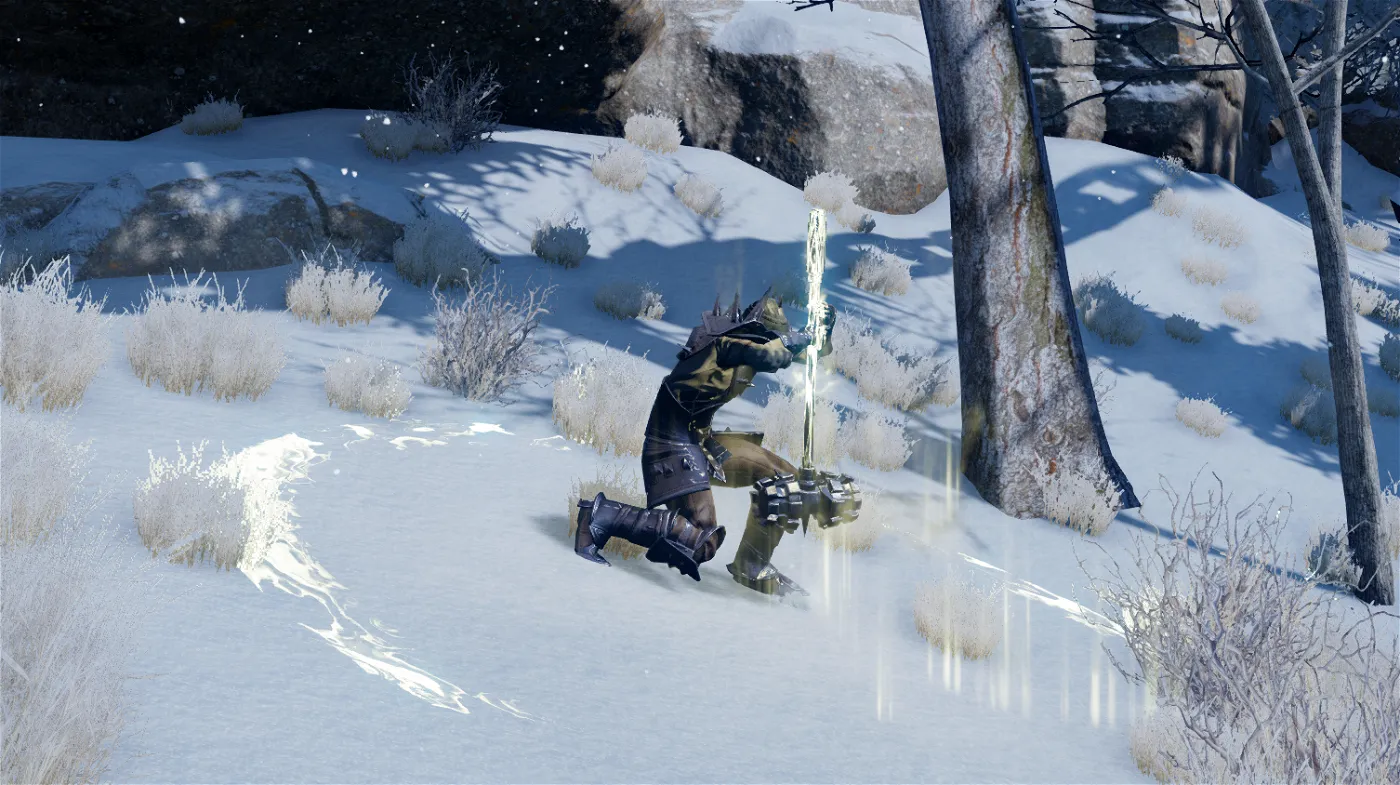
In this post, I will go through in great detail how you should build Cassandra Two-Handed Templar Build for Dragon Age: Inquisition. This is an offensive setup, that specializes in stunning and outright destroying enemies with Two-Handed weapons.
Contents
Cassandra Two-Handed templar build
This build mainly concentrates on supporting your party members and dealing damage. Unfortunately, it is mediocre for using Cassandra as a tank.
Cassandra is the first companion in the Dragon Age Inquisition. I think she is quite rejective of the Inquisitor at first. However, during the game, Cassandra opens up and it is interesting to hear her background.
Important! The companion builds are compatible with Nightmare difficulty, however, to pull it off correctly, be sure to have a good Inquisitor build
Remember that you will need to respecialize skills before making this build
Abilities - Early Game, levels 1 - 10
I will assume that Cassandra will be your main tank at the beginning of the game. Even though Blackwall may be better, for some players it may take a while to get him. So we will first build Cassandra as a tank.
| Order | Skill | Description |
|---|---|---|
| 1 | Cassandra gets it by default | |
| 2 | You get this ability by default, not impressive, but enough for the start of the game. | |
| 3 | Taunts the enemy and generates 10% Guard. With the upgrade, it has no cost. | |
| 4 | AOE Taunt. I would suggest trying out both of the upgrades. Call to Arms may be better for newer players | |
| 5 | Gives a stamina boost for lost hp. Good ability especially in the early game | |
| 6 | Gives a 20% armor bonus | |
| 7 | Cannot be flanked by enemies |
Once you reach level 11, specializations will unlock and you can start working on the full Cassandra build
Abilities - Overview
This section is a short version of what abilities you should take for Cassandra.
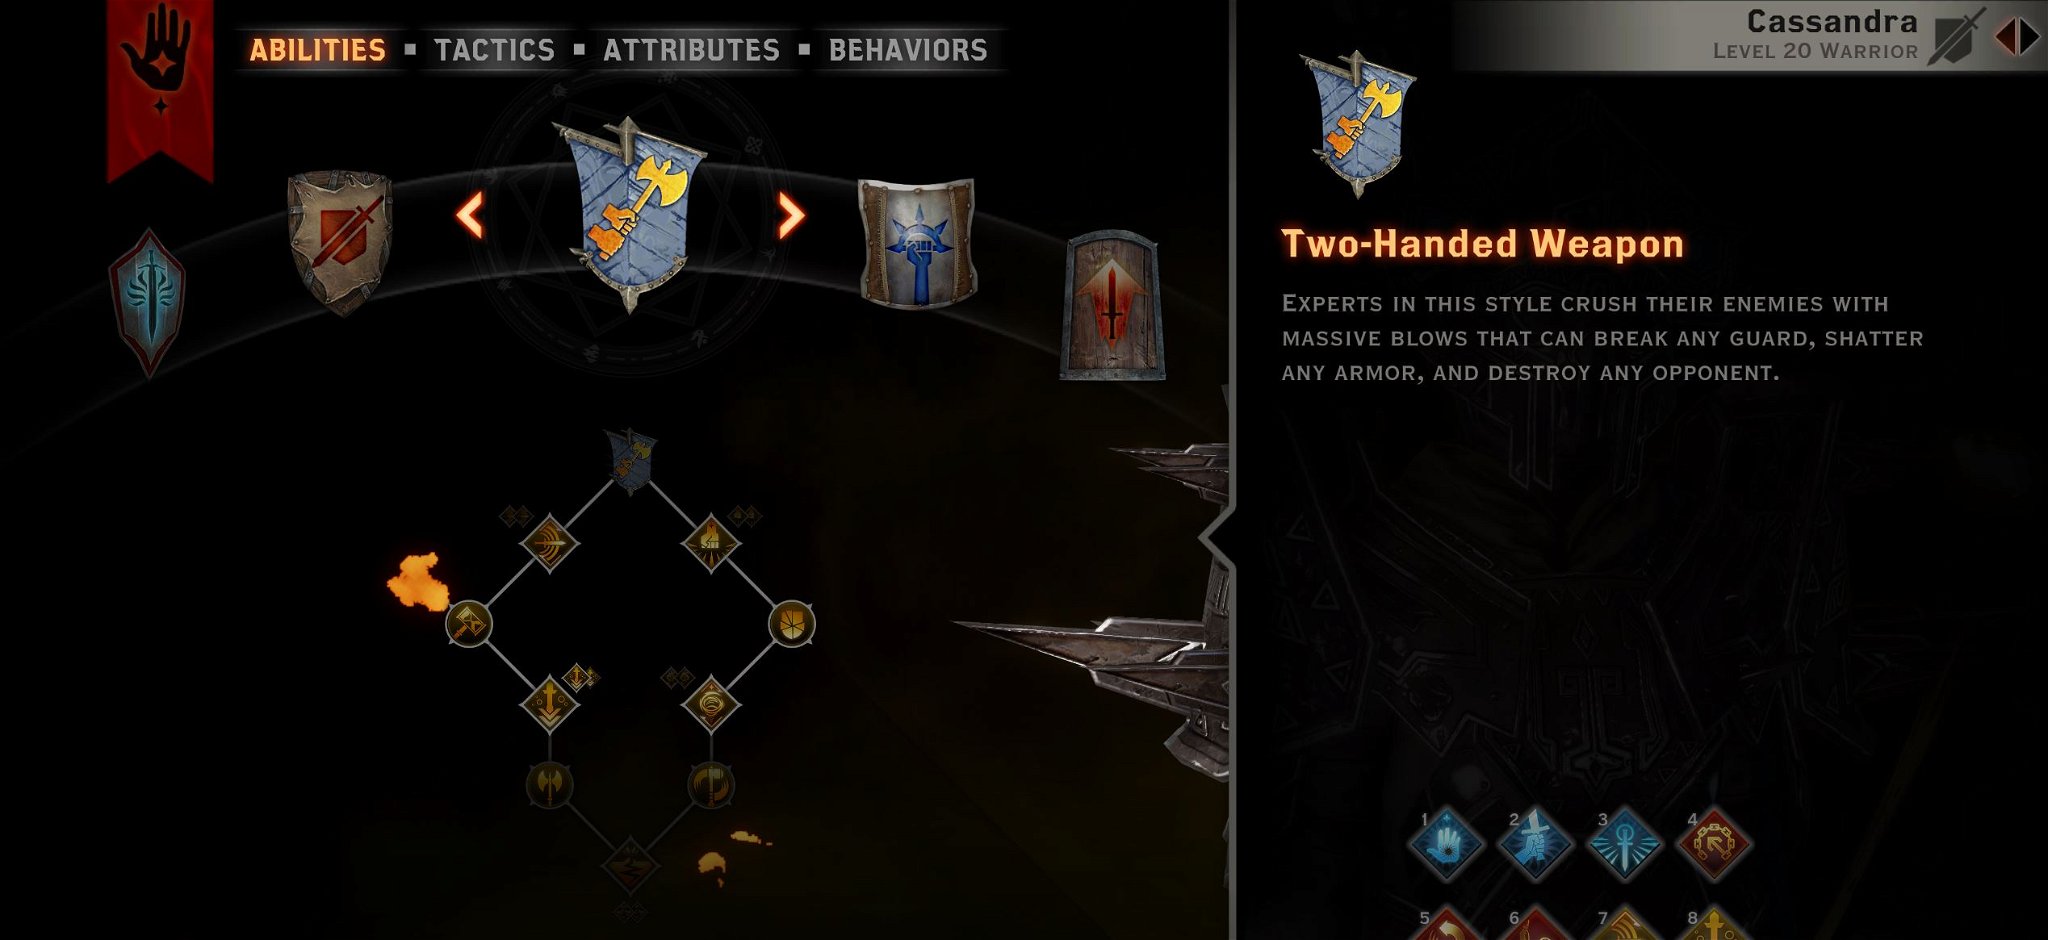
Two-Handed Weapon skill tree
We want to get Pommel Strike and if possible Clear a Path once we are 20+ level
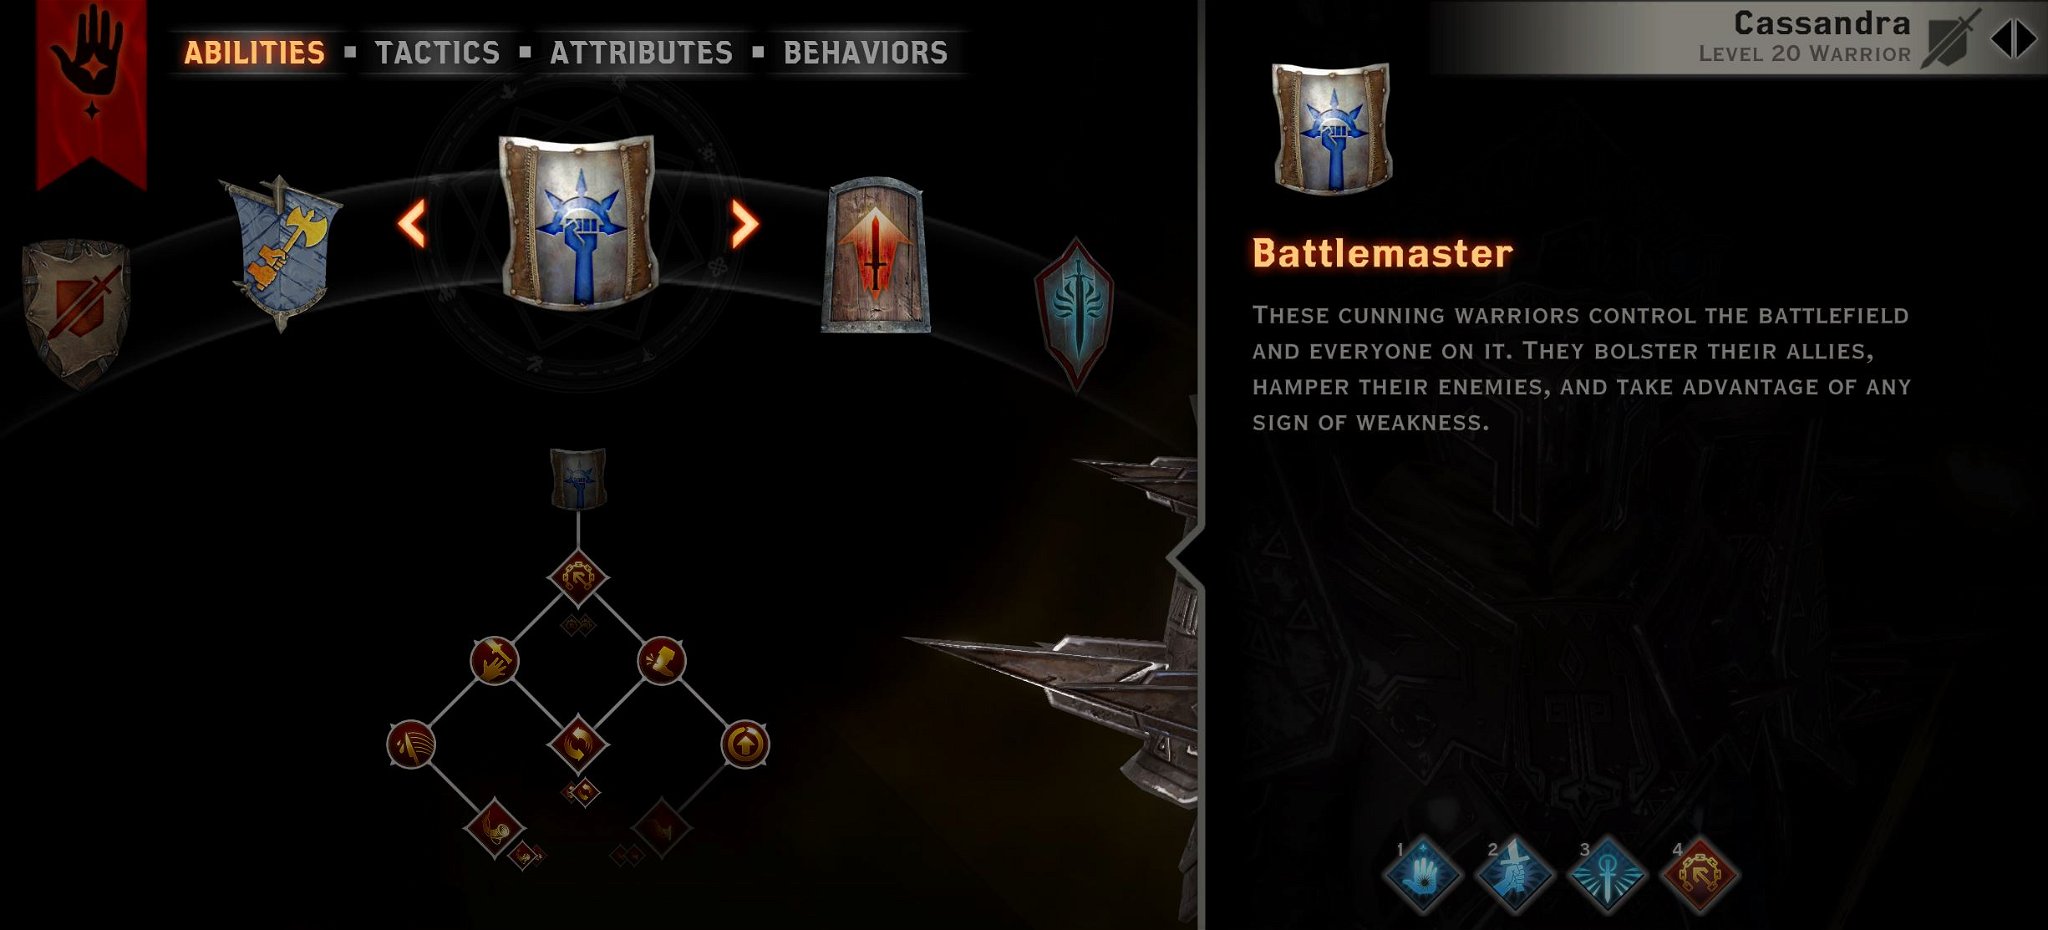
Battlemaster ability tree
We want to have Horn of Valor, Deep Reserves, and Combat Roll from this tree.
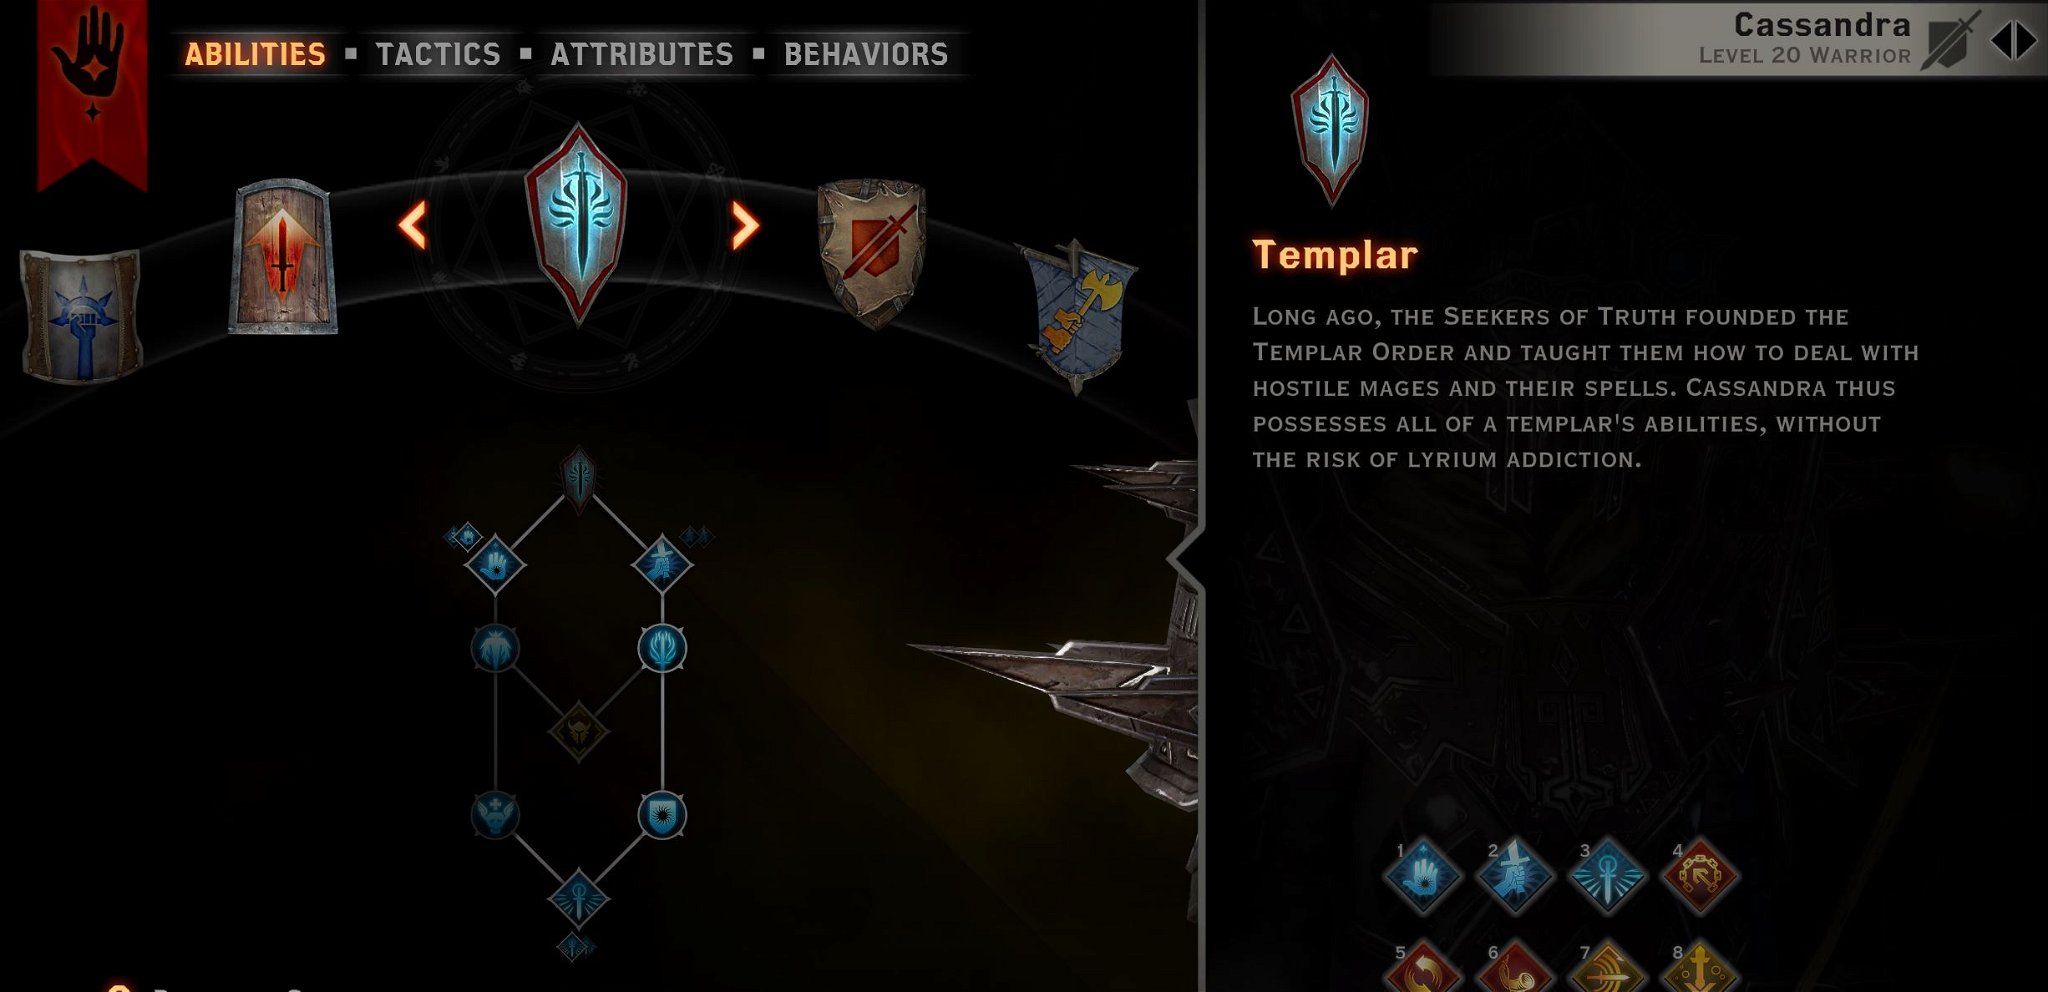
Templar Skill tree
The main aim is to get the Wrath of Heaven ability. This is the build's signature ability.
Abilities - Full Progression
IMPORTANT: Get a relevant Amulet of Power for Cassandra to maximize the number of ability points
In this section, I will go through all the skills and talents that need to be picked for this Cassandra Templar build in Dragon Age Inquisition.
| Order | Skill | Description |
|---|---|---|
| 1 | Use it to dispel enemy magic. Moreover, you can use it on Veil Tears before enemy spawns to cancel the summoning. Moreover, it can be used with Wrath of Heaven for a combo but AI may not be able to pull it off. |
|
| 2 | We take this mainly for progression | |
| 3 | There is a 5% chance that your attacks will weaken the enemies | |
| 4 | Boots resistance by 10% to elemental and spirit damage | |
| 5 | Your signature ability. Deals 1000% of weapon damage, and also stuns enemies in AOE. | |
| 6 | We take this ability for progression | |
| 7 | Weakens enemies with each critical hit | |
| 8 | Extremely useful and funny ability. Even though AI does not use it perfectly, it has a low stamina cost and deals AOE damage of 500% | |
| 9 | Deals more damage against stunned and knocked-down enemies | |
| 10 | This ability will boost your group damage, armor, and guard generation. | |
| 11 | We take it only for progression | |
| 12 | Each critical hit will reduce your cooldowns by 1 second | |
| 13 | Strongest two-handed weapon offensive ability. It deals a large amount of damage, has low stamina cost, and knockdowns enemies. | |
| 14 | We take it to unlock other abilities | |
| 15 | Boosts stamina regeneration when your stamina is low |
With this, the core of the build is finished.
Late-game skill investments
These abilities are the ones that I think are useful to have to further improve your build
| Order | Skill | Description |
|---|---|---|
| 1 | We take it to unlock other abilities | |
| 2 | Reduces enemy armor when you hit an enemy with a critical hit | |
| 3 | We take it to unlock other abilities | |
| 4 | Restores 10% stamina with each extra hit during your normal attacks. |
Cassandra Stats
In this section, I will cover the best stats that should be prioritized when choosing what equipment to equip. This will ensure that you build the best two-handed Cassandra
-
Raw damage - for this take the best weapon that you can find. Most of your offensive abilities scale off your weapon damage. Due to this, it is important to get the one with the highest raw stats
-
Critical chance – this should be a priority after you get Flow of Battle. Get it to at least 50%
-
Critical Damage – once you have a 50% critical chance this stat is the main one that you should concentrate on
-
Attack – this stat increases all damage that you do
-
Cunning - gives a critical chance to boost
-
Dexterity - gives a critical damage bonus
-
Strength - boosts attack indirectly
Best Equipment
In this section, I will go through some decent equipment that you can equip or craft.
It is important to note, generally crafted equipment is better. However, for this, you need good Tier 4 or Tier 3 materials.
Weapons - obtainable
Here is a list of great weapons that you can obtain at different levels for Cassandra. Check what you prefer the most, I have listed weapons that have both a high bonus to attack and also a bonus to critical chance or damage.
So for example in the late game if Cassandra has a high critical chance, give her two-handed weapons with a big boost to critical damage. If low, then give items with a large attack boost.
| Priority | Item | Description |
|---|---|---|
| 1 | Available during the Trespasser DLC. It is quite a powerful axe. I suggest trying it out and seeing, how Cassandra performs with it. | |
| 2 | Extremely powerful Maul, that makes enemies explode after they are killed. I personally prefer this one compared to the others. | |
| 3 | Similar to Prismatic Greataxe, you will randomly deal elemental damage together with physical damage. This weapon can last you until the end of the game. However, have other weapons on hand if you encounter enemies with high elemental resistance | |
| 4 | The sword gives a +36% Attack boost, this equates to an almost 72-point strength bonus. This can be an alternative to the Chromatic Greatsword if you don't prefer its looks | |
| 5 | Due to the weapons mechanics, this weapon deals a bonus of 100% elemental damage. So with a skill like Pommel Strike, you will deal 600% elemental damage and 600% physical damage. |
Weapons - craftable
Schematics are usually better than obtainable counterparts. However, you need good materials for that.
| Priority | Item | Description |
|---|---|---|
| 1 | One of the more overpowered weapons that deal additional elemental damage together with Physical damage. Expect Cassandra's skills to deal double damage | |
| 2 | One of the more overpowered weapons. However, the schematic can only be obtained in Trespasser DLC. Similar to Prismatic Greataxe Schematic | |
| 3 | Has large Leather offensive slots, and can be easily obtained in Black Emporium |
Armors - obtainable
Unfortunately, there are not many options for obtainable armor that provide offensive bonuses
| Priority | Item | Description |
|---|---|---|
| 1 | Obtainable only in the Trespasser DLC. Boosts Critical Damage, Critical Chance, and Attack. | |
| 3 | Abilities cost 10% less stamina with this armor. | |
| 4 | Gives bonus stamina, which allows using more abilities | |
| 5 | Abilities cost 7.5% less stamina. Moreover, gives bonus defensive stats. |
Armors - craftable
Sadly there are not too many armors that you can craft to give a lot of offensive options. Your main priority is to either get Leather or Metal utility slots
| Priority | Item | Description |
|---|---|---|
| 1 | This medium armor can be worn by anyone and it has leather utility slots. This means it can boost either critical chance or critical damage. | |
| 2 | A decent schematic that gives a large metal utility slot. However, you will need some luck to get it in The Descent DLC | |
| 3 |  Templar Armor Schematic Templar Armor Schematic |
This is the only heavy armor that gives a leather utility slot. This will allow you to either boost Critical Chance or Critical Damage |
| 5 | Battlemaster Armor Schematic |
Great tier 3 schematic that you can get in Hissing Wastes. It also comes with Upgrade slots. |
Helmets - obtainable
| Priority | Item | Description |
|---|---|---|
| 1 | One of the best helmets in the game. Gives a decent boost to dexterity and cunning stats. | |
| 2 | The helmet provides fewer offensive stats than the Winter Palace masks, however, it has a much higher armor rating. | |
| 3 | This Winter Palace mask provides an 8% boost to critical damage. Equip it if you have a high critical chance of 50%. It can be used until you feel that your armor values are getting low | |
| 4 | This Winter Palace mask provides a 12% boost to critical chance. It can be used until you feel that your armor values are getting low | |
| 5 | Unfortunately not as good a helmet as the Winter Palace masks, but it is a decent alternative if you did not get those. |
Helmets - craftable
| Priority | Item | Description |
|---|---|---|
| 1 | This helmet gives Leather utility slots that you can use to increase the critical chance and critical damage. This is the best helmet in terms of DPS and damage and is easy to buy. | |
| 2 |  Revered Defender Helm Schematic Revered Defender Helm Schematic |
Provides a large number of metal utility slots, good for increasing pure attack damage |
| 3 | Duke's Mane Schematic |
This schematic allows crafting a helmet with 11 metal utility slots. However, it is quite demanding to obtain the schematic as you will need first to finish the Jaws of Hakkon DLC. |
| 4 | Superior Venatori Helmet Schematic |
The helmet can be purchased early in the game if you have The Short List perk. It gives 10 Utility metal slots. |
Amulets
The amulets are listed by Tier. Usually, the Best tier can be obtained late in the game, but it provides maximum bonuses.
| Priority | Item | Description |
|---|---|---|
| - | Gives Cassandra a single ability point. It is consumed once you use it. | |
| 1 | This amulet will give stamina and hp regeneration after each enemy that dies nearby. So Cassandra can spam abilities more often. | |
| 2 | This amulet will increase stamina regeneration allowing the skills to be used more often | |
| 3 |  Master Stamina Amulet or Superb Stamina Amulet Master Stamina Amulet or Superb Stamina Amulet |
This amulet will boost Cassandra's overall stamina. She will be able to use more abilities initially when the fight starts |
| 4 | When Cassandra has a comfortable 50% critical chance. Use this amulet to boost her Critical damage | |
| 5 | Use this amulet to increase Cassandra's Critical Damage and critical rate in the late game | |
| 6 | Use this amulet if Cassandra has less than a 50% critical chance. |
Belts
| Priority | Item | Description |
|---|---|---|
| 1 | Top-tier Belt, unfortunately only available in Trespasser DLC. Boosts Critical Chance by 10% | |
| 2 | The belt will give a higher chance to temporarily stun enemies with normal attacks | |
| 3 | The belt will give a higher chance to weaken the enemy's armor |
Rings
| Priority | Item | Description |
|---|---|---|
| 1 | You only obtain this ring in Trespasser DLC. However, it gives a +20% Critical Damage bonus | |
| 2 | The rings boost critical damage by 10% and critical chance by 5%. It is one of the best rings for this build | |
| 3 | Gives +20% critical damage, equip it once you have high enough critical rate | |
| 4 | Gives a +10% critical chance. Great to boost it, if you have less than 40% | |
| 5 | Boosts overall attack damage |
Tactics
In this section, I will go what strategy and tactics you should use to fully utilize Cassandra

- Combat Roll - set to preferred. We want Cassandra to use this ability as often as possible as it is extremely cheap and powerful
- Wrath of Heaven - you can set it to Preferred. I suggest first trying it out.
- Pommel Strike - stuns and deals a lot of damage.
- Horn of Valor - set Preferred. We want the Cassandra AI to buff the party constantly
- Spell Purge - set to Active. This will allow AI to use it when necessary.
Overall this build should be self-sufficient and you should not micromanage Cassandra too often. however, if you see that she uses some abilities too often when it is not necessary, feel free to either lower them to Active or Disable.
Conclusion
Thank you for reading this guide. I hope it will help you to fully understand how to best build Cassandra in Dragon Age Inquisition. The post goes into great detail on her skills and tactics that should be used
if I have missed anything, feel free to leave a comment below
Like, Dislike, comment, or share!
Join the Discussion
0 commentsNo comments yet.
Be the first one to leave a comment!